by Kate | Apr 21, 2021 |
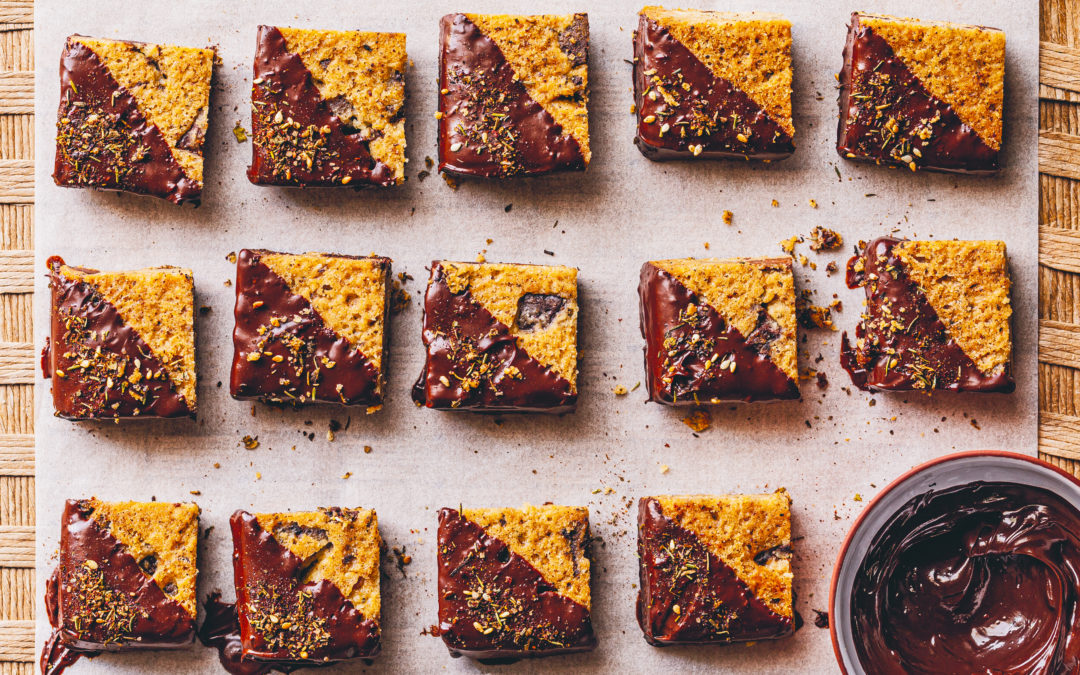
Salty, sweet and buttery is what these little squares of shortbread are. Za’atar is a rather unusual addition to a shortbread but the savoury spice blend made from thyme, oregano, sumac and sesame seeds gives a salty kick which makes them irresistible (and addictive!).

Find the recipe below or download the printable recipe card at the end of this post.
Za’atar Shortbread with Chocolate Chunks
Prep time: 10 minutes
Cook time: 30 minutes
Makes: 15
125g salted butter
150g cake flour
50g cornflour or cornstarch
60g Natura Sugars Demerara Icing Sugar
3 tbsp Natura Sugars Golden Caster Sugar
½ tsp sea salt flakes
1 tbsp za’atar
200g The Kate Tin Dark Baking Chocolate Drops, chopped roughly
Preheat the oven to 160°C or 140°C fan-forced. To make the shortbread, place the butter in a microwave-safe bowl and melt. In a large bowl, whisk together the flour, cornflour, icing sugar, caster sugar and salt. Add the melted butter and ½ tbsp za’atar and stir to combine. Stir half the chopped chocolate into the shortbread mixture. Line a 20cm square baking tin with a strip of baking paper and press the mixture into the tin. Ensure that the top of the shortbread is levelled evenly. Bake for 20 to 25 minutes or until slightly golden around the edges. Cut the shortbread into squares while still hot and set aside to cool completely in the tin. Melt the rest of the chocolate and, at an angle, dip the shortbread into the chocolate and sprinkle the remaining za’atar over. Allow to set then store in an airtight container.

Za'atar Shortbread with Chocolate Chunks
2021-04-21 15:37:33
Yields 15
0 calories
0 g
0 g
0 g
0 g
0 g
0 g
0 g
0 g
0 g
0 g
Amount Per Serving
Calories 0
Calories from Fat 0
Trans Fat 0g
Polyunsaturated Fat 0g
Monounsaturated Fat 0g
Total Carbohydrates 0g
0%
Sugars 0g
Protein 0g
* Percent Daily Values are based on a 2,000 calorie diet. Your Daily Values may be higher or lower depending on your calorie needs.
- 125g salted butter
- 150g cake flour
- 50g cornflour or cornstarch
- 60g Natura Sugars Demerara Icing Sugar
- 3 tbsp Natura Sugars Golden Caster Sugar
- ½ tsp sea salt flakes
- 1 tbsp za’atar
- 200g The Kate Tin Dark Baking Chocolate Drops, chopped roughly
- Preheat the oven to 160°C or 140°C fan-forced.
- Place the butter in a microwave-safe bowl and melt.
- In a large bowl, whisk together the flour, cornflour, icing sugar, caster sugar and salt.
- Add the melted butter and ½ tbsp za’atar and stir to combine.
- Stir half the chopped chocolate into the mixture.
- Line a 20cm square baking tin with a strip of baking paper and press the mixture into the tin. Ensure that the top is levelled evenly.
- Bake for 20 to 25 minutes or until slightly golden around the edges.
- Cut the shortbread into squares while still hot and set aside to cool completely in the tin.
- Melt the rest of the chocolate and, at an angle, dip the shortbread into the chocolate and sprinkle the remaining za’atar over.
- Allow to set then store in an airtight container.
By TheKateTin.com
The Kate Tin https://thekatetin.com/
by Kate | Feb 5, 2021 |
Rich and buttery with just enough cocoa bitterness to cut the sweetness, these melting moments will become a new cookie tin favourite.

Melting moments are probably my favourite biscuit of all time – their rich, buttery texture makes me weak at the knees! I have a vivid memory of my older sister, Leigh-Anne, teaching me how to bake them for the first time. If you’d like the original version, this is exactly the same recipe we used. This version, however, comes pretty close to trumping the original. The recipe is from my cookbook Chocolate, features my favourite combination – chocolate and hazelnuts!

Chocolate Hazelnut Melting Moments
Makes 20
350g salted butter, at room temperature
80g Natura Sugars icing sugar
5ml (1 tsp) vanilla extract or essence
230g cake flour, sifted
90g The Kate Tin Cocoa Powder
80g cornflour, sifted
25g hazelnuts, toasted
200g The Kate Tin Dark Baking Chocolate, melted
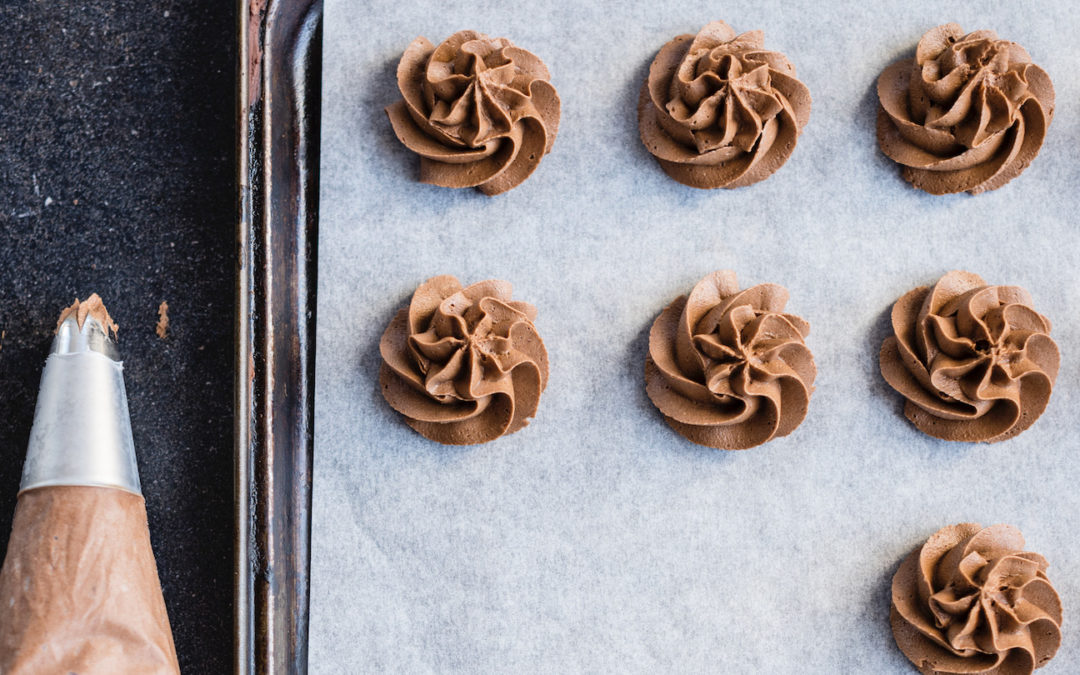
Preheat the oven to 180 °C (160 °C for fan-forced). Line a baking tray with baking paper. Cream the butter, icing sugar and vanilla in a bowl until light and fluffy. In a food processor, blend the cake flour, cocoa powder, cornflour and hazelnuts. Add this flour mixture to the creamed butter and mix until soft. Place the mixture into a piping bag fitted with a star nozzle. Pipe 3-cm rounds onto the lined baking tray, allowing room for spreading. Place the tray of biscuits into the fridge for 30 minutes for the butter to chill, then bake for 12 to 14 minutes or until golden. Cool on the tray. Sandwich the cookies together with the melted dark chocolate. Store in an airtight container for up to 2 weeks.

DOWNLOAD OR PRINT THE RECIPE CARD HERE:
Chocolate Hazelnut Melting Moments
2021-02-01 18:32:19
Serves 20
0 calories
0 g
0 g
0 g
0 g
0 g
0 g
0 g
0 g
0 g
0 g
Amount Per Serving
Calories 0
Calories from Fat 0
Trans Fat 0g
Polyunsaturated Fat 0g
Monounsaturated Fat 0g
Total Carbohydrates 0g
0%
Sugars 0g
Protein 0g
* Percent Daily Values are based on a 2,000 calorie diet. Your Daily Values may be higher or lower depending on your calorie needs.
- 350g salted butter, at room temperature
- 80g Natura Sugars icing sugar
- 5ml (1 tsp) vanilla extract or essence
- 230g cake flour, sifted
- 90g The Kate Tin Cocoa Powder
- 80g cornflour, sifted
- 25g hazelnuts, toasted
- 200g The Kate Tin Dark Baking Chocolate, melted
- Preheat the oven to 180 °C (160 °C for fan-forced). Line a baking tray with baking paper. Cream the butter, icing sugar and vanilla in a bowl until light and fluffy. In a food processor, blend the cake flour, cocoa powder, cornflour and hazelnuts. Add this flour mixture to the creamed butter and mix until soft. Place the mixture into a piping bag fitted with a star nozzle. Pipe 3-cm rounds onto the lined baking tray, allowing room for spreading. Place the tray of biscuits into the fridge for 30 minutes for the butter to chill, then bake for 12 to 14 minutes or until golden. Cool on the tray. Sandwich the cookies together with the melted dark chocolate. Store in an airtight container for up to 2 weeks.
The Kate Tin https://thekatetin.com/

by Kate | Dec 4, 2020 |
These cookies are made up of a buttery shortbread base flecked with strawberry yoghurt and sandwiched together with a tangy strawberry frosting and ruby red strawberry jam – exactly the festive touch your cookie tin needs!
#SPONSORED

If you’ve never thought about adding yoghurt to cookie dough, you’ve been missing out! When Nutriday sent me a couple of tubs of their new Double Cream yoghurts and challenged me to create bakes with them, I was excited to show you all the amazing things yoghurt can do to your baking! Apart from eating it straight out the tub, that is!
Here are a few of the creations I’ve made using the luscious yoghurt, in case you missed them:
-

-
Frozen Vanilla and Blueberry Yoghurt Parfait
-

-
Burnt Vanilla Yoghurt Mille-Feuille
-

-
Glazed Yoghurt Ring Doughnuts
-

-
Burnt Honey Yoghurt Tarts with Cornflake Pastry
-

-
White Chocolate Chai Pecan Rusks
-

-
Flourless Chocolate Yoghurt Torte with Rum and Raisin Sauce
-

-
Chocolate Silk Tart with Coffee Meringue
-

-
Japanese Cotton Cheesecake with Lemon
-

-
Apple Yoghurt Cake with Miso Caramel
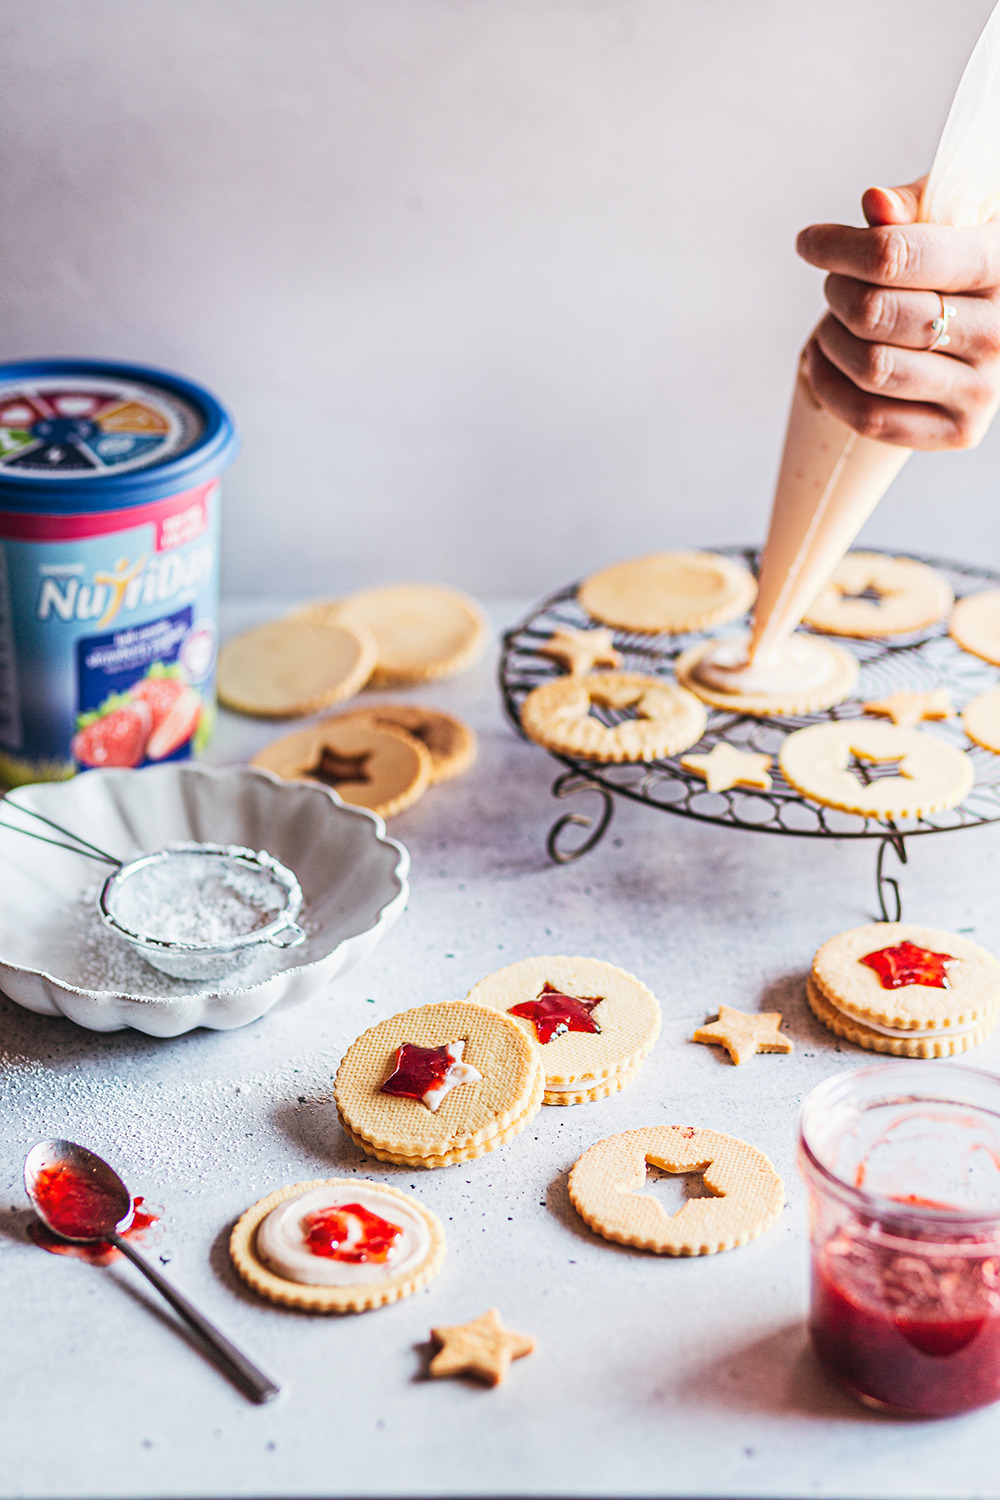
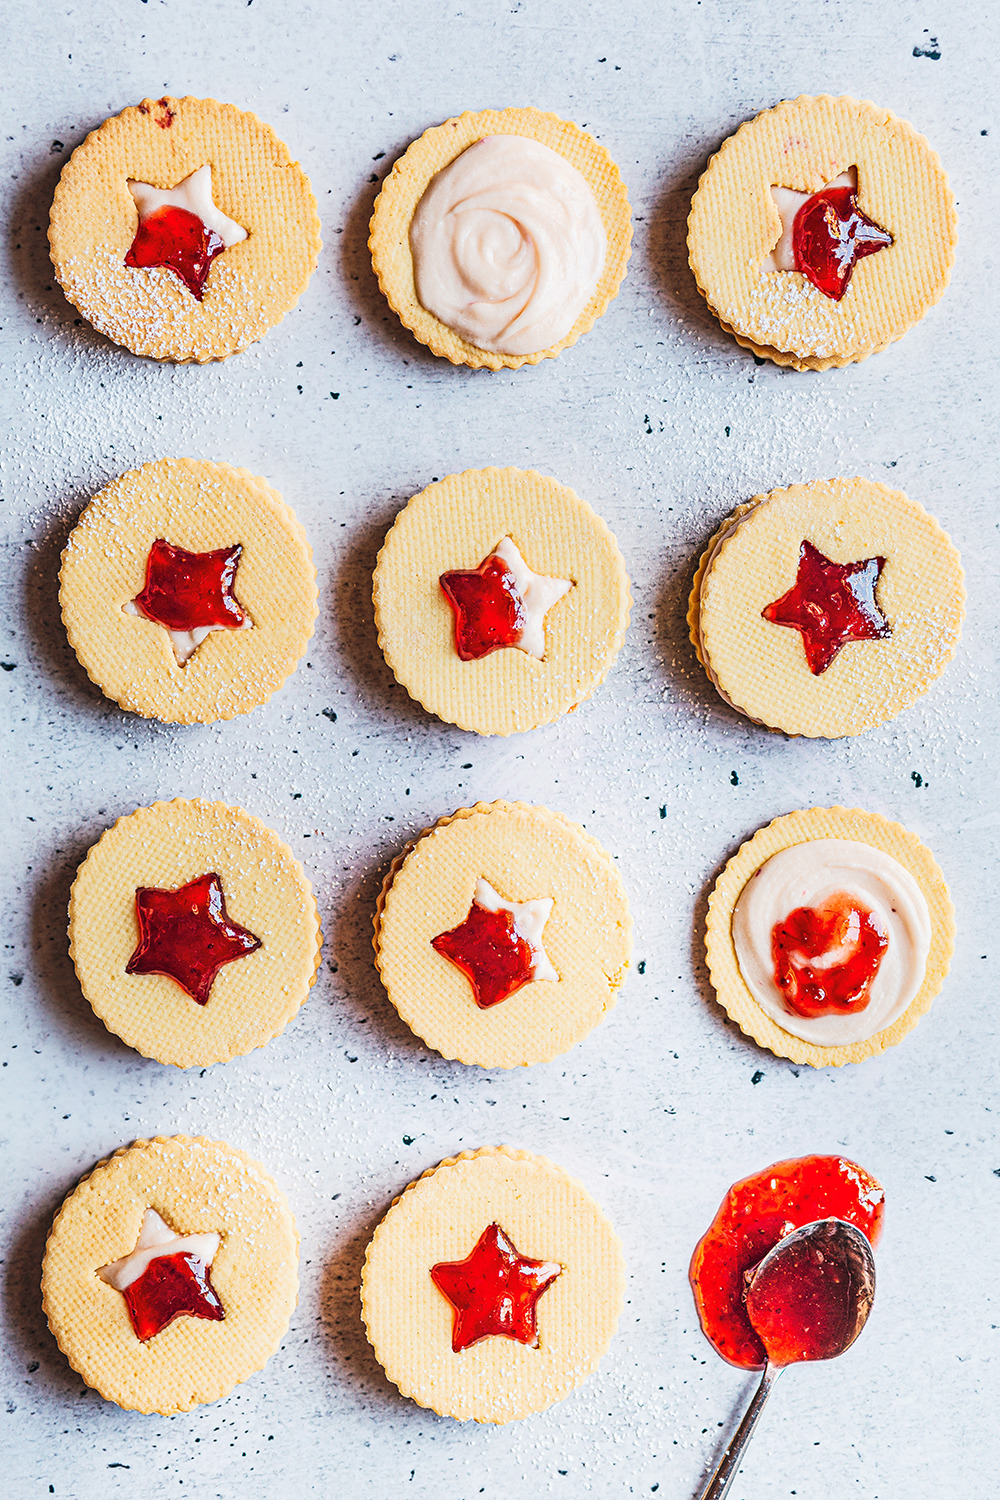
The Nutriday Double Cream strawberry yoghurt with its swirls of strawberry fruit got me dreaming of pretty Linzer cookies. Linzer cookies were traditionally inspired by the Linzer torte; a tart made with a tender pastry and filled with jam (get my recipe for strawberry jam here!). I’ve broken with tradition by adding yoghurt to the pastry – this does two things; it makes it super tender and adds extra flavour. The yoghurt frosting is also not traditional and a little more ‘Jolly Jammer’-ish but hey, I don’t think you expect anything traditional around here anymore!
STRAWBERRY LINZER COOKIES
Makes 15
180g salted butter
120g icing sugar, sifted
3 large egg yolks
60ml Nutriday Double Cream Strawberry Yoghurt
½ tsp almond extract
450g cake flour
25g cornstarch
Strawberry Yoghurt Frosting
50g butter, softened
250g icing sugar, plus extra for dusting
60ml Nutriday Double Cream Strawberry Yoghurt
Strawberry Jam, for spreading
Cream the butter and sugar together until light and fluffy – about 8 minutes. Add the egg yolks, yoghurt and almond extract and mix well to combine. Add the cake flour and cornstarch and mix just long enough to form a dough. Flatten the dough into a disc, wrap and refrigerate for at least 30 minutes. Roll the dough out onto a lightly floured surface to 5mm thick. Using a cookie cutter, cut out shapes and arrange on a lined baking tray. Use a piping nozzle or small cutter to cut a window out of half the shapes. Preheat the oven to 180C (or 160 if you have a fan-forced oven). Bake the cookies for 10-12 minutes or until they just turn golden around the edges. To make the frosting, cream the butter until light and fluffy. Add the icing sugar and yoghurt and beat until light. Spread the yoghurt frosting on one side of the cookie and strawberry jam on the other. Sandwich the cookies together. Dust with icing sugar.
OR PRINT THE RECIPE CARD BELOW TO ADD IT TO YOUR COLLECTION:
Strawberry Linzer Cookies
2020-12-03 10:13:43
Yields 15
0 calories
0 g
0 g
0 g
0 g
0 g
0 g
0 g
0 g
0 g
0 g
Amount Per Serving
Calories 0
Calories from Fat 0
Trans Fat 0g
Polyunsaturated Fat 0g
Monounsaturated Fat 0g
Total Carbohydrates 0g
0%
Sugars 0g
Protein 0g
* Percent Daily Values are based on a 2,000 calorie diet. Your Daily Values may be higher or lower depending on your calorie needs.
- 180g salted butter
- 120g icing sugar, sifted
- 3 large egg yolks
- 60ml Nutriday Double Cream Strawberry Yoghurt
- ½ tsp almond extract
- 450g cake flour
- 25g cornstarch
- Strawberry Yoghurt Frosting
- 50g salted butter, softened
- 250g icing sugar, plus extra for dusting
- 60ml Nutriday Double Cream Strawberry Yoghurt
- Strawberry Jam, for spreading
- Cream the butter and sugar together until light and fluffy - about 8 minutes.
- Add the egg yolks, yoghurt and almond extract and mix well to combine.
- Add the cake flour and cornstarch and mix just long enough to form a dough.
- Flatten the dough into a disc, wrap and refrigerate for at least 30 minutes.
- Roll the dough out onto a lightly floured surface to 5mm thick.
- Using a cookie cutter, cut out shapes and arrange on a lined baking tray. Use a piping nozzle or small cutter to cut a window out of half the shapes.
- Preheat the oven to 180C (or 160 if you have a fan-forced oven).
- Bake the cookies for 10-12 minutes or until they just turn golden around the edges.
- To make the frosting, cream the butter until light and fluffy. Add the icing sugar and yoghurt and beat until light.
- Spread the yoghurt frosting on one side of the cookie and strawberry jam on the other. Sandwich the cookies together.
- Dust with icing sugar.
By TheKateTin.com
The Kate Tin https://thekatetin.com/

by Cassie | Oct 15, 2020 |
This burnt vanilla mille-feuille is my lightened up version of the French classic!
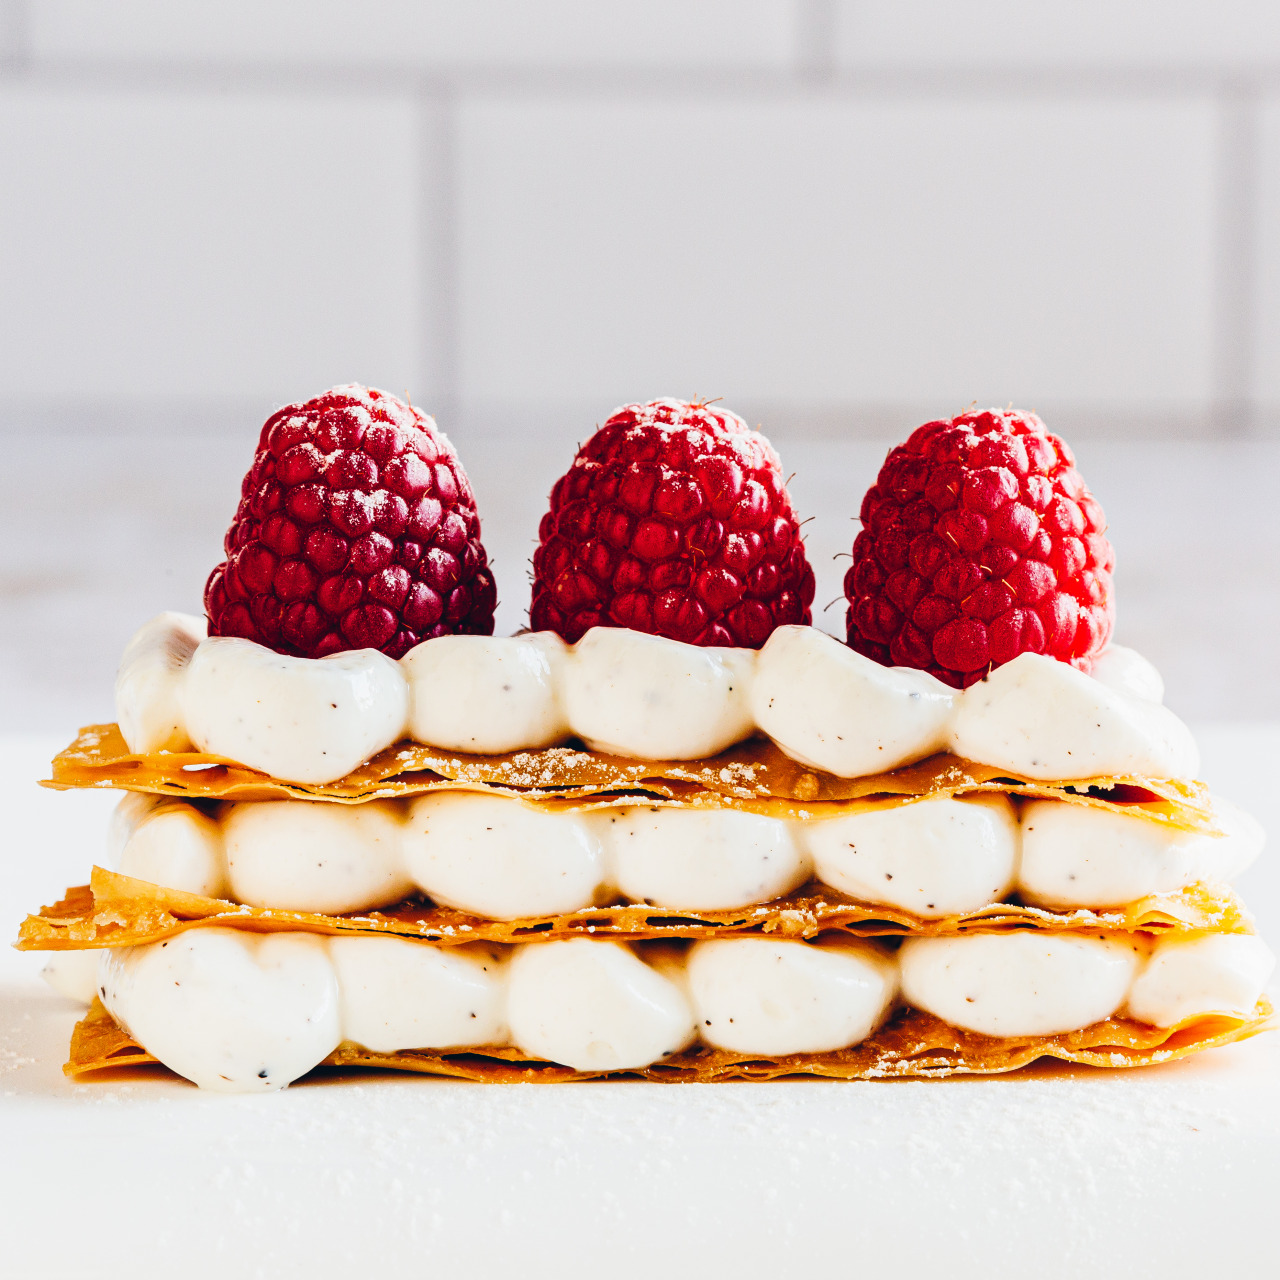
There are three main components to this delicate little dessert; The pastry layers, burnt vanilla and the super creamy and thick new Nutriday double cream yoghurt. The yoghurt is super special and is a real treat for breakfast as it tastes like pudding! It’s also one of my favourite things to add to desserts. In order to turn it into a quick and easy filling, I made what is traditionally called ‘Labneh’. It’s a process of straining the yoghurt through muslin cloth to remove most of the whey, which results in a thicker, pipeable consistency. Not only is it seriously easy to make, but it is also a far lighter replacement for the traditional mille-feuille (pronounced meel-foy) filling of custard.
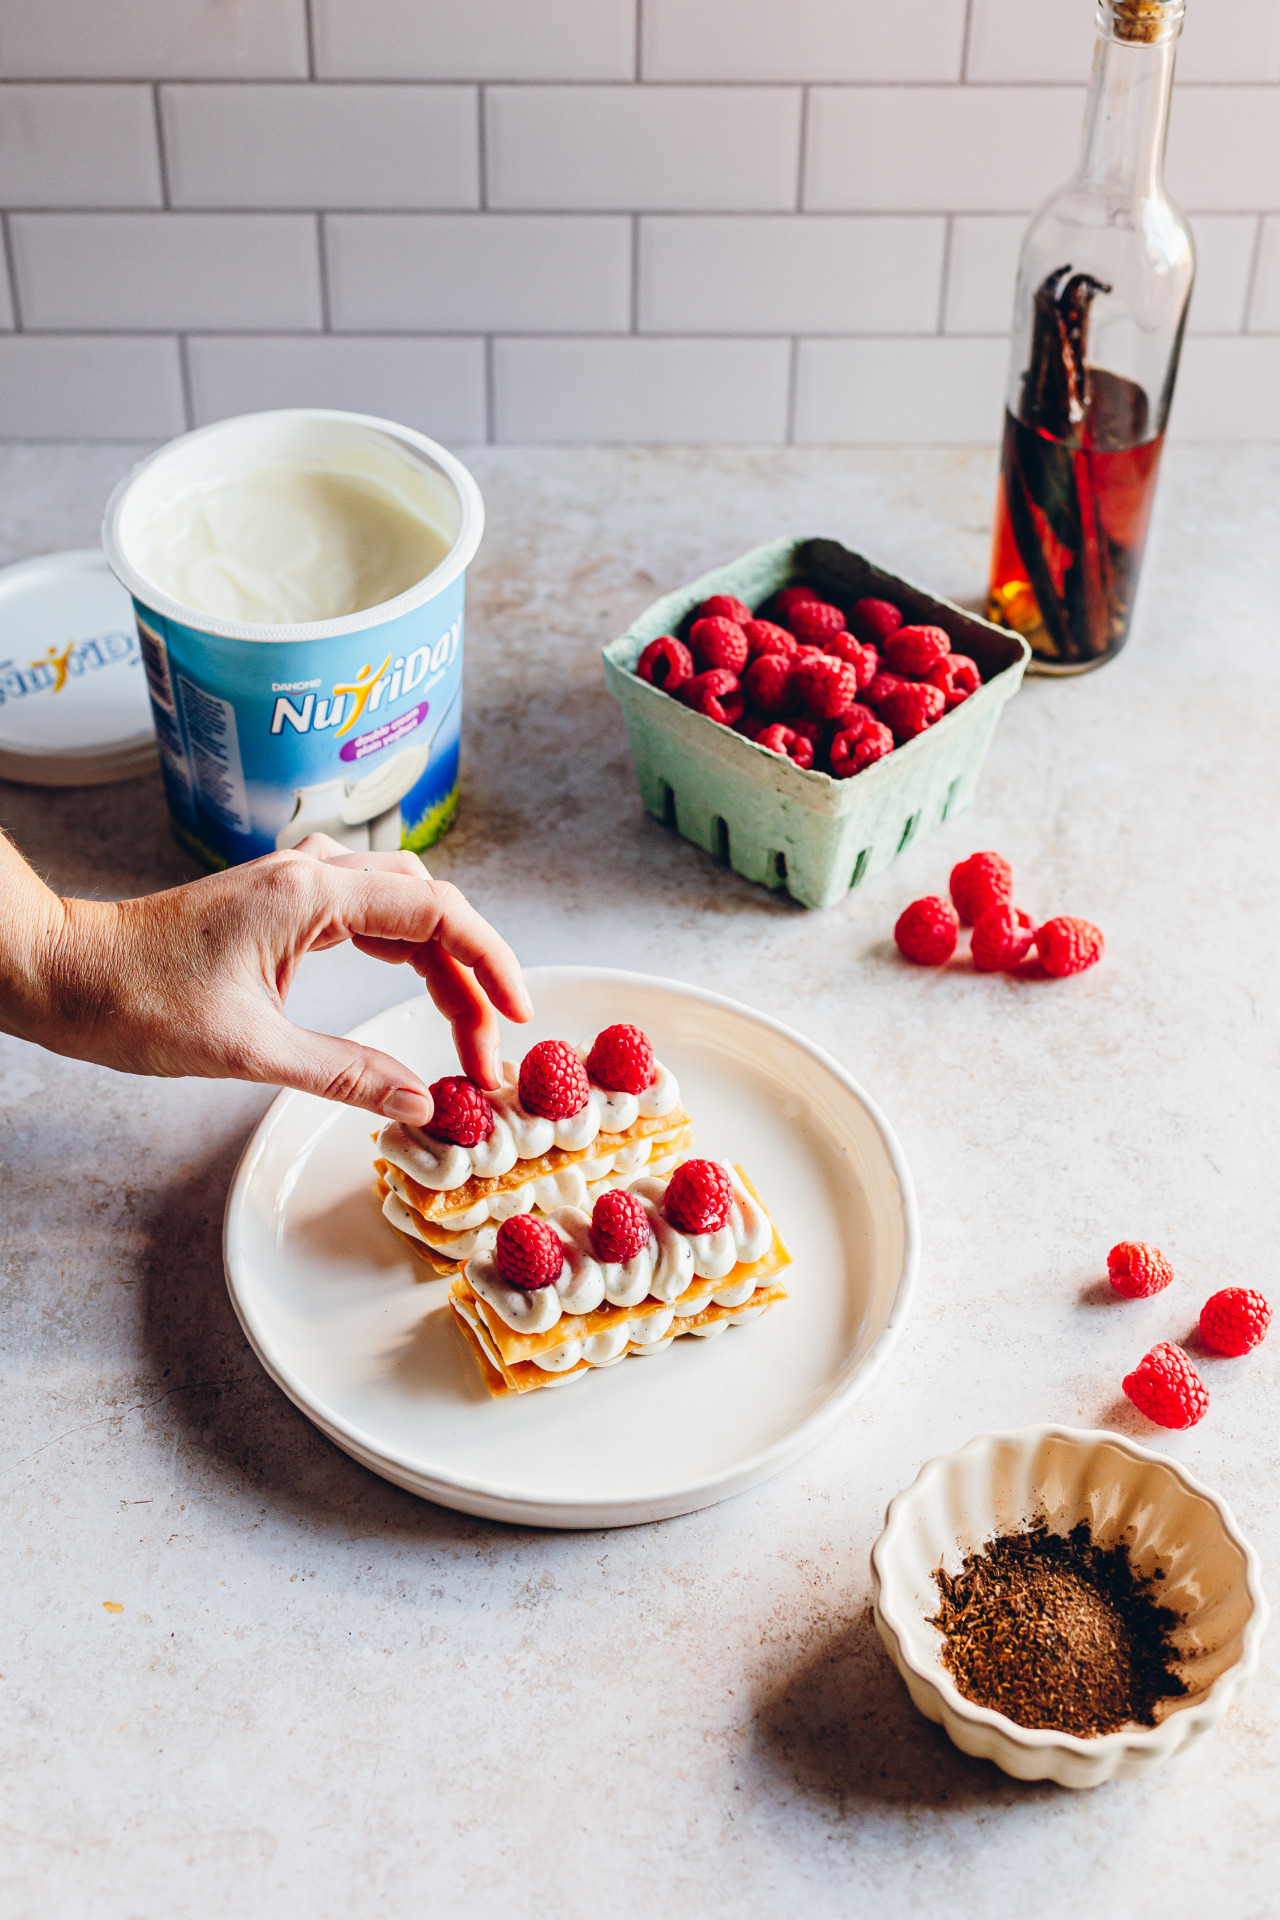
Burnt vanilla powder is my secret way of making sure that every part of the (very expensive) vanilla bean is used – I first scrape the seeds from the vanilla bean and use these in panna cotta, ice cream etc, then I steep the vanilla bean in vodka for a few weeks to make my own extract. After that I place the vanilla bean in a jar of sugar, and finally, I toast it and grind it to make burnt vanilla powder. FOUR uses from one vanilla bean. If you don’t have vanilla beans, then you can use the new Nutriday vanilla flavoured yoghurt which has tiny little black specks of vanilla seeds in it which I just adore. I totally would’ve used that if it had launched before I shot this post!
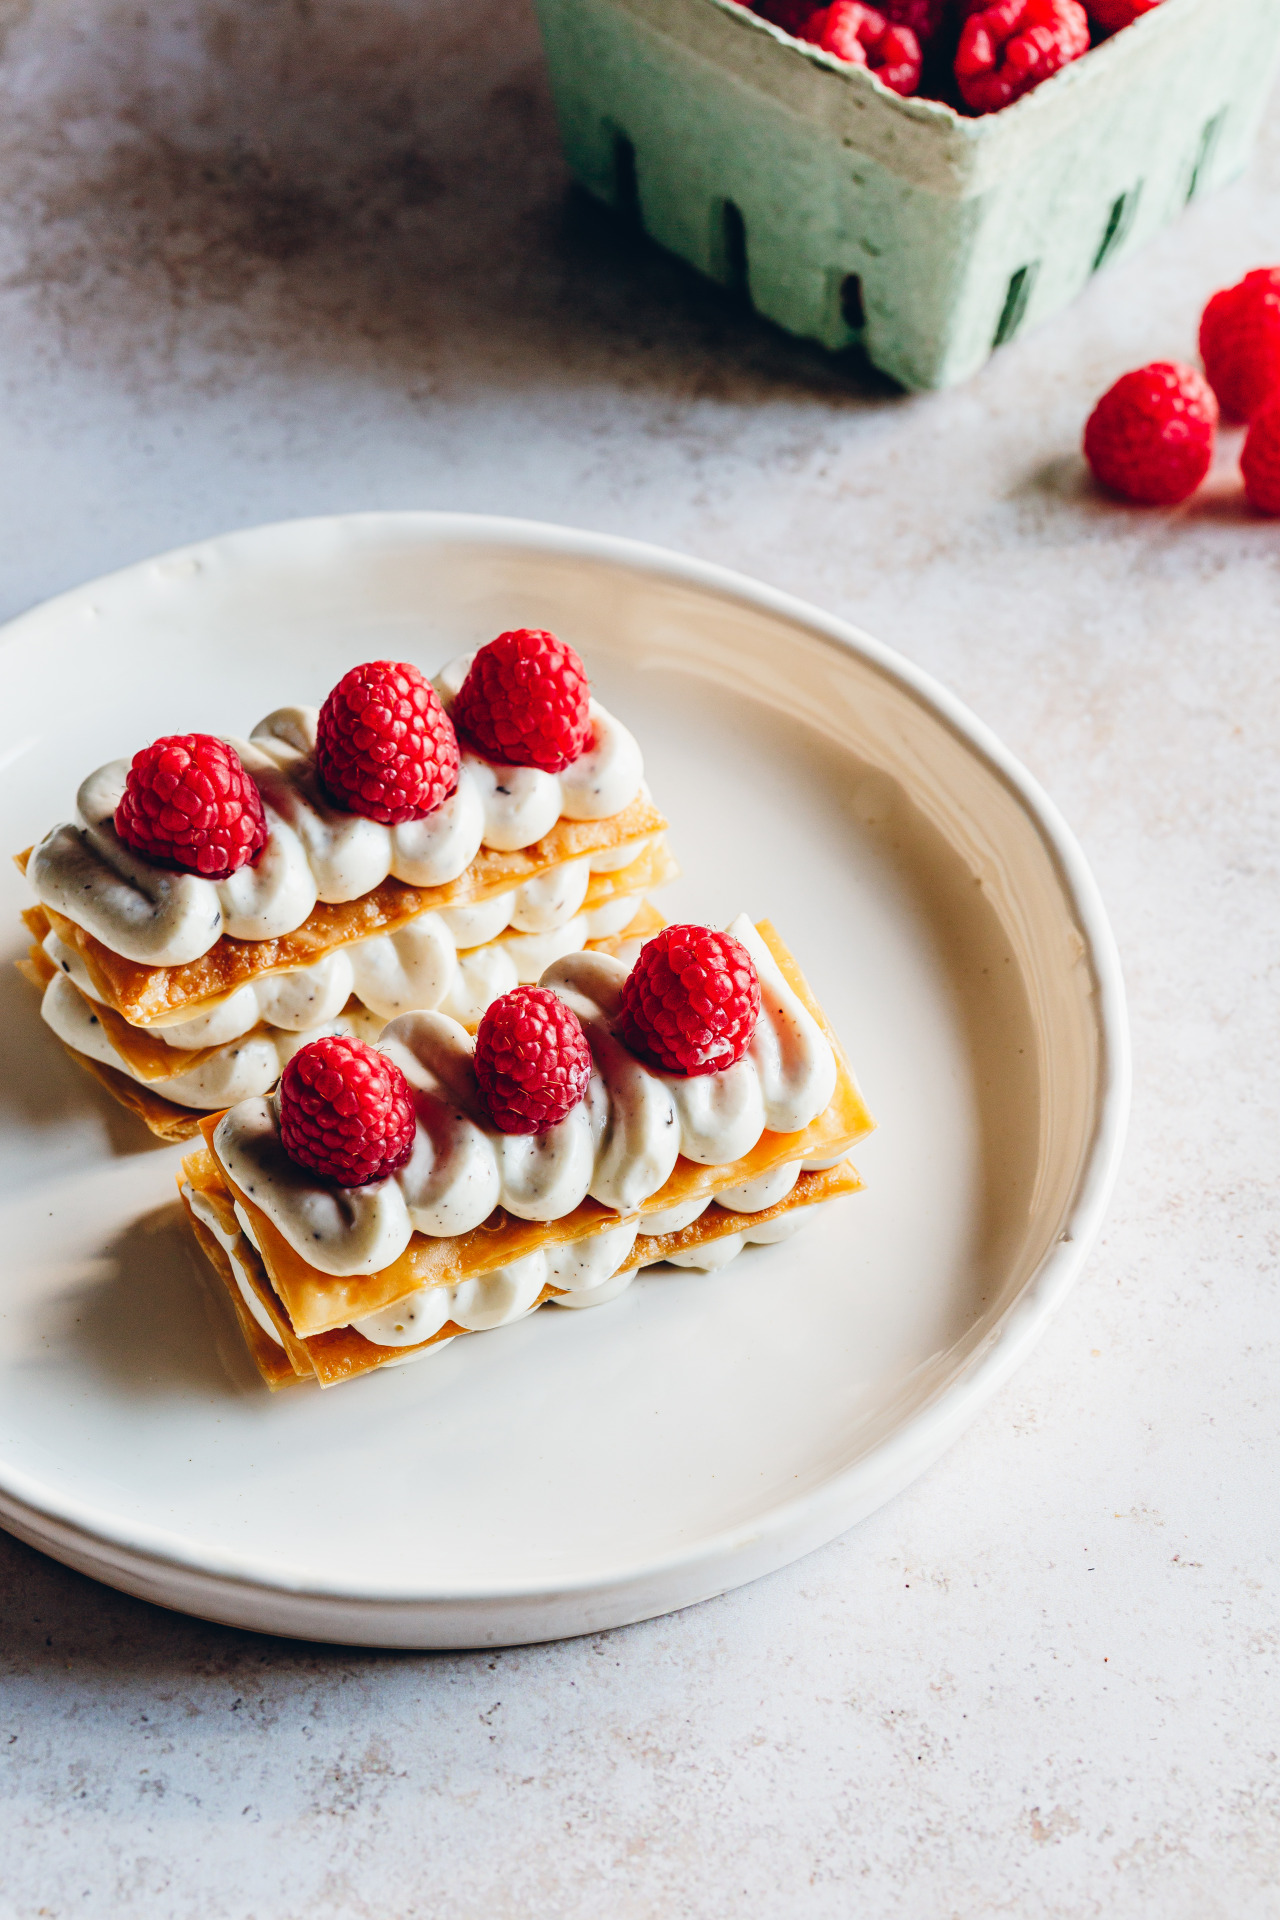
Lastly, we get to the pastry. Traditionally, mille-feuille is made from puff pastry and as delicious as puff pastry is, I secretly really don’t like it in mille-feuille. I like my desserts to crumble into submission when I put my fork through them and puff pastry just doesn’t do that for me (although I have a mille-feuille in my cookbook with a clever puff pastry trick that DOES!) So, in order to make this mille-feuille absolutely melt in the mouth, I’ve used phyllo pastry which has been brushed with melted butter and icing sugar. This is a great make-ahead dessert (all the elements can be made ahead of time and then just assembled on the day) and just perfect for the warmer weather. In fact, it would probably make a perfectly acceptable breakfast, too! Happy baking!
Burnt Vanilla Yoghurt Mille Feuille
2020-07-30 12:07:09
Serves 4
0 calories
0 g
0 g
0 g
0 g
0 g
0 g
0 g
0 g
0 g
0 g
Amount Per Serving
Calories 0
Calories from Fat 0
Trans Fat 0g
Polyunsaturated Fat 0g
Monounsaturated Fat 0g
Total Carbohydrates 0g
0%
Sugars 0g
Protein 0g
* Percent Daily Values are based on a 2,000 calorie diet. Your Daily Values may be higher or lower depending on your calorie needs.
- 500ml NutriDay Double Cream Yoghurt
- 1 x 125g phyllo pastry (3 phyllo sheets)
- 50g salted butter, melted, for brushing
- Icing sugar, for dusting
- 30g Demerara icing sugar, plus extra to dust
- 1 tbsp burnt vanilla powder (see TIP) or vanilla extract
- Fresh raspberries, to garnish
- Place the yoghurt in a muslin cloth and allow it to drain for 2 hours or until thick.
- Refrigerate until ready to use.
- Preheat the oven to 180°C (or 160°C fan-forced) and line 2 baking trays with baking paper.
- Cut the phyllo sheets in half and, working with one half at a time, evenly brush the melted butter over the phyllo sheet and dust liberally with icing sugar. Place another sheet of phyllo over the top and repeat this process until you have three layers. Finish the top layer with another layer of melted butter and icing sugar.
- Repeat this process until all the pastry has been used up.
- Trim the rough edges of the pastry layers and cut out 10cm by 5cm rectangles.
- Place on the lined baking trays and place in the oven for 8-10 minutes or until golden and crisp. Remove from the oven and cool completely.
- When ready to serve, whisk the icing sugar and burnt vanilla into the yoghurt.
- Place into a disposable piping bag and cut the tip of the piping bag at an angle. (You can use a piping tip of your choice if you’d prefer)
- Assemble the mille-feuille by piping a layer of yoghurt and topping it with another layer of phyllo. Repeat this until you have 3 layers. Finish with a layer of yoghurt and raspberries.
- Serve immediately.
- TIP: To make the burnt vanilla, preheat the oven to 180°C (or 160°C fan-forced).
- Place the vanilla pod in the oven for 5 minutes or until it puffs up.
- Leave to cool before blending to a fine powder in a blender or food processor. This method is perfect for using up vanilla beans which have already been used to infuse sugar or your own vanilla extract.
The Kate Tin https://thekatetin.com/

by Kate | Aug 19, 2020 |
I've started a brand new series on TheKateTin.com where I'll be sharing all my classic, basic recipes. As someone who doesn't like 'plain' and loves putting twists and mash-ups on, well everything, I know that sometimes you just want a classic scone, cupcake, vanilla cake etc.
THE KATE TIN CLASSICS
I've started with my absolute go-to classic choc chip cookie recipe - I've used this recipe as a base for some pretty incredible creations - including this Brown Butter Chocolate Chip Cookie recipe which is so Instafamous I've considered giving it it's own page...
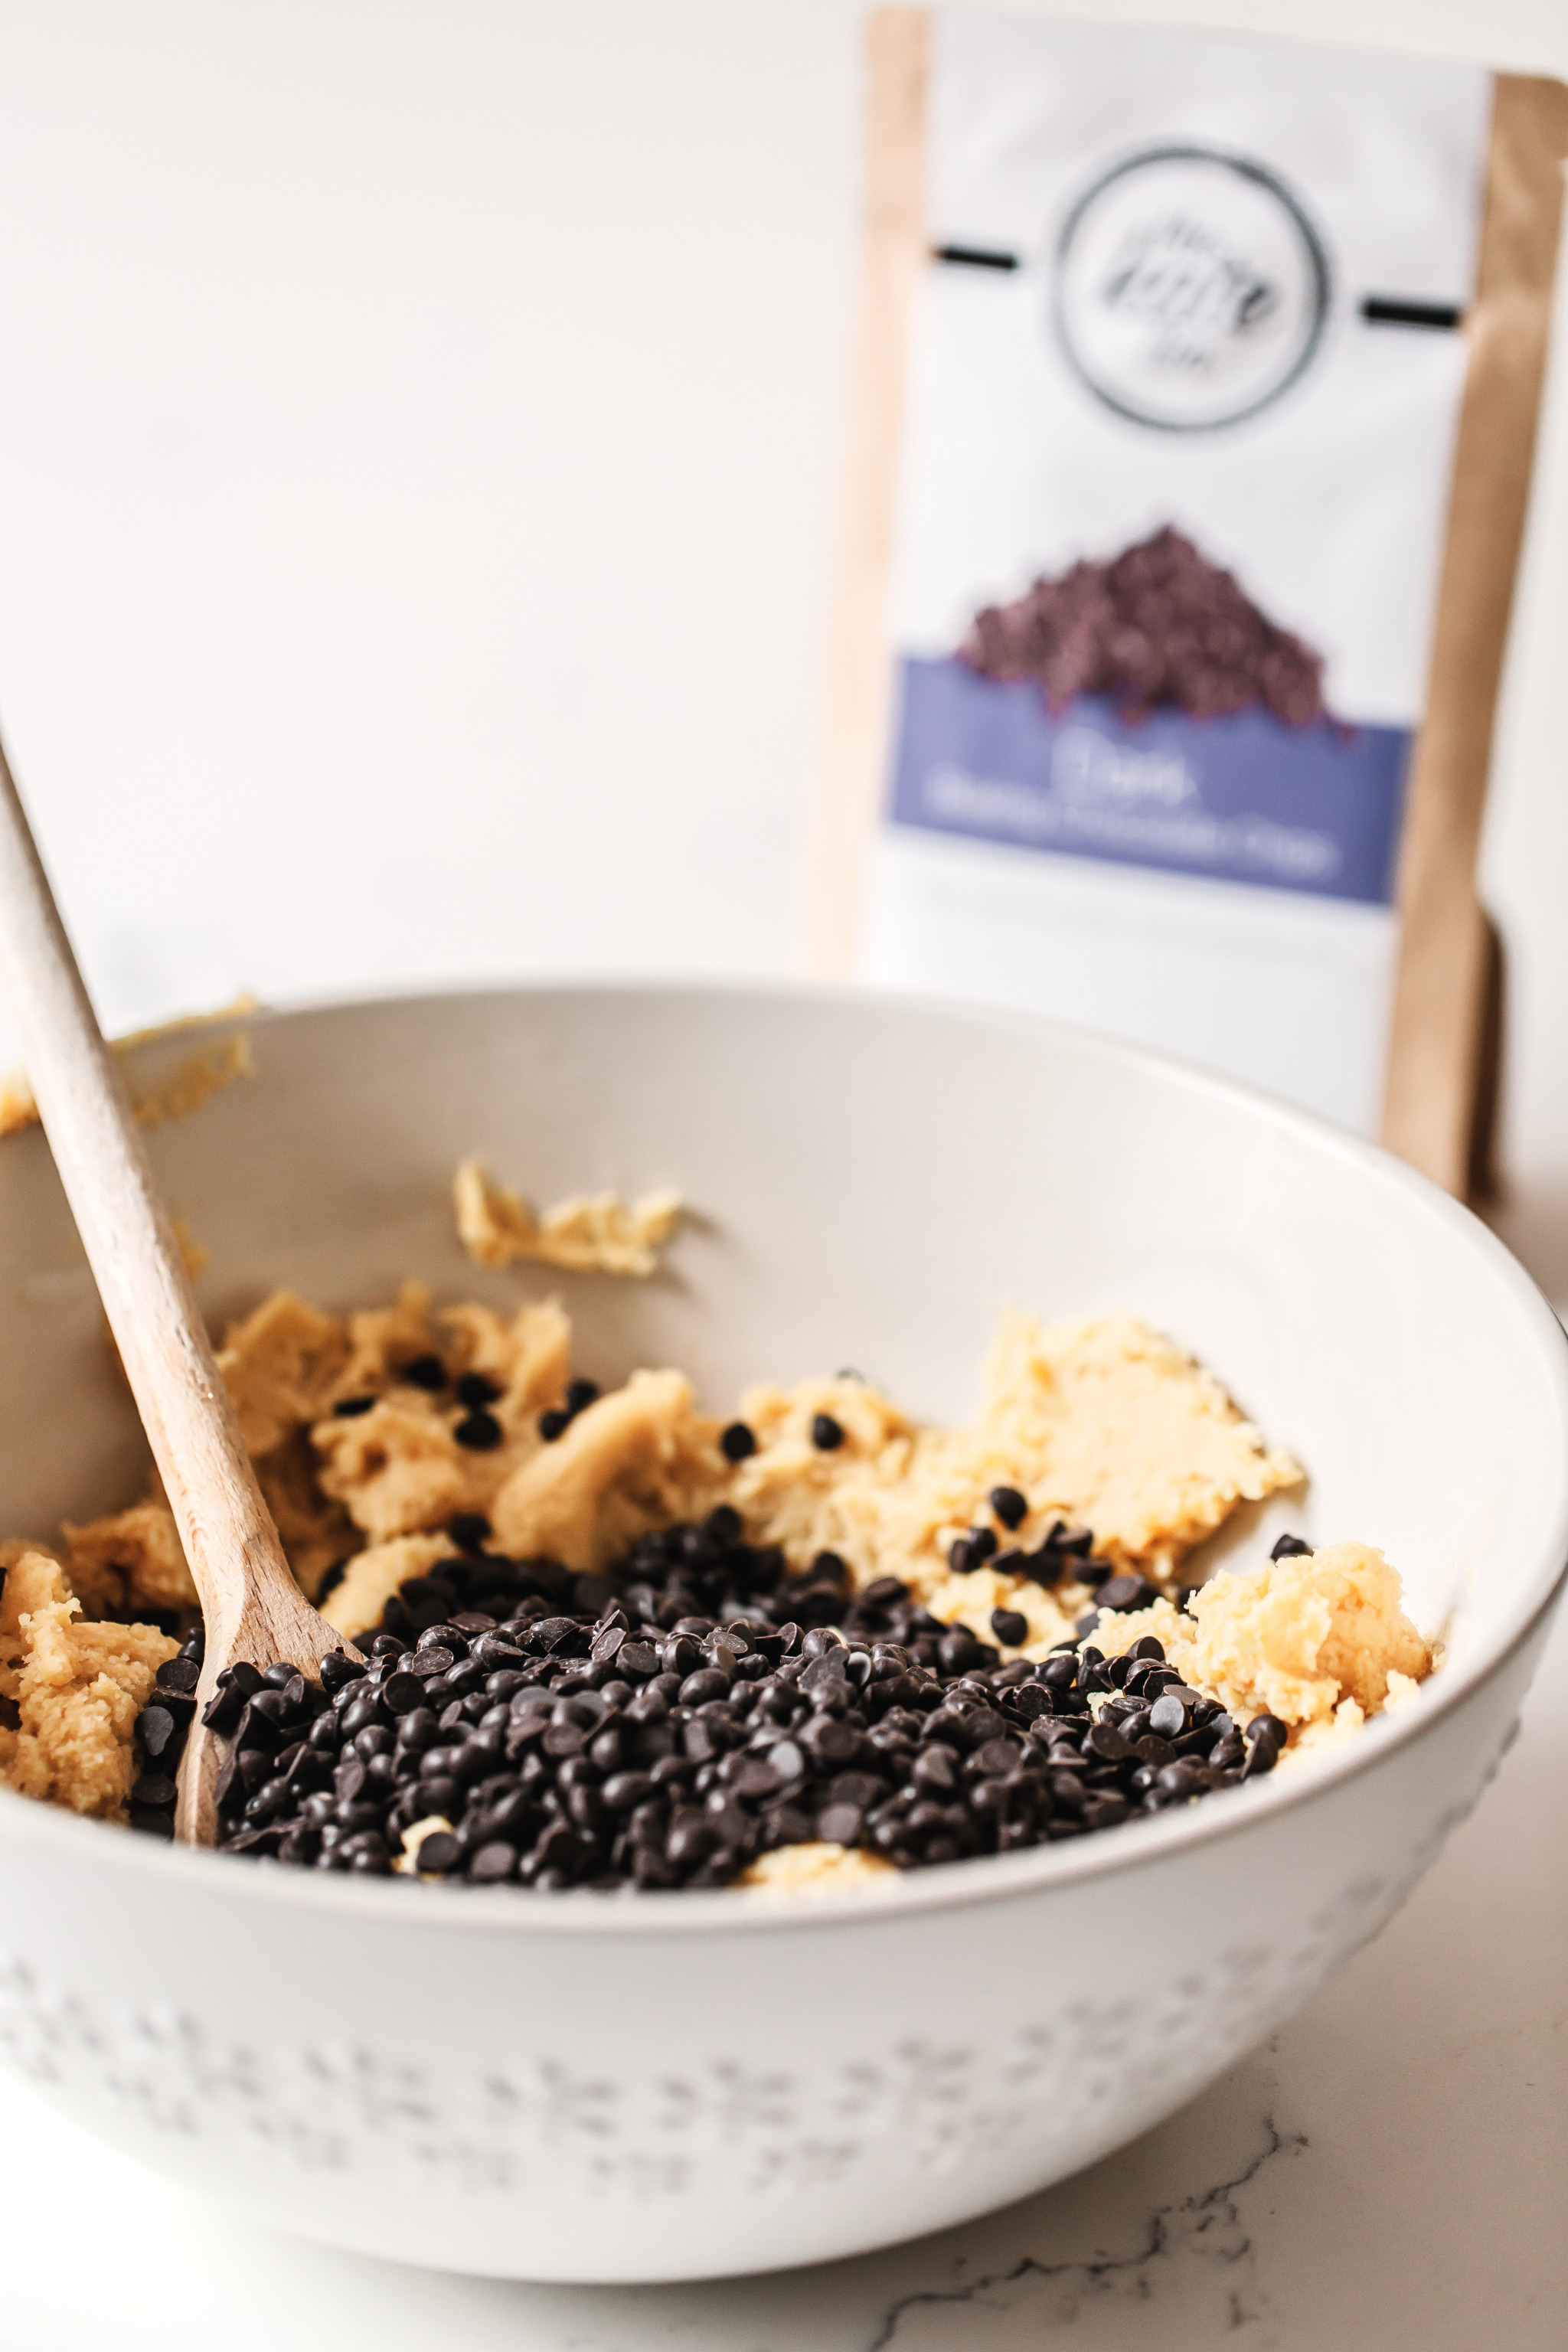
Having an excellent recipe to start with is a good base to the best chocolate chip cookie, but there are also a few other tips I've picked up a long the way which makes a difference:
1. Never skimp on creaming – it takes a good 8 minutes in a stand mixer to reach a light and fluffy consistency that makes all the difference in baking!
2. Use an ice cream scoop to portion the cookie dough - this helps them all bake at the same time so you're not left with some crunchy and others raw. This is the one I have (Progressive 1 1/2 Tbsp scoop) which I found at a baking shop. Keep an eye out for it, it's the perfect cookie size!
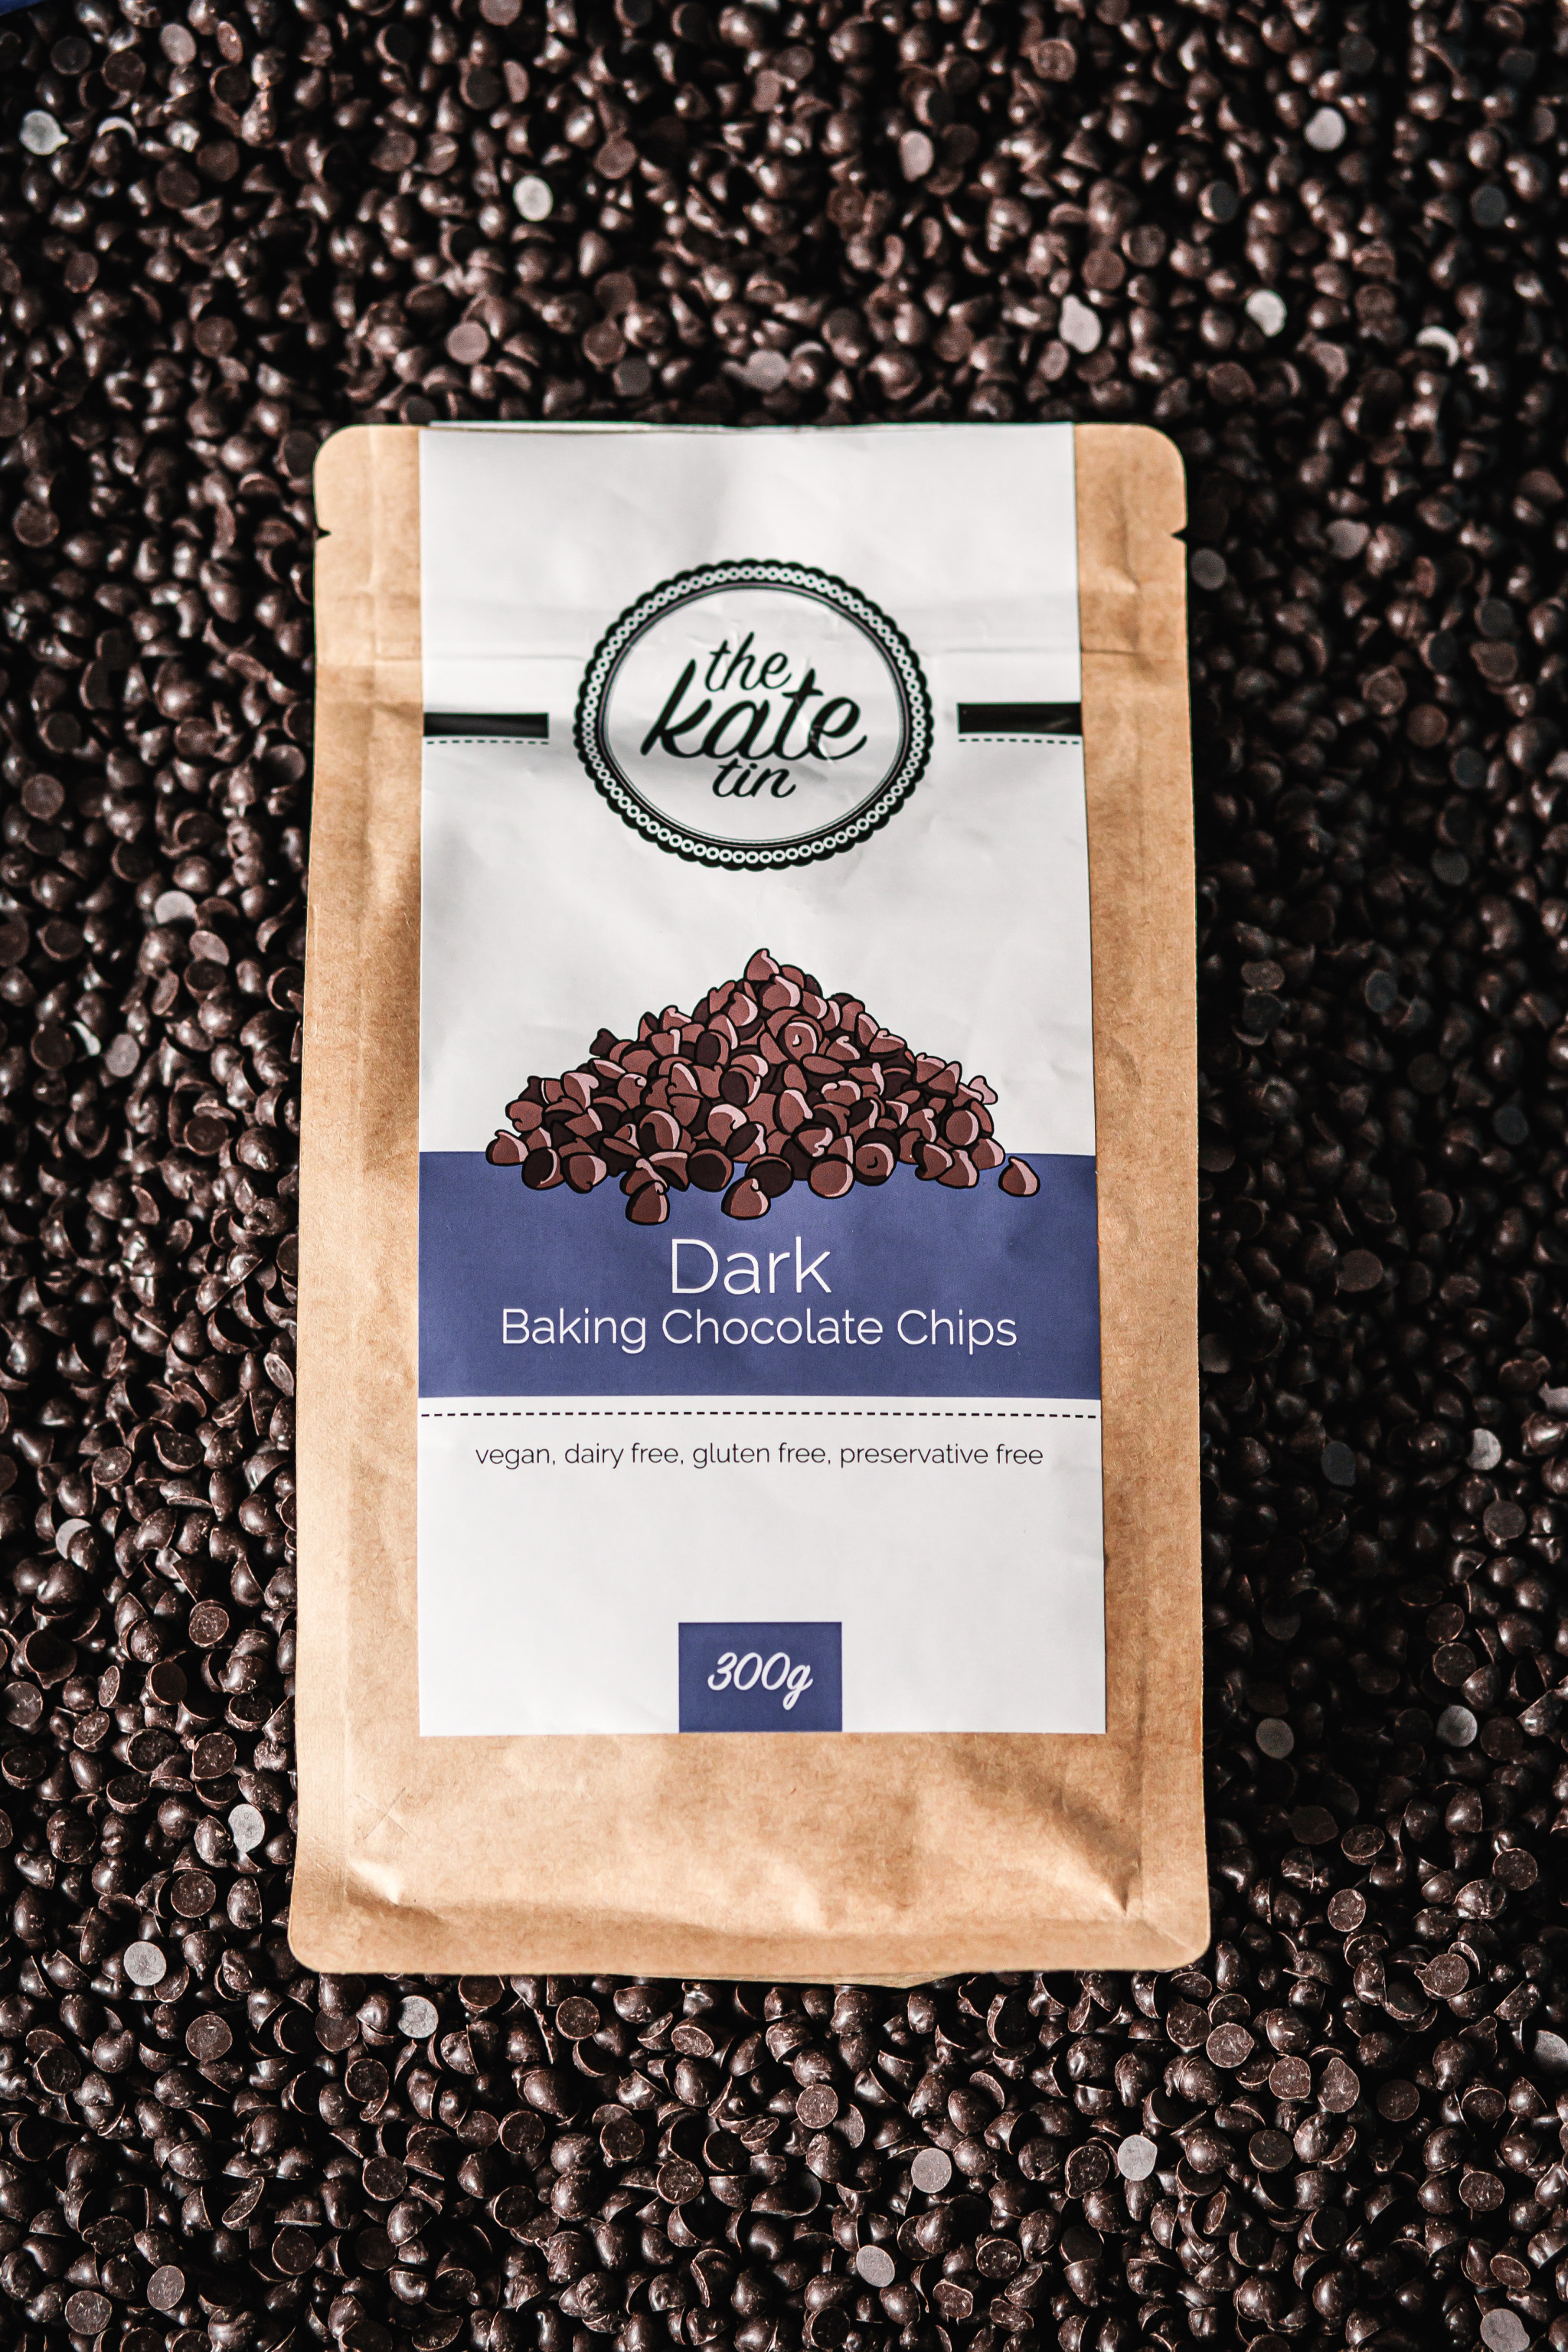
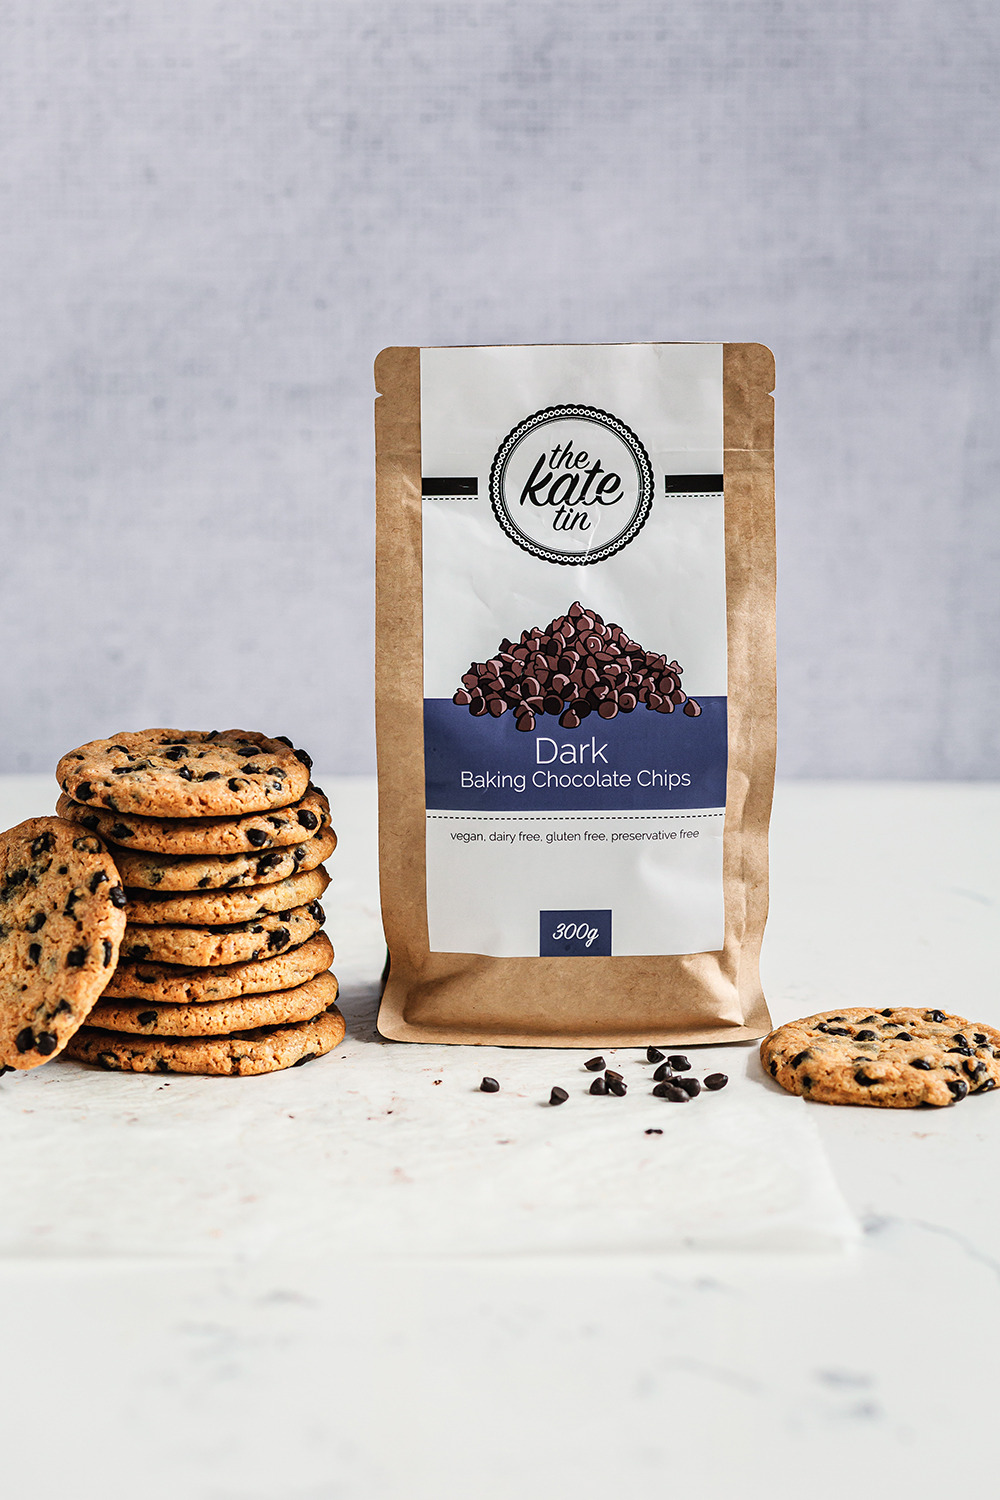
3. Use really good quality choc chips that aren't bake-stable. My absolute worst is chocolate that has been stabilised so it doesn't melt in the oven. Why would anyone NOT want melty gooey pockets of chocolate in a cookie?! My choc chips are not bake-stable (yay for melty chocolate), made locally (yay for creating jobs) and use sustainably-sourced ingredients (another yay for saving the world with choc chip cookies).
4. Never measure choc chips. Yes, I've given you an amount but really, you add as much as you please! There's no such thing as too much chocolate in a choc chip cookie.
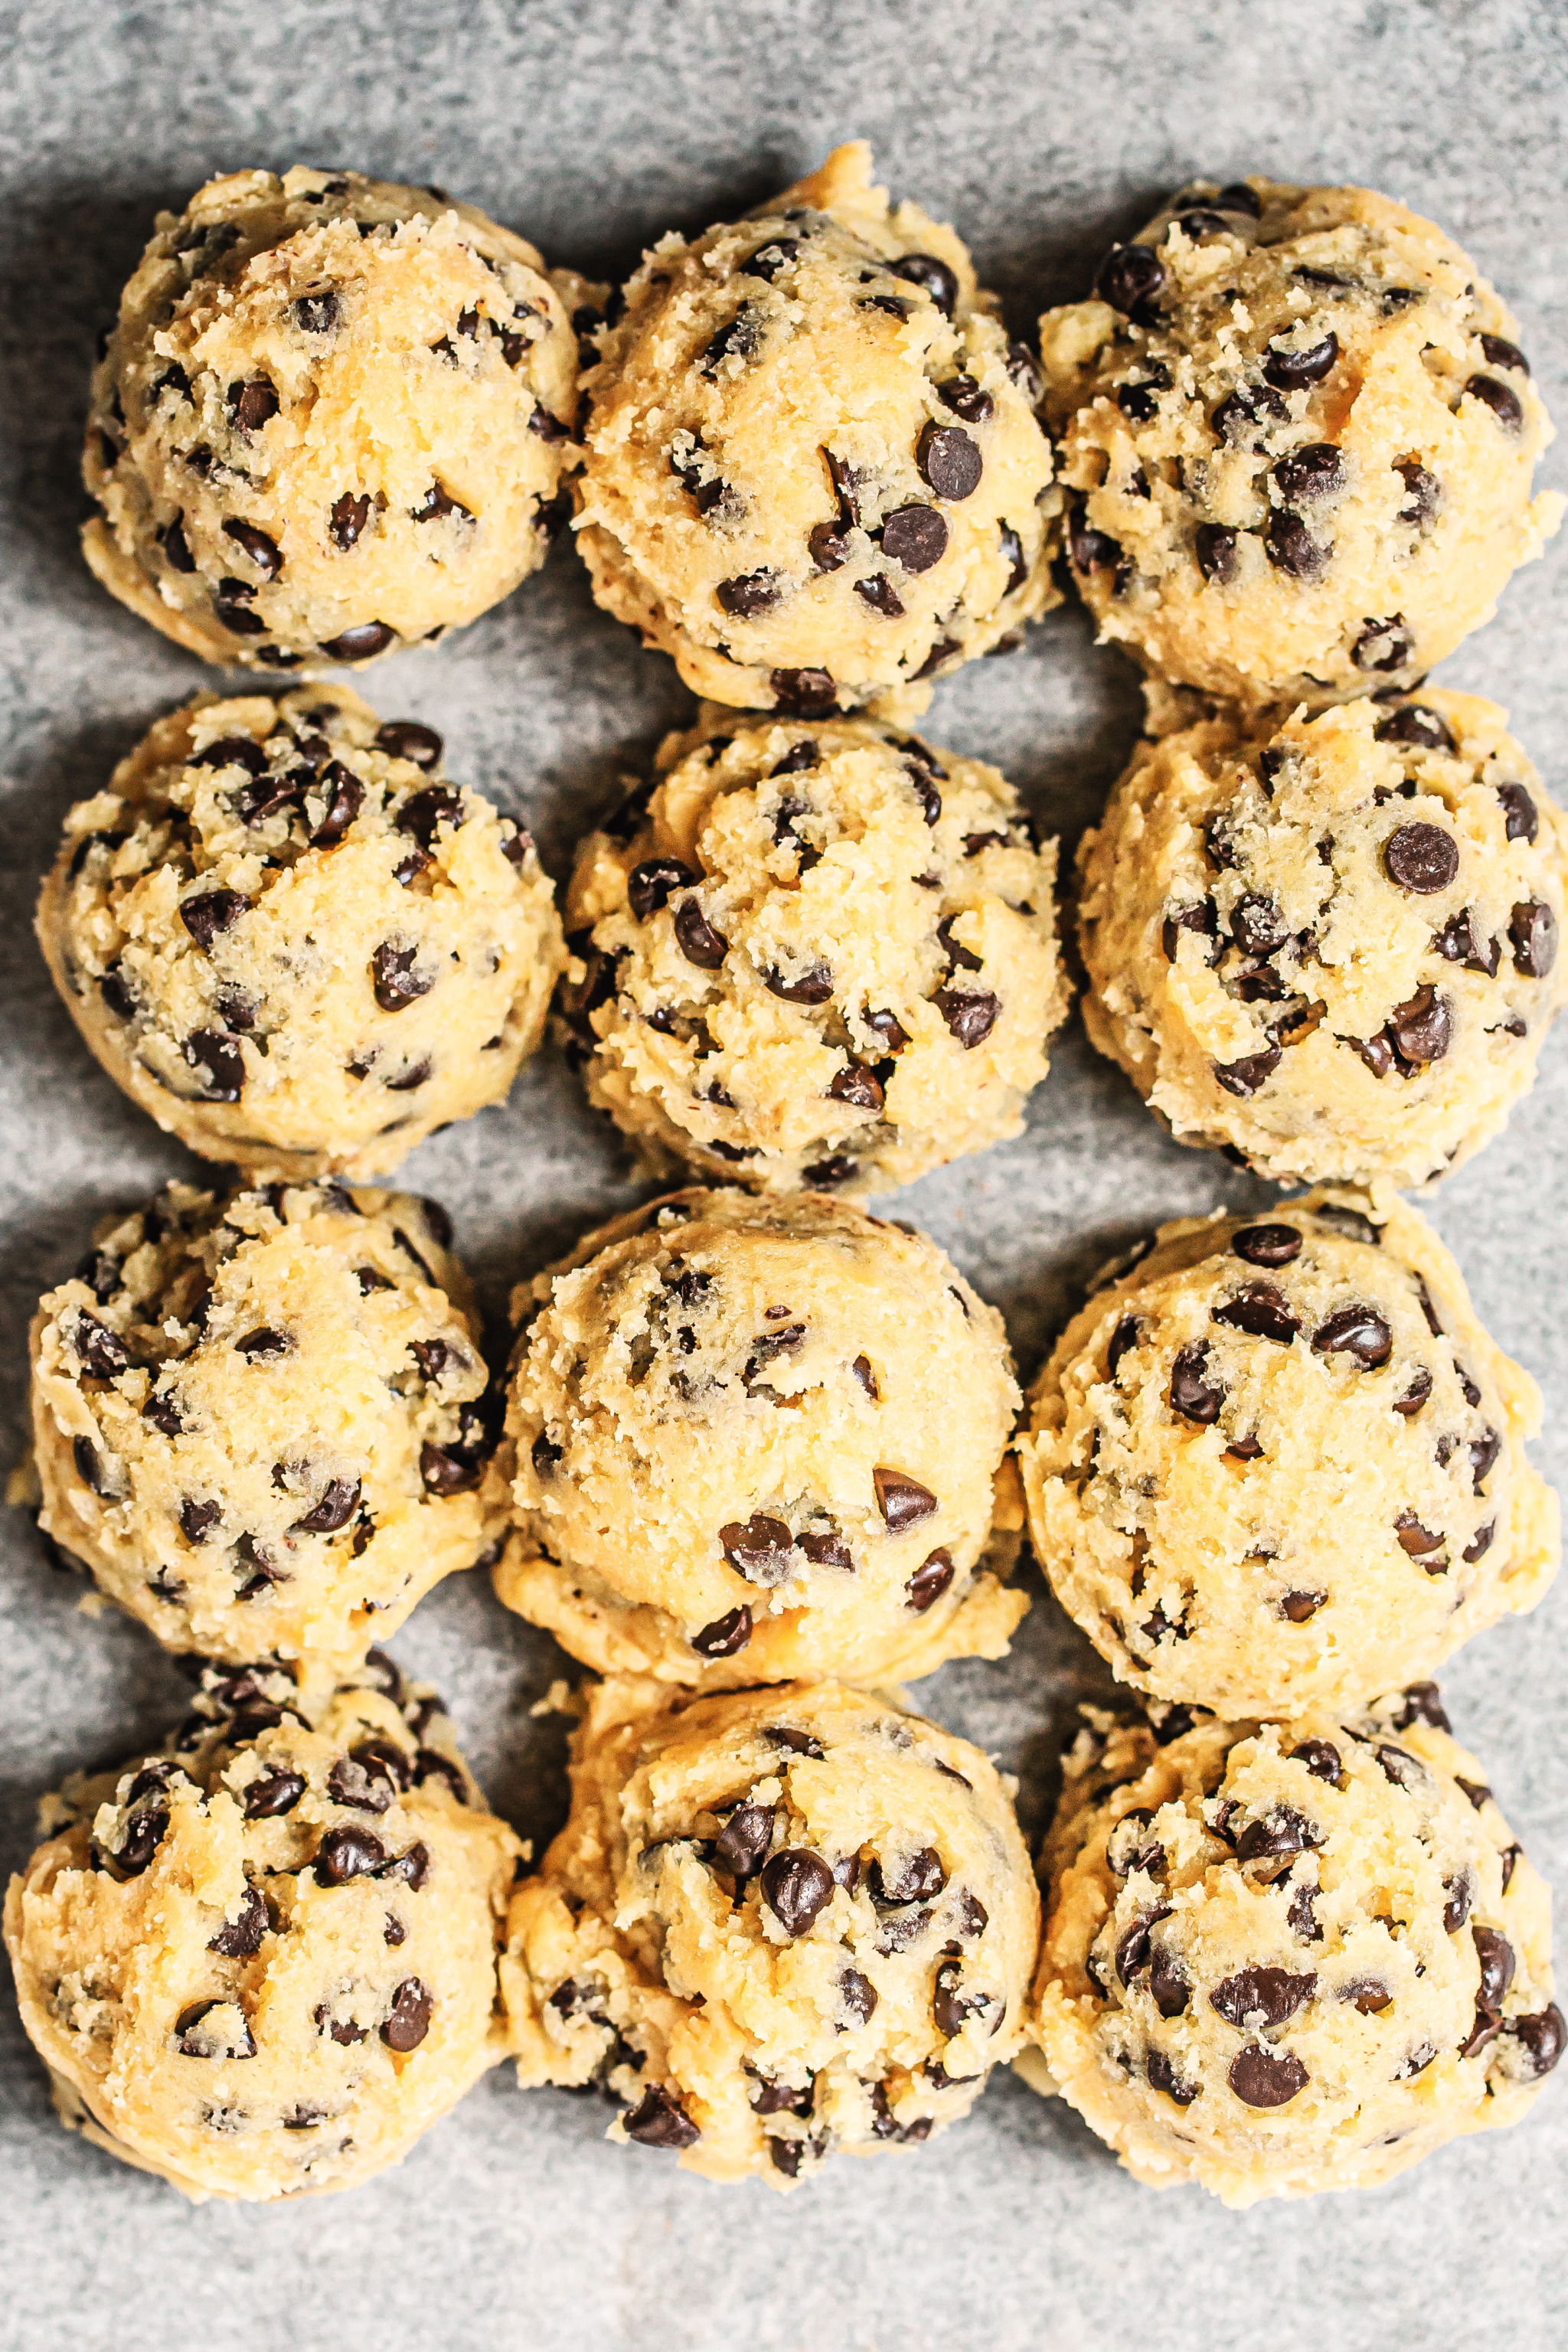
5. Let the cookie batter stand. I know, I know. But if you're willing to wait, the flour sucks up all the moisture and you get a really moist, chewy cookie. Not the end of the world if you don't want to wait, but it does make a difference.

6. Underbake your cookies - I love mine soft and moist on the inside and crispy on the edges so I underbake my cookies by 2-3 minutes.
7. Always make and freeze extra cookies. I freeze the cookie dough balls on a baking sheet then once they're hard, I stick them in a ziplock bag and keep them in the freezer. Simply bake from frozen - just keep an eye on that baking time as they will bake a little longer.
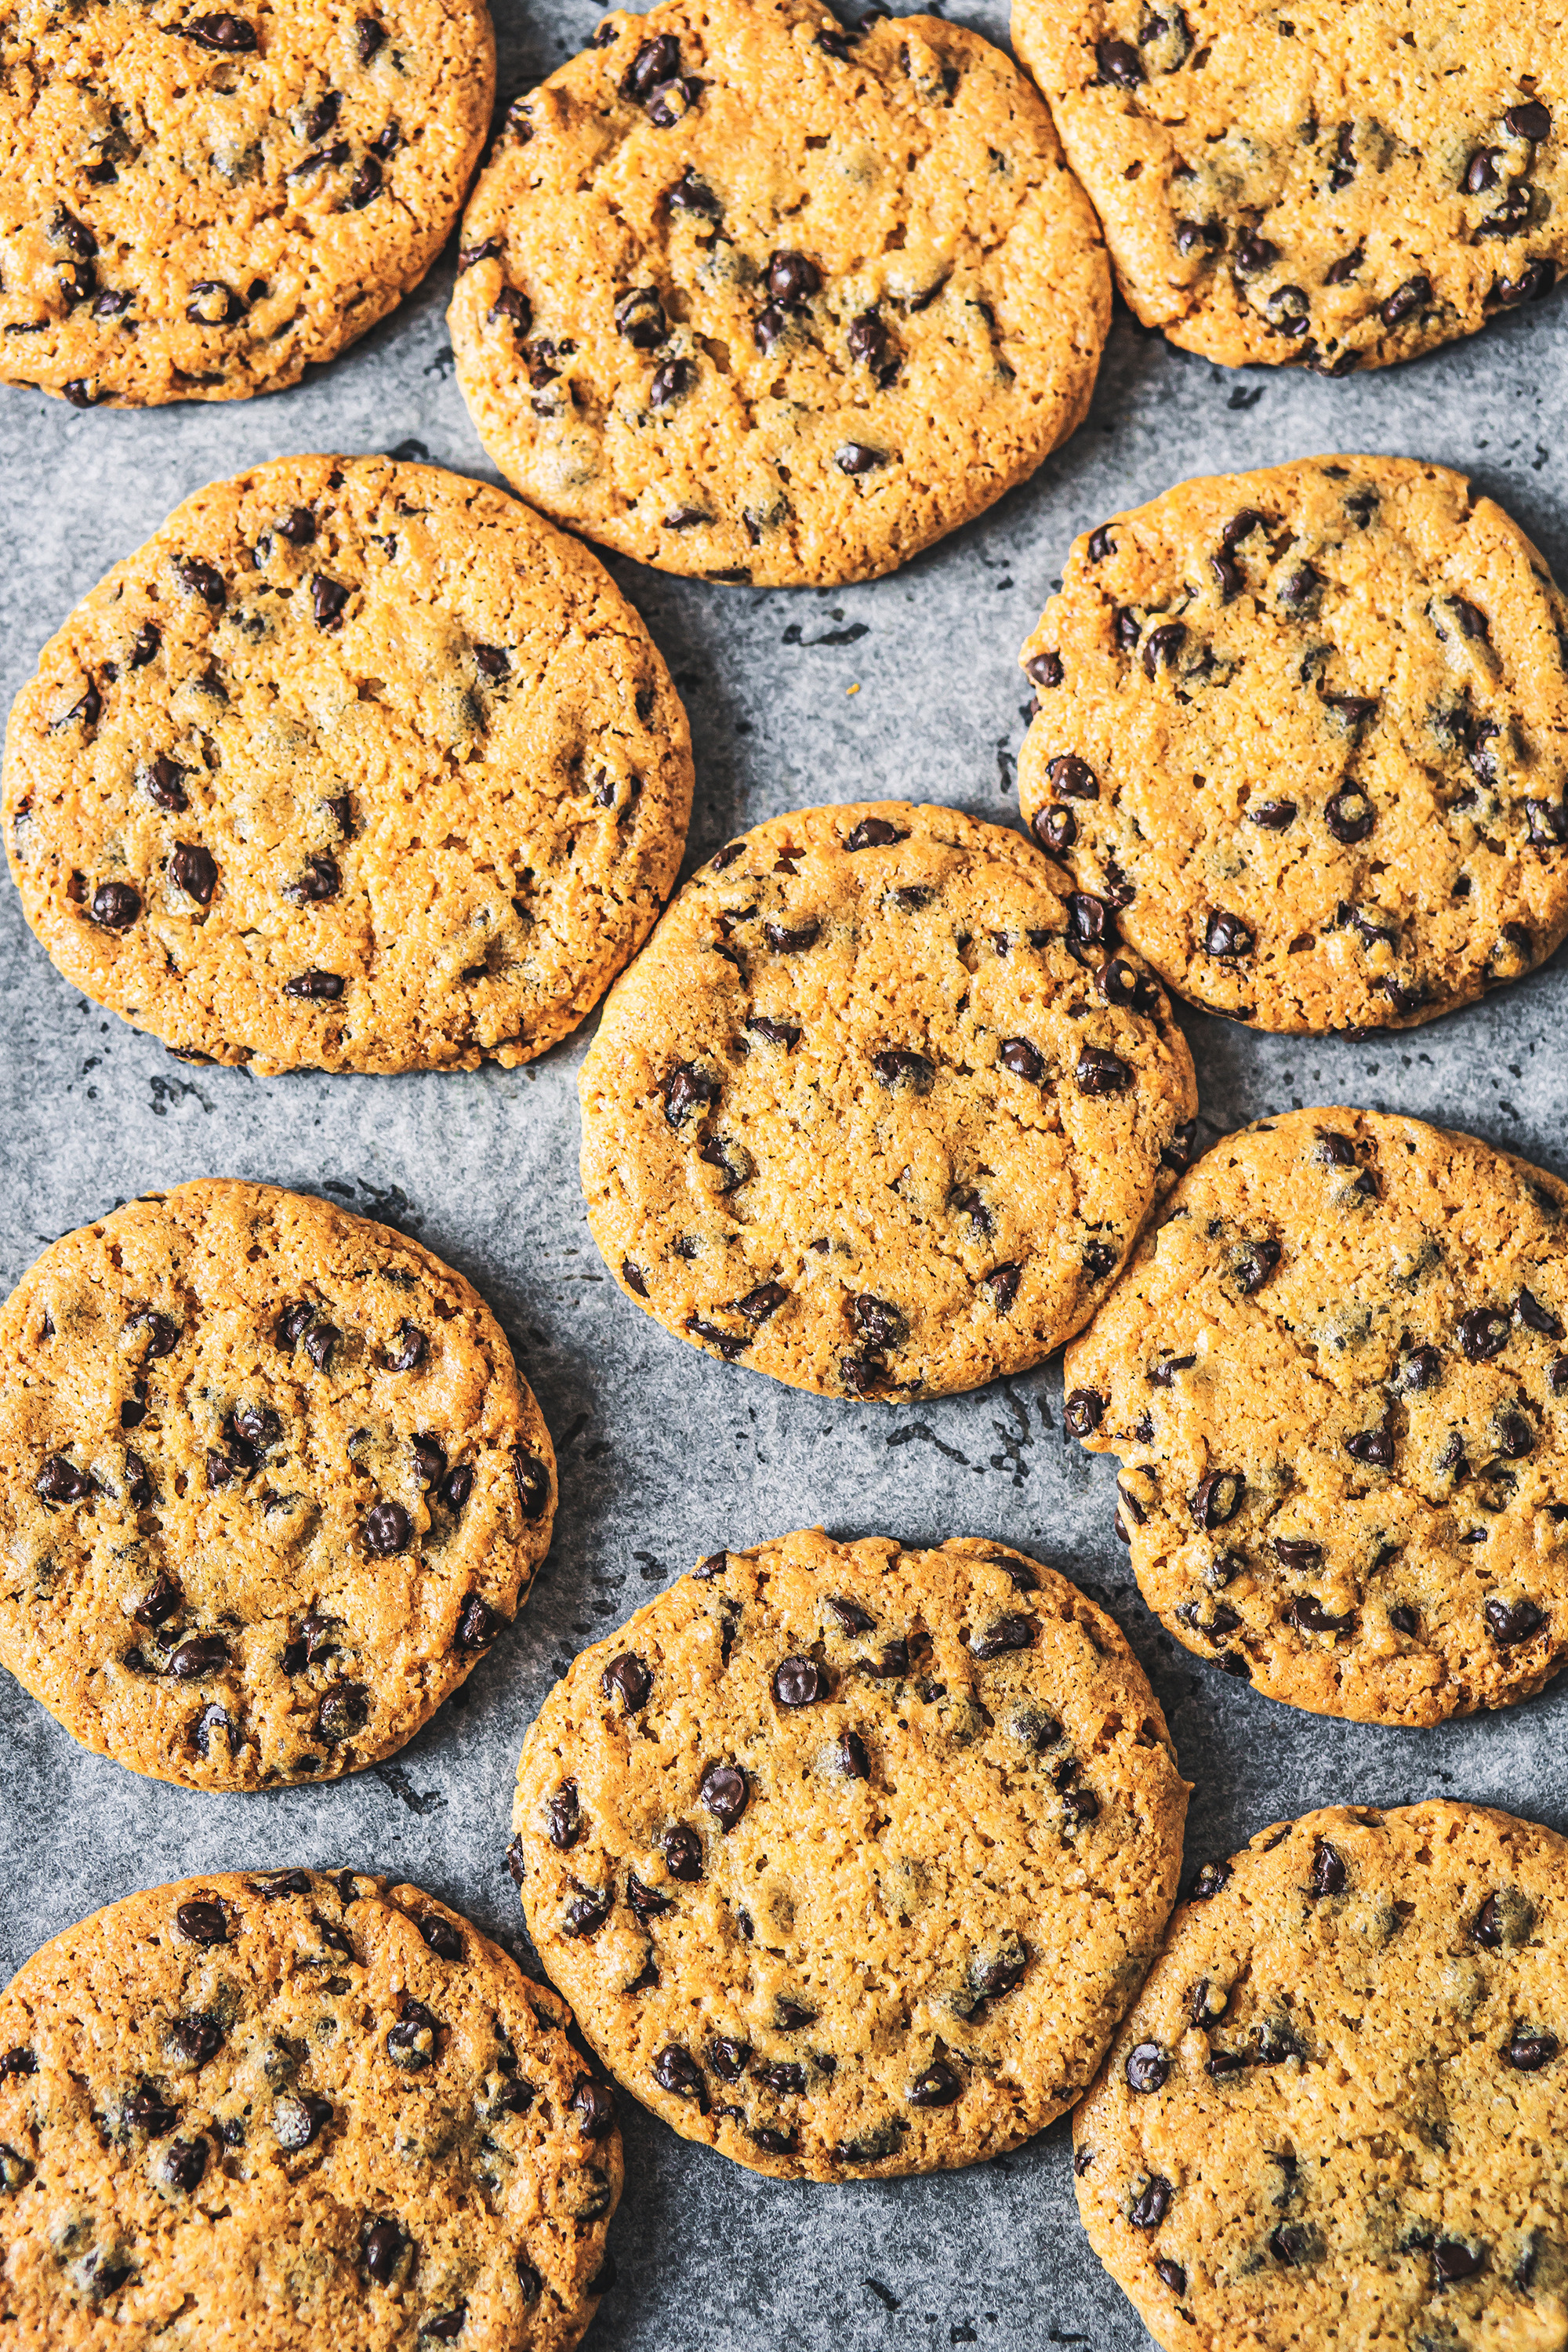
Classic Chocolate Chip Cookies
2020-06-15 12:44:44
Yields 24
0 calories
0 g
0 g
0 g
0 g
0 g
0 g
0 g
0 g
0 g
0 g
Amount Per Serving
Calories 0
Calories from Fat 0
Trans Fat 0g
Polyunsaturated Fat 0g
Monounsaturated Fat 0g
Total Carbohydrates 0g
0%
Sugars 0g
Protein 0g
* Percent Daily Values are based on a 2,000 calorie diet. Your Daily Values may be higher or lower depending on your calorie needs.
- 200g salted butter or margarine, softened
- 175g soft brown sugar
- 165g white sugar
- 1 tsp vanilla extract
- 2 tbsp milk
- 1 large egg
- 300g cake flour
- ¼ tsp baking powder
- ¼ tsp bicarbonate of soda
- 250g The Kate Tin Dark Chocolate Chips
- Preheat oven to 180°C (or 160°C fan-forced).
- Line two cookie sheets with non-stick baking paper.
- Place the butter and both the sugars in the bowl of an electric mixer and cream for 8-10 minutes until pale, creamy and light.
- Add the vanilla, milk and egg.
- Add the flour, baking powder, bicarbonate of soda and choc chips and mix to combine.
- Allow the mixture to stand for 2-3 hours (optional, but it does make a super chewy and moist cookie!)
- Use an ice cream scoop to scoop cookie batter onto the prepared baking trays, leaving enough room for spreading.
- Bake for 14 minutes or until the edges of the cookies are golden brown but the centre should still be moist.
By TheKateTin.com
The Kate Tin https://thekatetin.com/

by Kate | Jul 31, 2020 |
These decadent rusks are laden with pockets of caramelised white chocolate, toasty pecan nuts and fragrant chai spice, the perfect winter treat.
SPONSORED
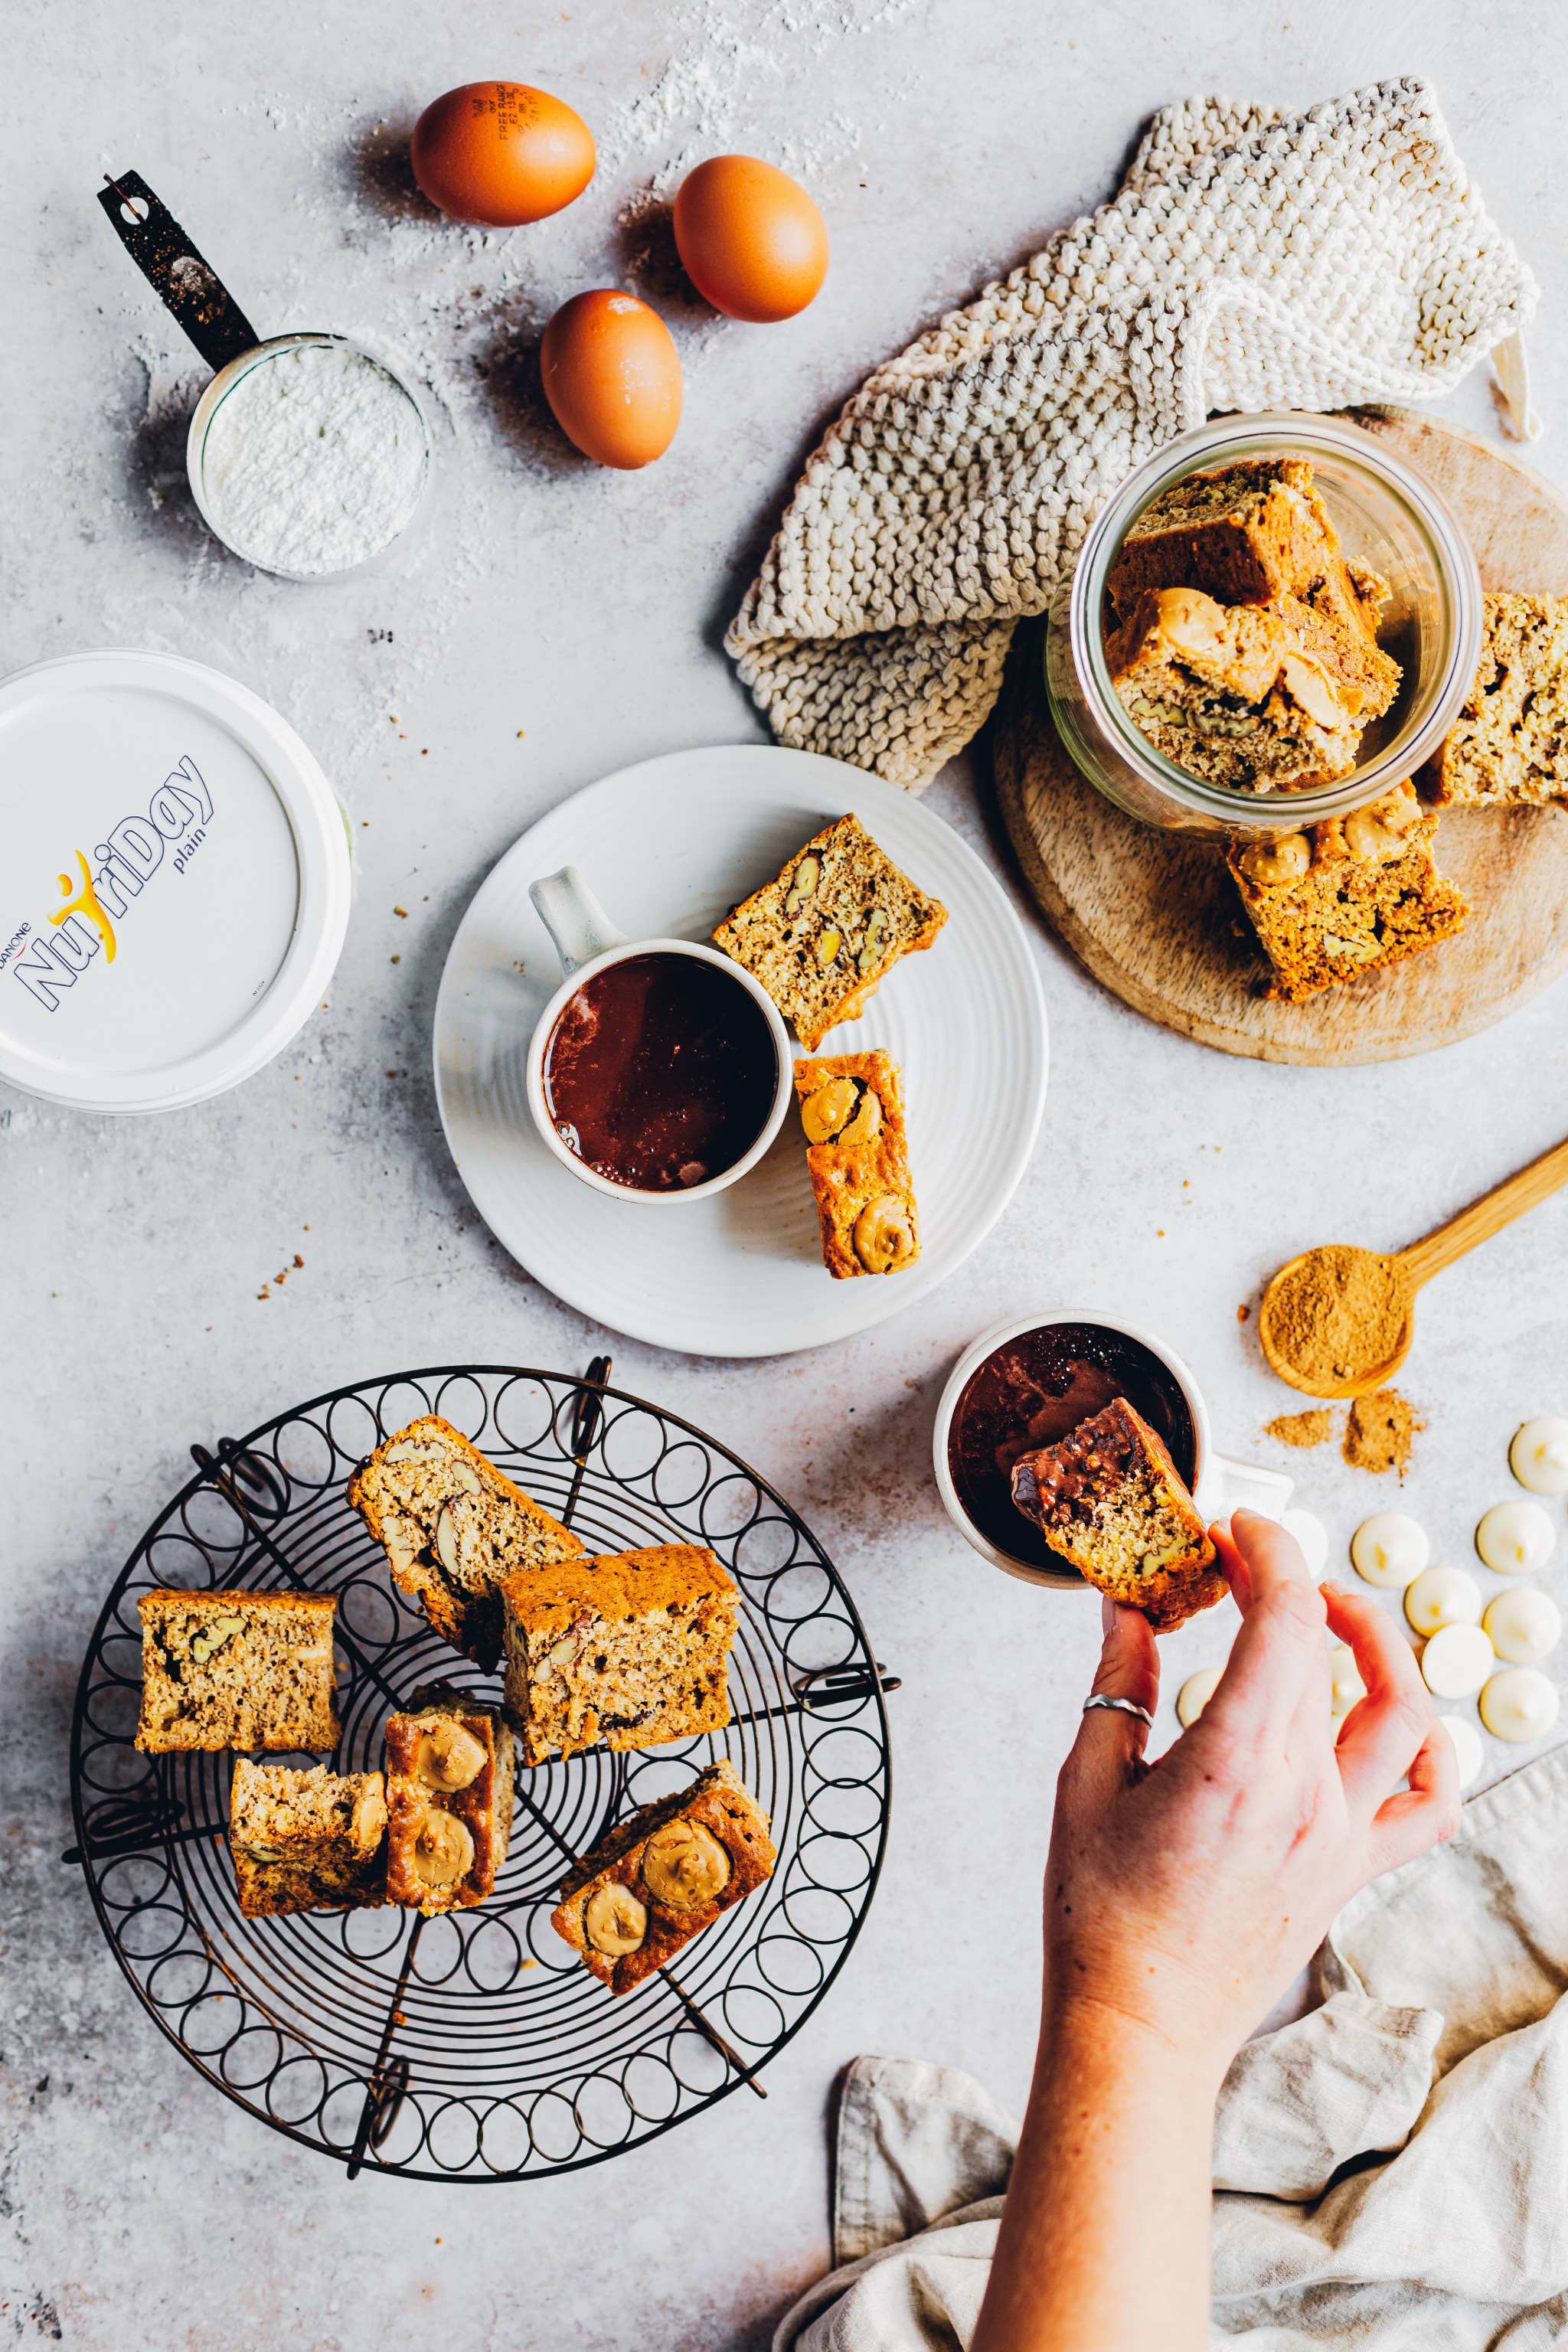
Question: if it’s winter and you haven’t baked a batch of rusks, is it really winter at all? I don’t think I can ever remember a winter that didn’t start with my mother making a ridiculous amount of rusks. It happened like clockwork and it was (and still is) the only time I ever eat rusks. My mom’s recipe is always my go-to and I love giving it different variations – like these Maltabella rusks I made 2 years ago and this White Chocolate Pecan Chai version is probably the most decadent one yet!
While playing around with the recipe, I realised that Nutriday Double Cream yoghurt makes an even more delicious rusk than buttermilk – which is convenient because most of us have a tub in our fridge but don’t generally have buttermilk ‘lying’ around. The slight acidity and extra creaminess of the yoghurt is just perfect with the white chocolate!
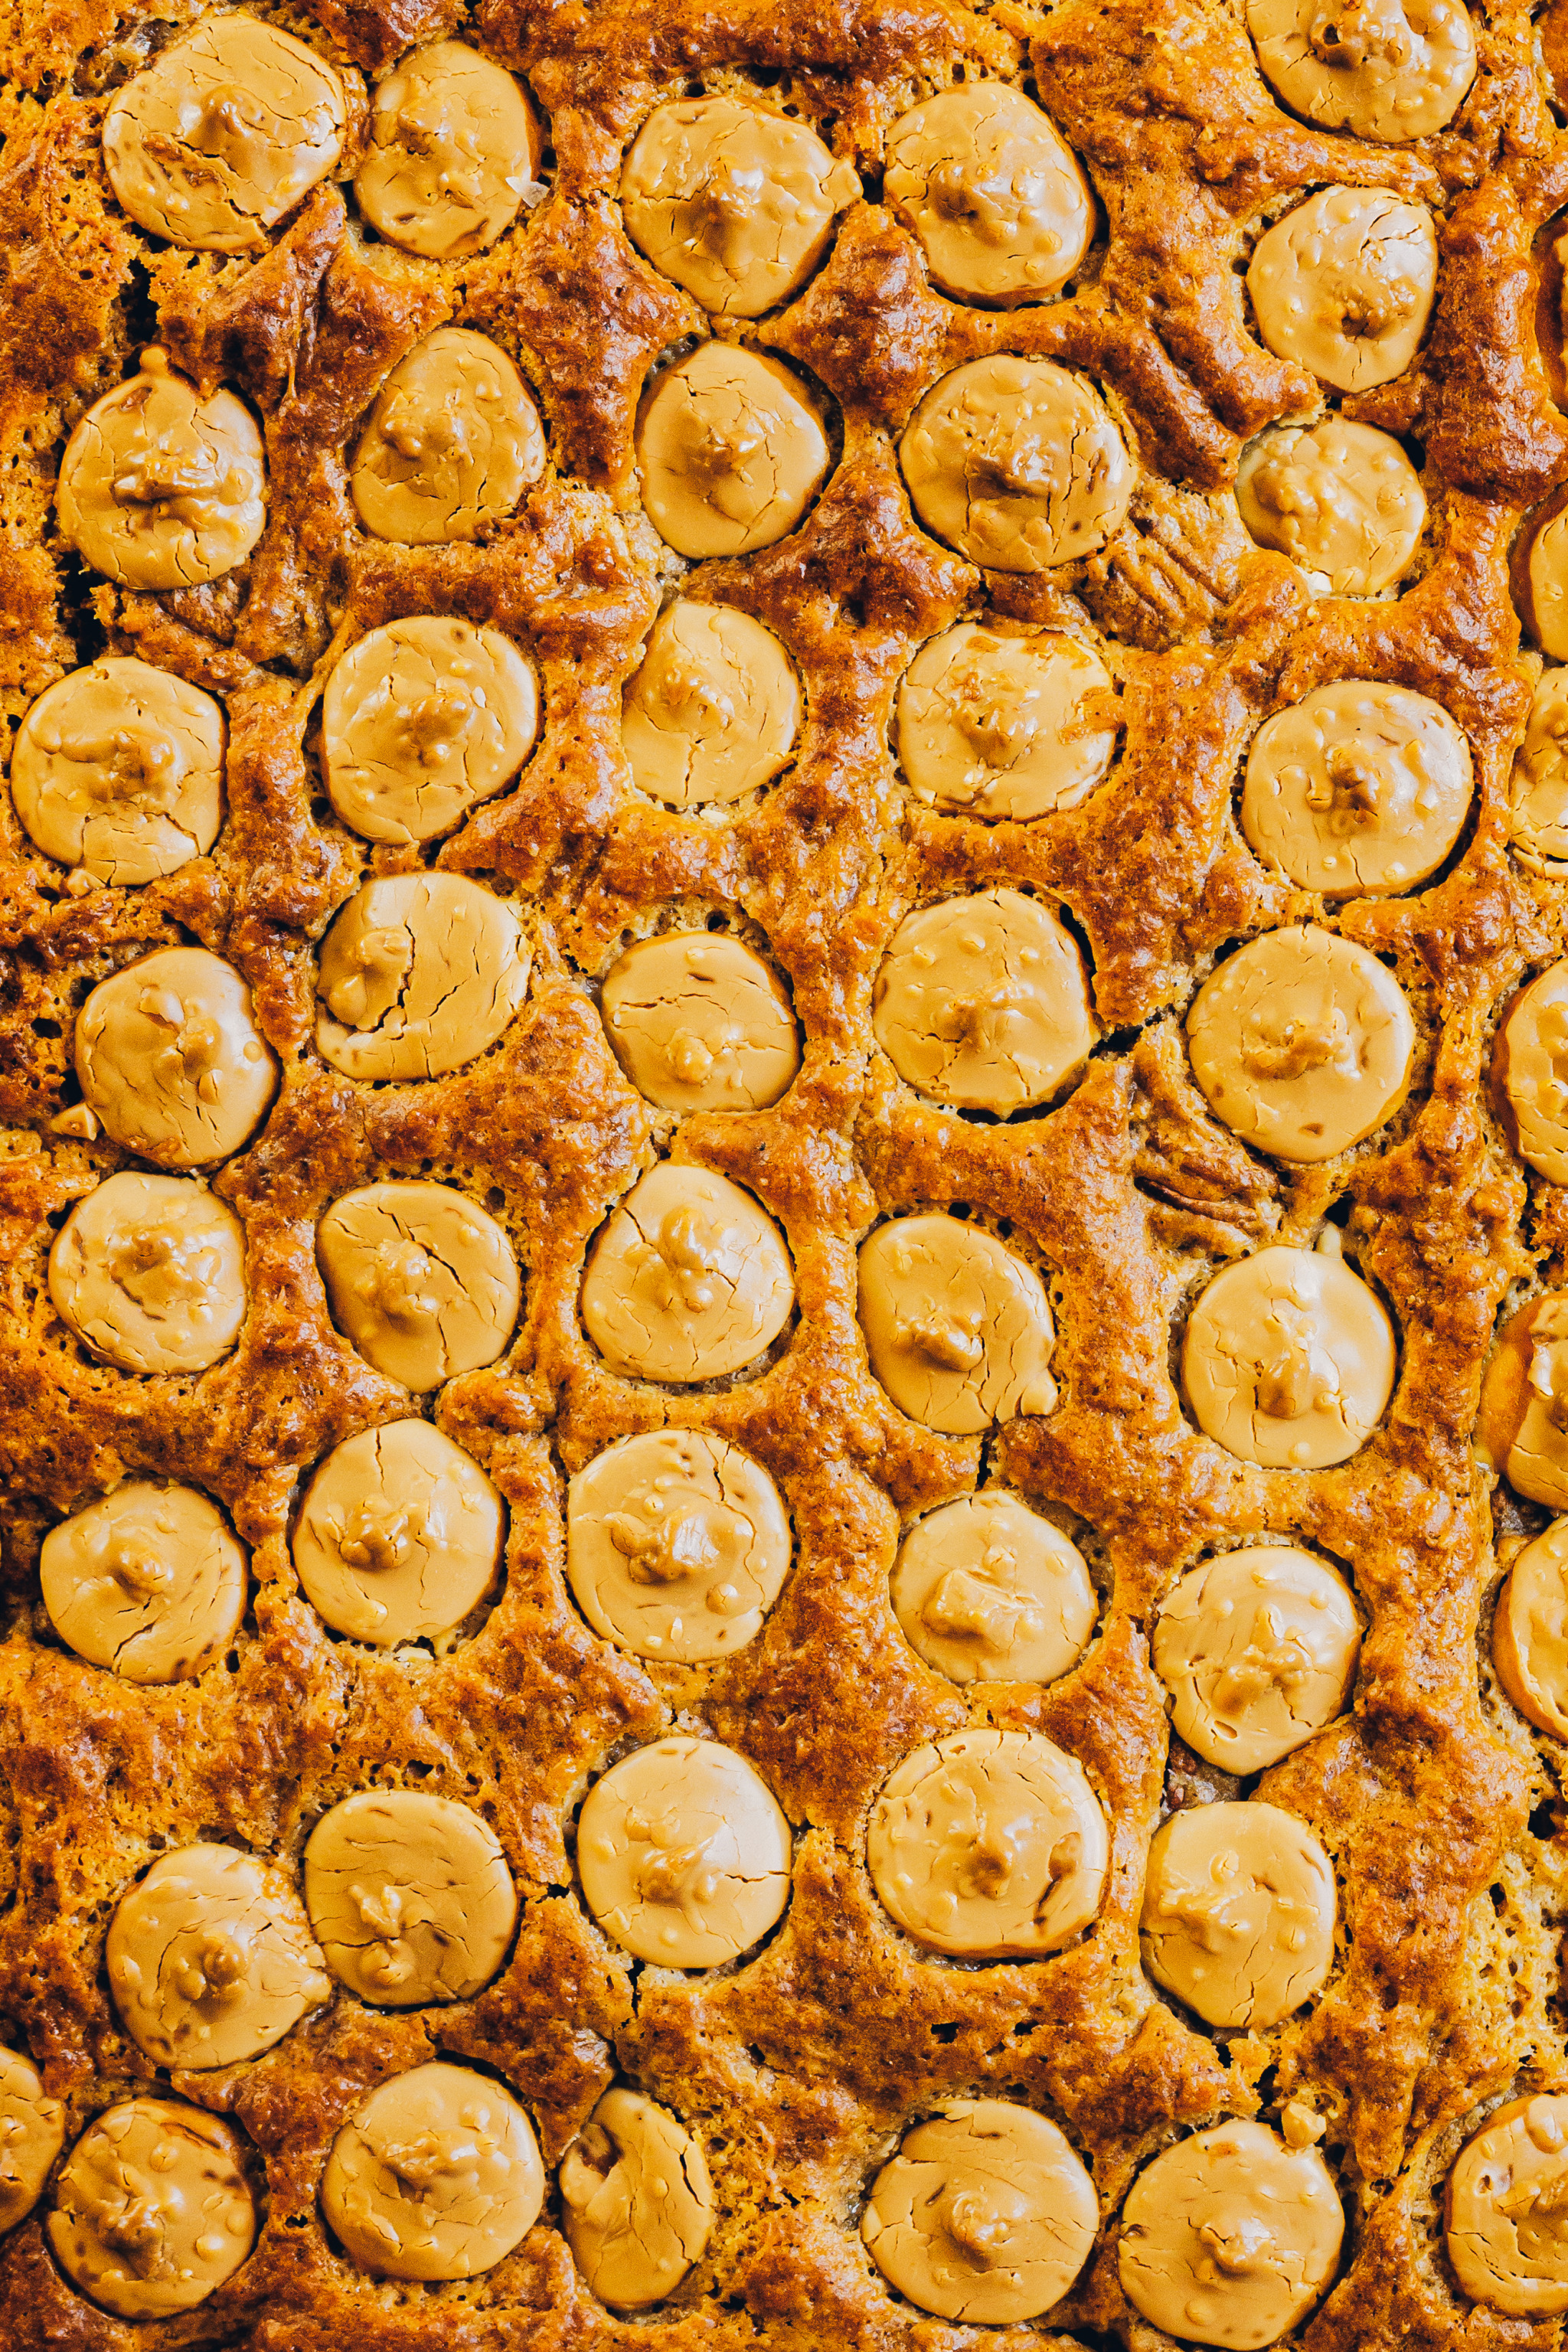
To make them super decadent, I packed some of my white baking chocolate (which you can buy here) on top so that when it bakes, it comes out super caramel-ly and each bite is filled with caramelised white chocolate.

The best part is that you can double or even triple the recipe and store it in an airtight container for whenever the craving hits!
White Chocolate Chai Pecan Rusks
2020-07-29 19:34:41
Yields 30
0 calories
0 g
0 g
0 g
0 g
0 g
0 g
0 g
0 g
0 g
0 g
Amount Per Serving
Calories 0
Calories from Fat 0
Trans Fat 0g
Polyunsaturated Fat 0g
Monounsaturated Fat 0g
Total Carbohydrates 0g
0%
Sugars 0g
Protein 0g
* Percent Daily Values are based on a 2,000 calorie diet. Your Daily Values may be higher or lower depending on your calorie needs.
- 500g self-raising flour
- ½ tsp baking powder
- ½ tsp fine salt
- 100g pecan nuts, toasted
- 240g soft brown sugar
- 2 large eggs
- 250ml NutriDay Double Cream Yoghurt
- 250g salted butter, melted
- 3 tbsp chai spice (see recipe below)
- 100g white baking chocolate drops, chopped plus 100g extra (optional) for topping
- Preheat oven to 180°C (160°C fan-forced).
- Line a 23 x 33cm deep roasting tray. Mix the dry ingredients together.
- Combine the eggs, yoghurt, melted butter and vanilla and mix into the dry ingredients.
- Add a little milk, if necessary, to form a soft dough.
- Press into a greased roasting tray and arrange the extra white chocolate drops on top (if you like). Bake for 40 minutes or until a skewer inserted comes out clean. Slice into fingers when cool and place in a low oven at 100°C with the door ajar until crisp and dry.
- Store in an airtight container.
- 1 tbsp (15ml) ground cardamom
- 2 tsp (10ml) ground allspice
- 2 tsp (10ml) ground nutmeg
- 4 tsp (20ml) ground cinnamon
- 2 tsp (10ml) ground cloves
- 2 tbsp (30ml) ground ginger
- Combine all the spices together and store in an airtight container.
The Kate Tin https://thekatetin.com/
