by Kate | Feb 19, 2021 |
Light as air and loaded with zesty citrus, it’s hard to find a more perfect cake than a chiffon. It’s also extremely hard to have just one slice!

Chiffon cake is probably the perfect tea-time cake. It’s relatively easy to rustle up with short notice, not too much fuss (in terms of layering and frosting) and EVERYONE loves it. While the ingredients and method are pretty straight forward, don’t make the mistake of skipping over the ‘chiffon tin’ requirement. A chiffon tin is a ring-shaped cake tin with little feet on the side. Because chiffon cake is so very light, it requires cooling upside-down to stop it from falling in on itself. These little feet make it possible to flip the cake upside down on a cooling rack without the cake weighing itself down. It really is a diva of a cake!
Another important step is to NOT grease the chiffon tin. It feels odd, I know. But because the batter is so very light, it NEEDS to stick to the sides of the tin in order to climb and rise well. Greasing the tin (or using a non-stick tin) would simply give you a dense cake.
BUT if you don’t have a chiffon cake tin (and aren’t willing to invest in one just yet), there IS a way to get around this…
To make a DIY Bundt Tin/Angel Food Cake/Chiffon Tin
Use a tin can – this could be a can of Coke or an empty tin from baked beans (with the label removed). The size of the can depends on how big you want the hole in the centre to be. Ideall your tin should be higher than your cake tin. This will make it easier to cool the cake upside down later. Make sure it’s clean, then wrap the outside of the tin in foil. Weigh it down by filling the can with dried beans or rice so it doesn’t move around. Place the tin in the centre of a normal round cake tin. Fill the cake tin with the batter but remember that you’re DIY’ing it so the amount of cake batter might not fit the tin you’ve created. Always fill any cake tin ⅔ of the way up the sides to be safe. Use any leftover batter to make cupcakes!

Citrus Chiffon Cake
Prep time: 20 minutes
Cook time: 55 minutes
Serves: 6-8
Chiffon Cake:
225g cake flour
250g + 50g Natura Sugars golden caster sugar
1 tsp baking powder
1 tsp fine salt
1 tbsp orange zest
1 tbsp lemon zest
1 tbsp grapefruit zest
6 large eggs, separated
60ml orange juice
60ml grapefruit juice
60ml lemon juice
120ml vegetable oil
½ tsp cream of tartar
Glaze:
250g Natura Sugars Demerara icing sugar
1 tbsp orange juice
1 tbsp lemon juice
1 tbsp grapefruit juice
1 tsp orange zest
Dried citrus slices, to garnish (optional)
Special equipment: 24cm chiffon tin
Preheat the oven to 170°C, gas mark 3. Using a stand mixer fitted with a paddle attachment, combine the cake flour, 250g sugar, baking powder, salt and zests. Beat until combined. Add the egg yolks, juices and oil and beat until smooth. In a separate bowl, whisk egg whites until foamy, add the cream of tartar and remaining 50g of sugar and whisk to make a meringue which forms soft peaks. Fold the meringue through the cake batter using a metal spoon, in three batches. Pour into an ungreased 24cm chiffon tin and bake for 55-60 minutes or until springy to the touch. Remove from the oven and immediately invert onto a wire rack. Allow to cool completely. To make the glaze, gently whisk the juices and zest into the icing sugar to create a lump-free glaze. Spread the glaze over the cooled cake. Decorate with dried citrus slices.

DOWNLOAD OR PRINT THE RECIPE CARD HERE:
Citrus Chiffon Cake
2021-02-01 17:20:06
Serves 8
0 calories
0 g
0 g
0 g
0 g
0 g
0 g
0 g
0 g
0 g
0 g
Amount Per Serving
Calories 0
Calories from Fat 0
Trans Fat 0g
Polyunsaturated Fat 0g
Monounsaturated Fat 0g
Total Carbohydrates 0g
0%
Sugars 0g
Protein 0g
* Percent Daily Values are based on a 2,000 calorie diet. Your Daily Values may be higher or lower depending on your calorie needs.
- 225g cake flour
- 250g + 50g Natura Sugars golden caster sugar
- 1 tsp baking powder
- 1 tsp fine salt
- 1 tbsp orange zest
- 1 tbsp lemon zest
- 1 tbsp grapefruit zest
- 6 large eggs, separated
- 60ml orange juice
- 60ml grapefruit juice
- 60ml lemon juice
- 120ml vegetable oil
- ½ tsp cream of tartar
- 250g Natura Sugars Demerara icing sugar
- 1 tbsp orange juice
- 1 tbsp lemon juice
- 1 tbsp grapefruit juice
- 1 tsp orange zest
- Dried citrus slices, to garnish (optional)
- Special equipment: 24cm chiffon tin
- Preheat the oven to 170°C, gas mark 3. Using a stand mixer fitted with a paddle attachment, combine the cake flour, 250g sugar, baking powder, salt and zests. Beat until combined. Add the egg yolks, juices and oil and beat until smooth. In a separate bowl, whisk egg whites until foamy, add the cream of tartar and remaining 50g of sugar and whisk to make a meringue which forms soft peaks. Fold the meringue through the cake batter using a metal spoon, in three batches. Pour into an ungreased 24cm chiffon tin and bake for 55-60 minutes or until springy to the touch. Remove from the oven and immediately invert onto a wire rack. Allow to cool completely. To make the glaze, gently whisk the juices and zest into the icing sugar to create a lump-free glaze. Spread the glaze over the cooled cake. Decorate with dried citrus slices.
The Kate Tin https://thekatetin.com/

by Kate | Feb 1, 2021 |
Tresh leches, meaning ‘three milks’ is a refreshing, chilled dessert that’s perfect for hot weather. A sponge cake is soaked in a combination of evaporated milk, condensed milk and full cream milk and then chilled.

I first fell in love with milk cakes on a trip to Dubai in 2019. Milk cakes were so popular there and I can totally understand why – they are served chilled and make for a refreshing treat with tea especially on hot days. The milk cakes I tasted were heady with saffron, rose water, orange blossom and pistachio which gave me the inspiration to infuse the traditional ‘tres leches milk’ mixture with other ingredients so this version has fresh strawberries blended into the milk.If you want to ramp up the strawberry flavour, spread a layer of homemade strawberry jam between the cake and the whipped cream!
With so many milk alternatives available these days, it would also be fun to change up the cow’s milk and experiment with oat, coconut, almond or even hazelnut. One thing’s for sure though, this cake MUST be served straight from the fridge to enjoy it at it’s best!
Note: Don’t be alarmed at the amount of soaking milk this recipe makes – the cake needs it! So trust the process and give the cake time to soak it all up.med at the amount of soaking milk this recipe makes – the cake needs it! So trust the process and give the cake time to soak it all up.

Strawberry Tres Leches Sheet Cake
Prep time: 30 minutes
Cook Time: 20 minutes
Serves: 10-12
Cake:
10 large eggs, (separated) room temperature
300g Natura soft brown sugar
250g cake flour
2 tsp baking powder
Pinch of salt
Tres Leches Mixture:
200g fresh strawberries, topped and roughly chopped
1 x 380g evaporated milk
1 x 385g condensed milk
310ml full cream milk (coconut milk would also be delicious!)
5ml vanilla extract
Topping:
500ml cream, chilled
200g fresh strawberries, topped and halved
Edible flowers, to garnish (optional)
Method:
Preheat the oven to 180°C, 160°C fan-forced. Grease and a 23cm x 33cm sheet tray. In the bowl of a stand mixer fitted with a whisk attachment, beat the egg yolks and sugar together until very light and fluffy, about 8 minutes. Whisk the egg whites, in a separate bowl, until they form soft peaks. Sieve the dry ingredients together. Gently fold a third of the whisked egg whites into the beaten egg yolk mixture and fold in a third of the dry ingredients. Alternate between the egg whites and dry ingredients until everything is folded in completely, taking care not to knock out the air that you’ve incorporated. Pour the batter into the prepared baking tray and bake for 15-20 minutes or until golden and a wooden skewer inserted into the middle comes out clean. Remove from the oven and leave to cool completely. Place the strawberries and milks in a blender and blitz until smooth and combined. Strain through a sieve. Using a skewer, poke holes into the cake and slowly pour ⅓ cup of the milk mixture over the cake allowing it to soak in. Do this until all the milk has soaked in. Refrigerate for 2 hours or overnight before serving. Just before serving, whip the cream until soft peaks form. Remove the cake from the tray and top with the whipped cream and strawberries.

DOWNLOAD OR PRINT THE RECIPE CARD HERE:
Strawberry Tres Leches Sheet Cake
2021-02-01 14:28:38
Serves 10
0 calories
0 g
0 g
0 g
0 g
0 g
0 g
0 g
0 g
0 g
0 g
Amount Per Serving
Calories 0
Calories from Fat 0
Trans Fat 0g
Polyunsaturated Fat 0g
Monounsaturated Fat 0g
Total Carbohydrates 0g
0%
Sugars 0g
Protein 0g
* Percent Daily Values are based on a 2,000 calorie diet. Your Daily Values may be higher or lower depending on your calorie needs.
- 10 large eggs, (separated) room temperature
- 300g soft brown sugar
- 250g cake flour
- 2 tsp baking powder
- Pinch of salt
- 200g fresh strawberries, topped and roughly chopped
- 1 x 380g evaporated milk
- 1 x 385g condensed milk
- 310ml full cream milk (coconut milk would also be delicious!)
- 5ml vanilla extract
- 500ml cream, chilled
- 200g fresh strawberries, topped and halved
- Edible flowers, to garnish (optional)
- Preheat the oven to 180°C, 160°C fan-forced. Grease and a 23cm x 33cm sheet tray. In the bowl of a stand mixer fitted with a whisk attachment, beat the egg yolks and sugar together until very light and fluffy, about 8 minutes. Whisk the egg whites, in a separate bowl, until they form soft peaks. Sieve the dry ingredients together. Gently fold a third of the whisked egg whites into the beaten egg yolk mixture and fold in a third of the dry ingredients. Alternate between the egg whites and dry ingredients until everything is folded in completely, taking care not to knock out the air that you’ve incorporated. Pour the batter into the prepared baking tray and bake for 15-20 minutes or until golden and a wooden skewer inserted into the middle comes out clean. Remove from the oven and leave to cool completely. Place the strawberries and milks in a blender and blitz until smooth and combined. Strain through a sieve. Using a skewer, poke holes into the cake and slowly pour ⅓ cup of the milk mixture over the cake allowing it to soak in. Do this until all the milk has soaked in. Refrigerate for 2 hours or overnight before serving. Just before serving, whip the cream until soft peaks form. Remove the cake from the tray and top with the whipped cream and strawberries.
The Kate Tin https://thekatetin.com/

by Kate | Aug 13, 2020 |
This flourless chocolate torte is fudgier-than-fudge and super moist thanks to thick double cream yoghurt – add a generous drizzle of my homemade rum ‘n raisin sauce for a grown up touch and you can’t go wrong!
SPONSORED
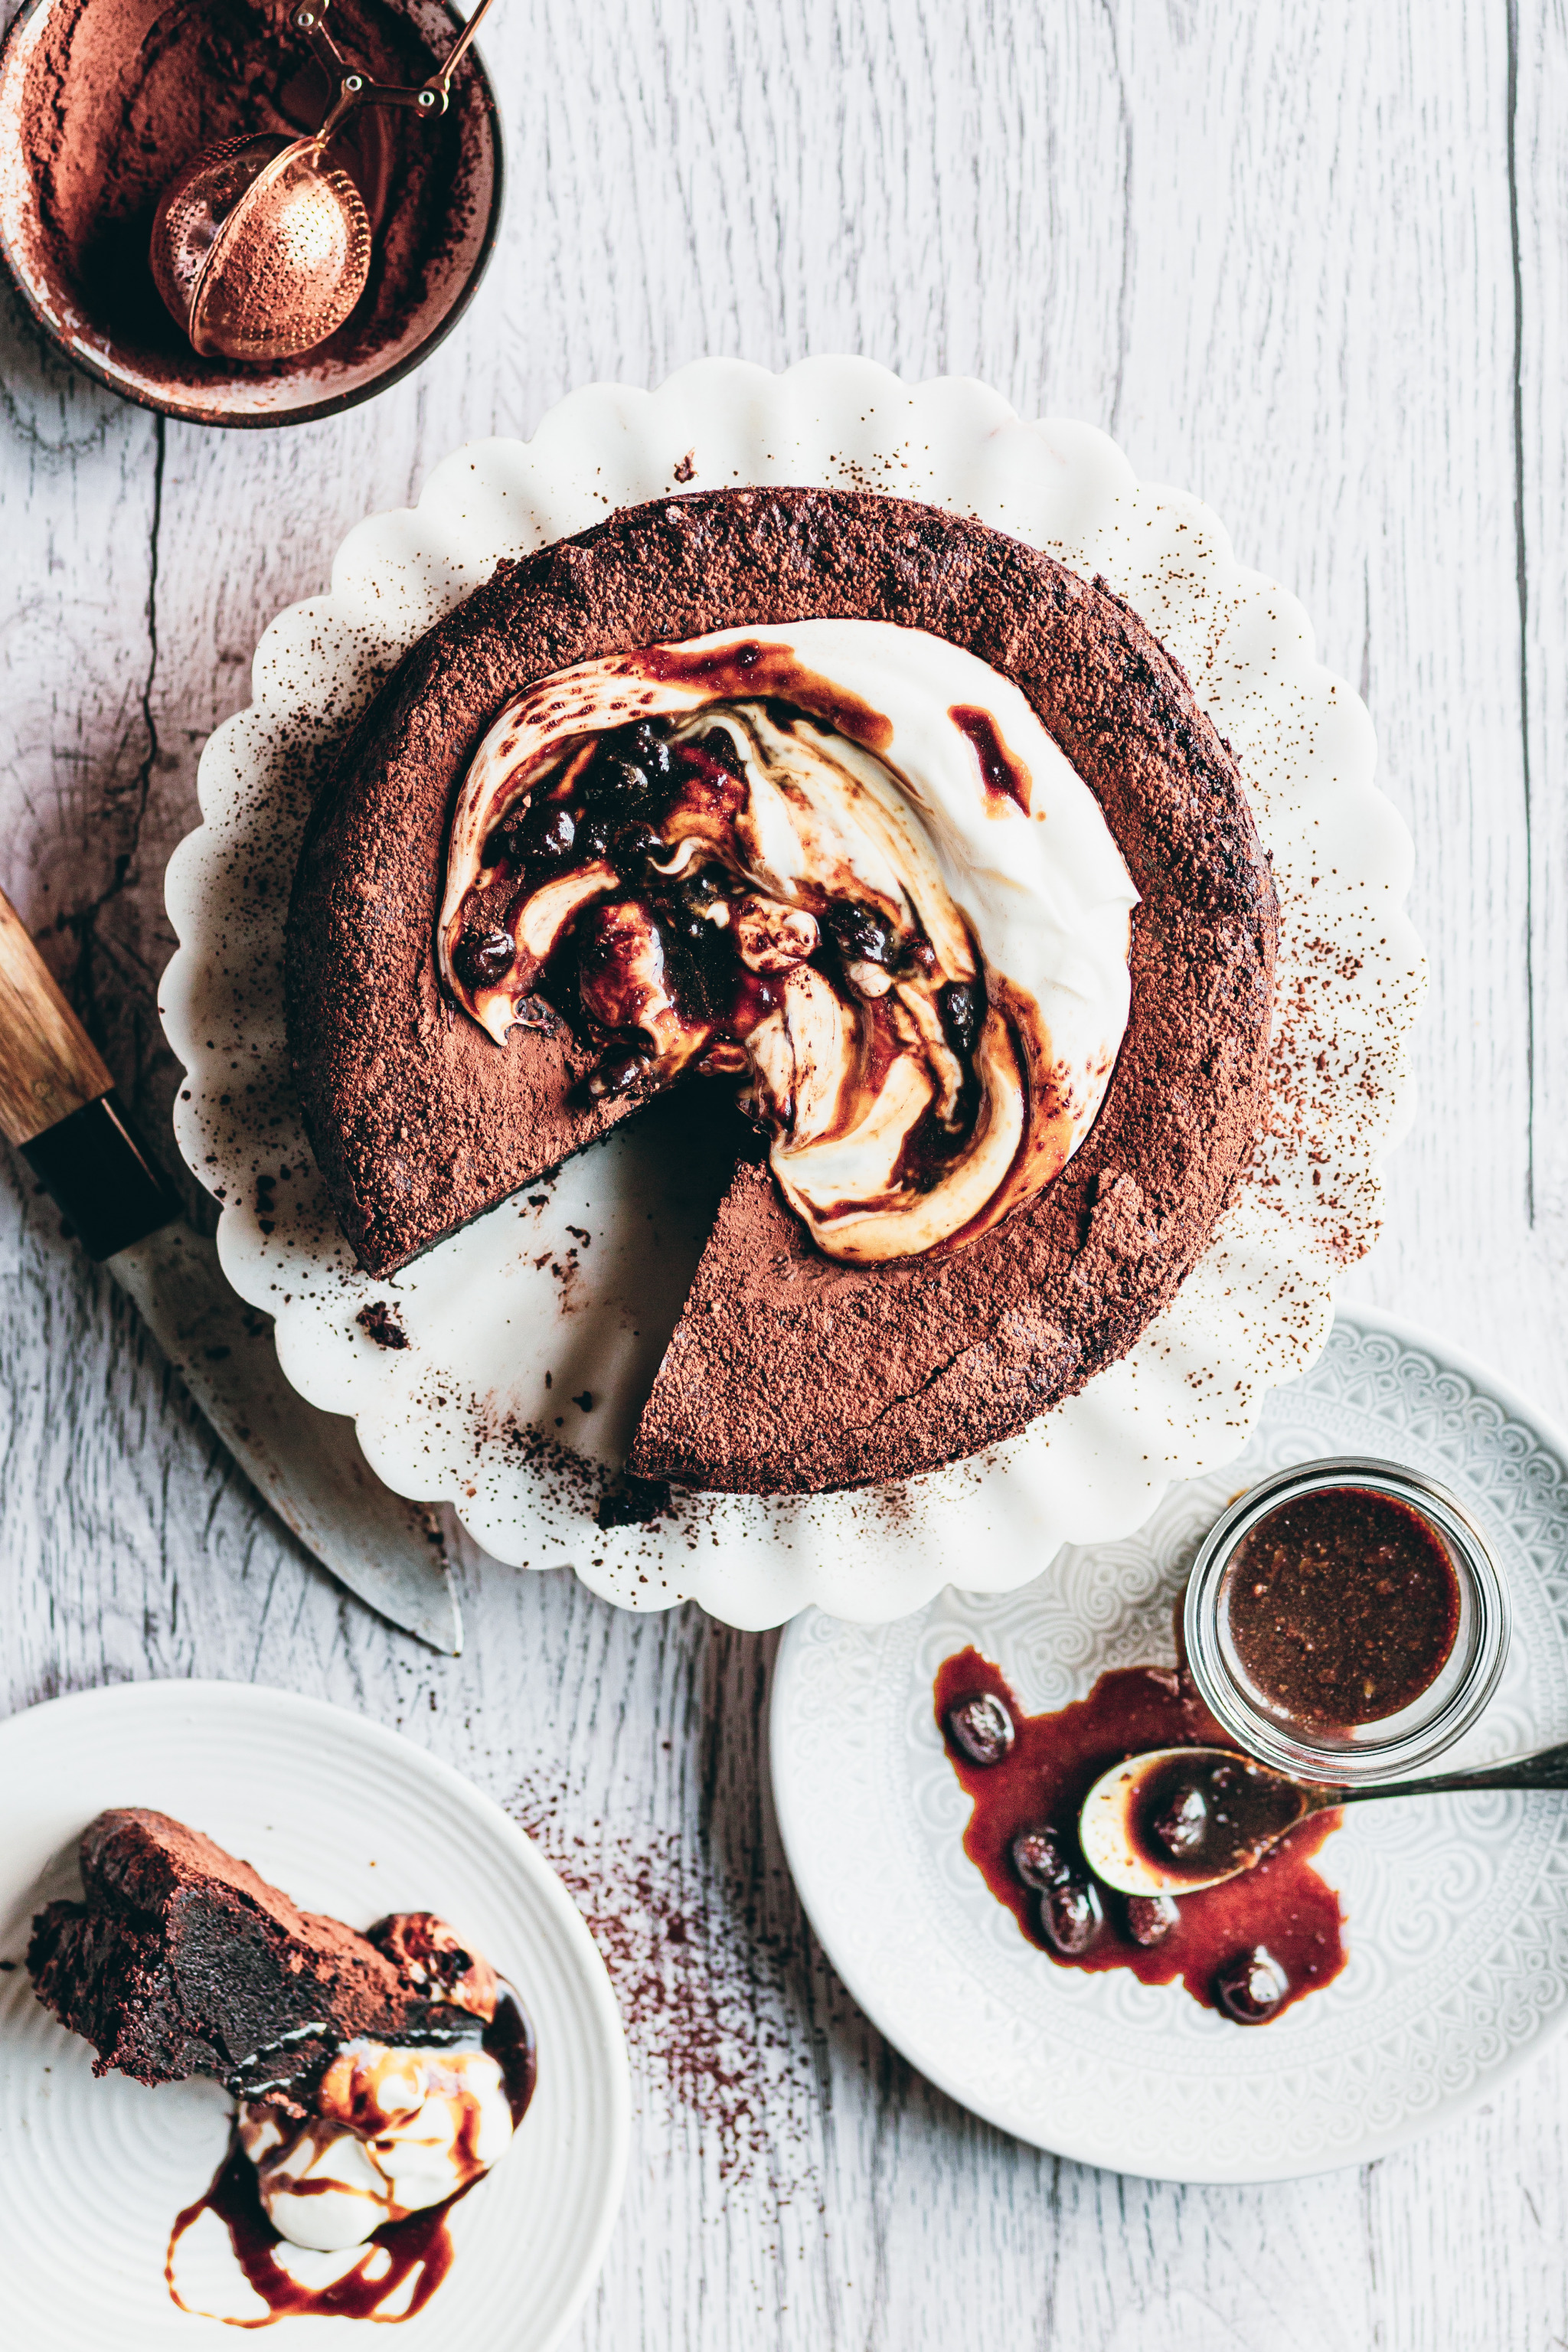
Everyone needs a flourless chocolate torte recipe tucked away for special occasions… or any occasion. I like to call it my LBD (little black dress) torte because you can just whip it up and dress it in whatever way your cravings desire. This one only has 6 ingredients and all you have to do is whisk everything together, it honestly couldn’t be easier! The addition of Nutriday Double Cream yoghurt makes it super fudgy and cuts through the richness of the chocolate like only yoghurt can!
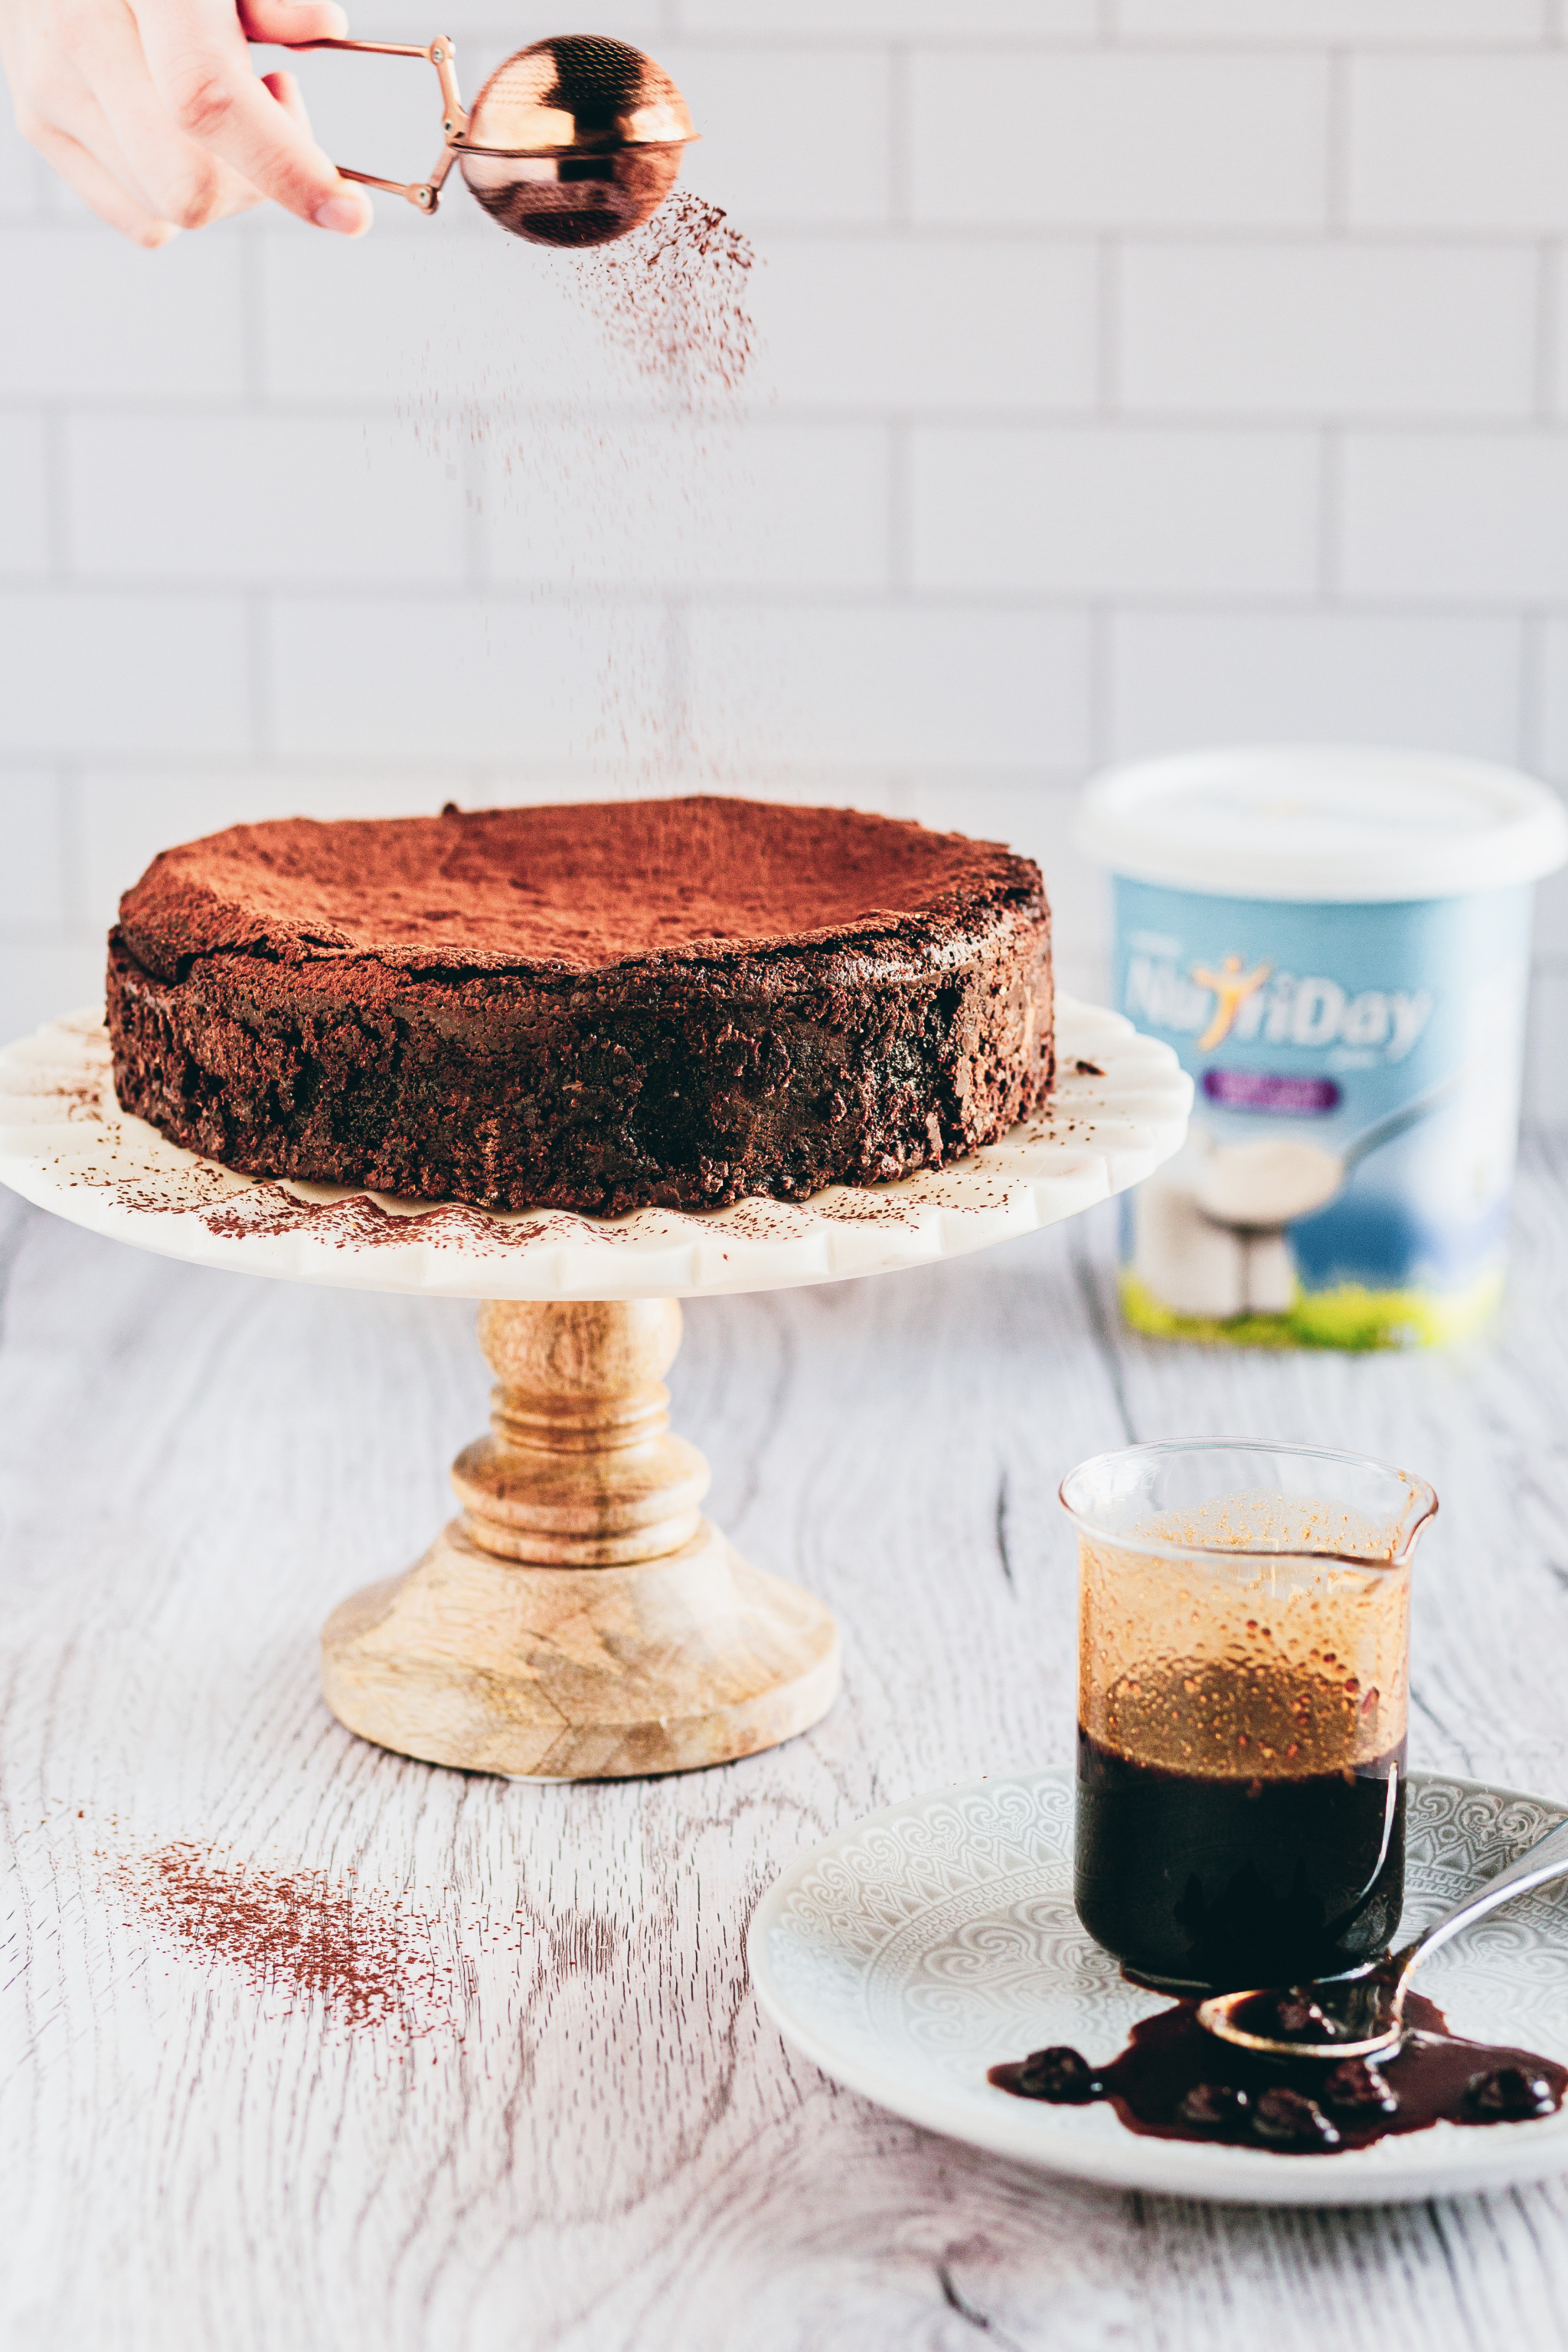
The rum-soaked raisin sauce combined with an extra dollop of yoghurt acts not only as a beautiful garnish but a clever way to make this treat a little more grown-up, but if you’ve run out of alcohol (#lockdownthings) it’s just as good with a dusting of cocoa powder!
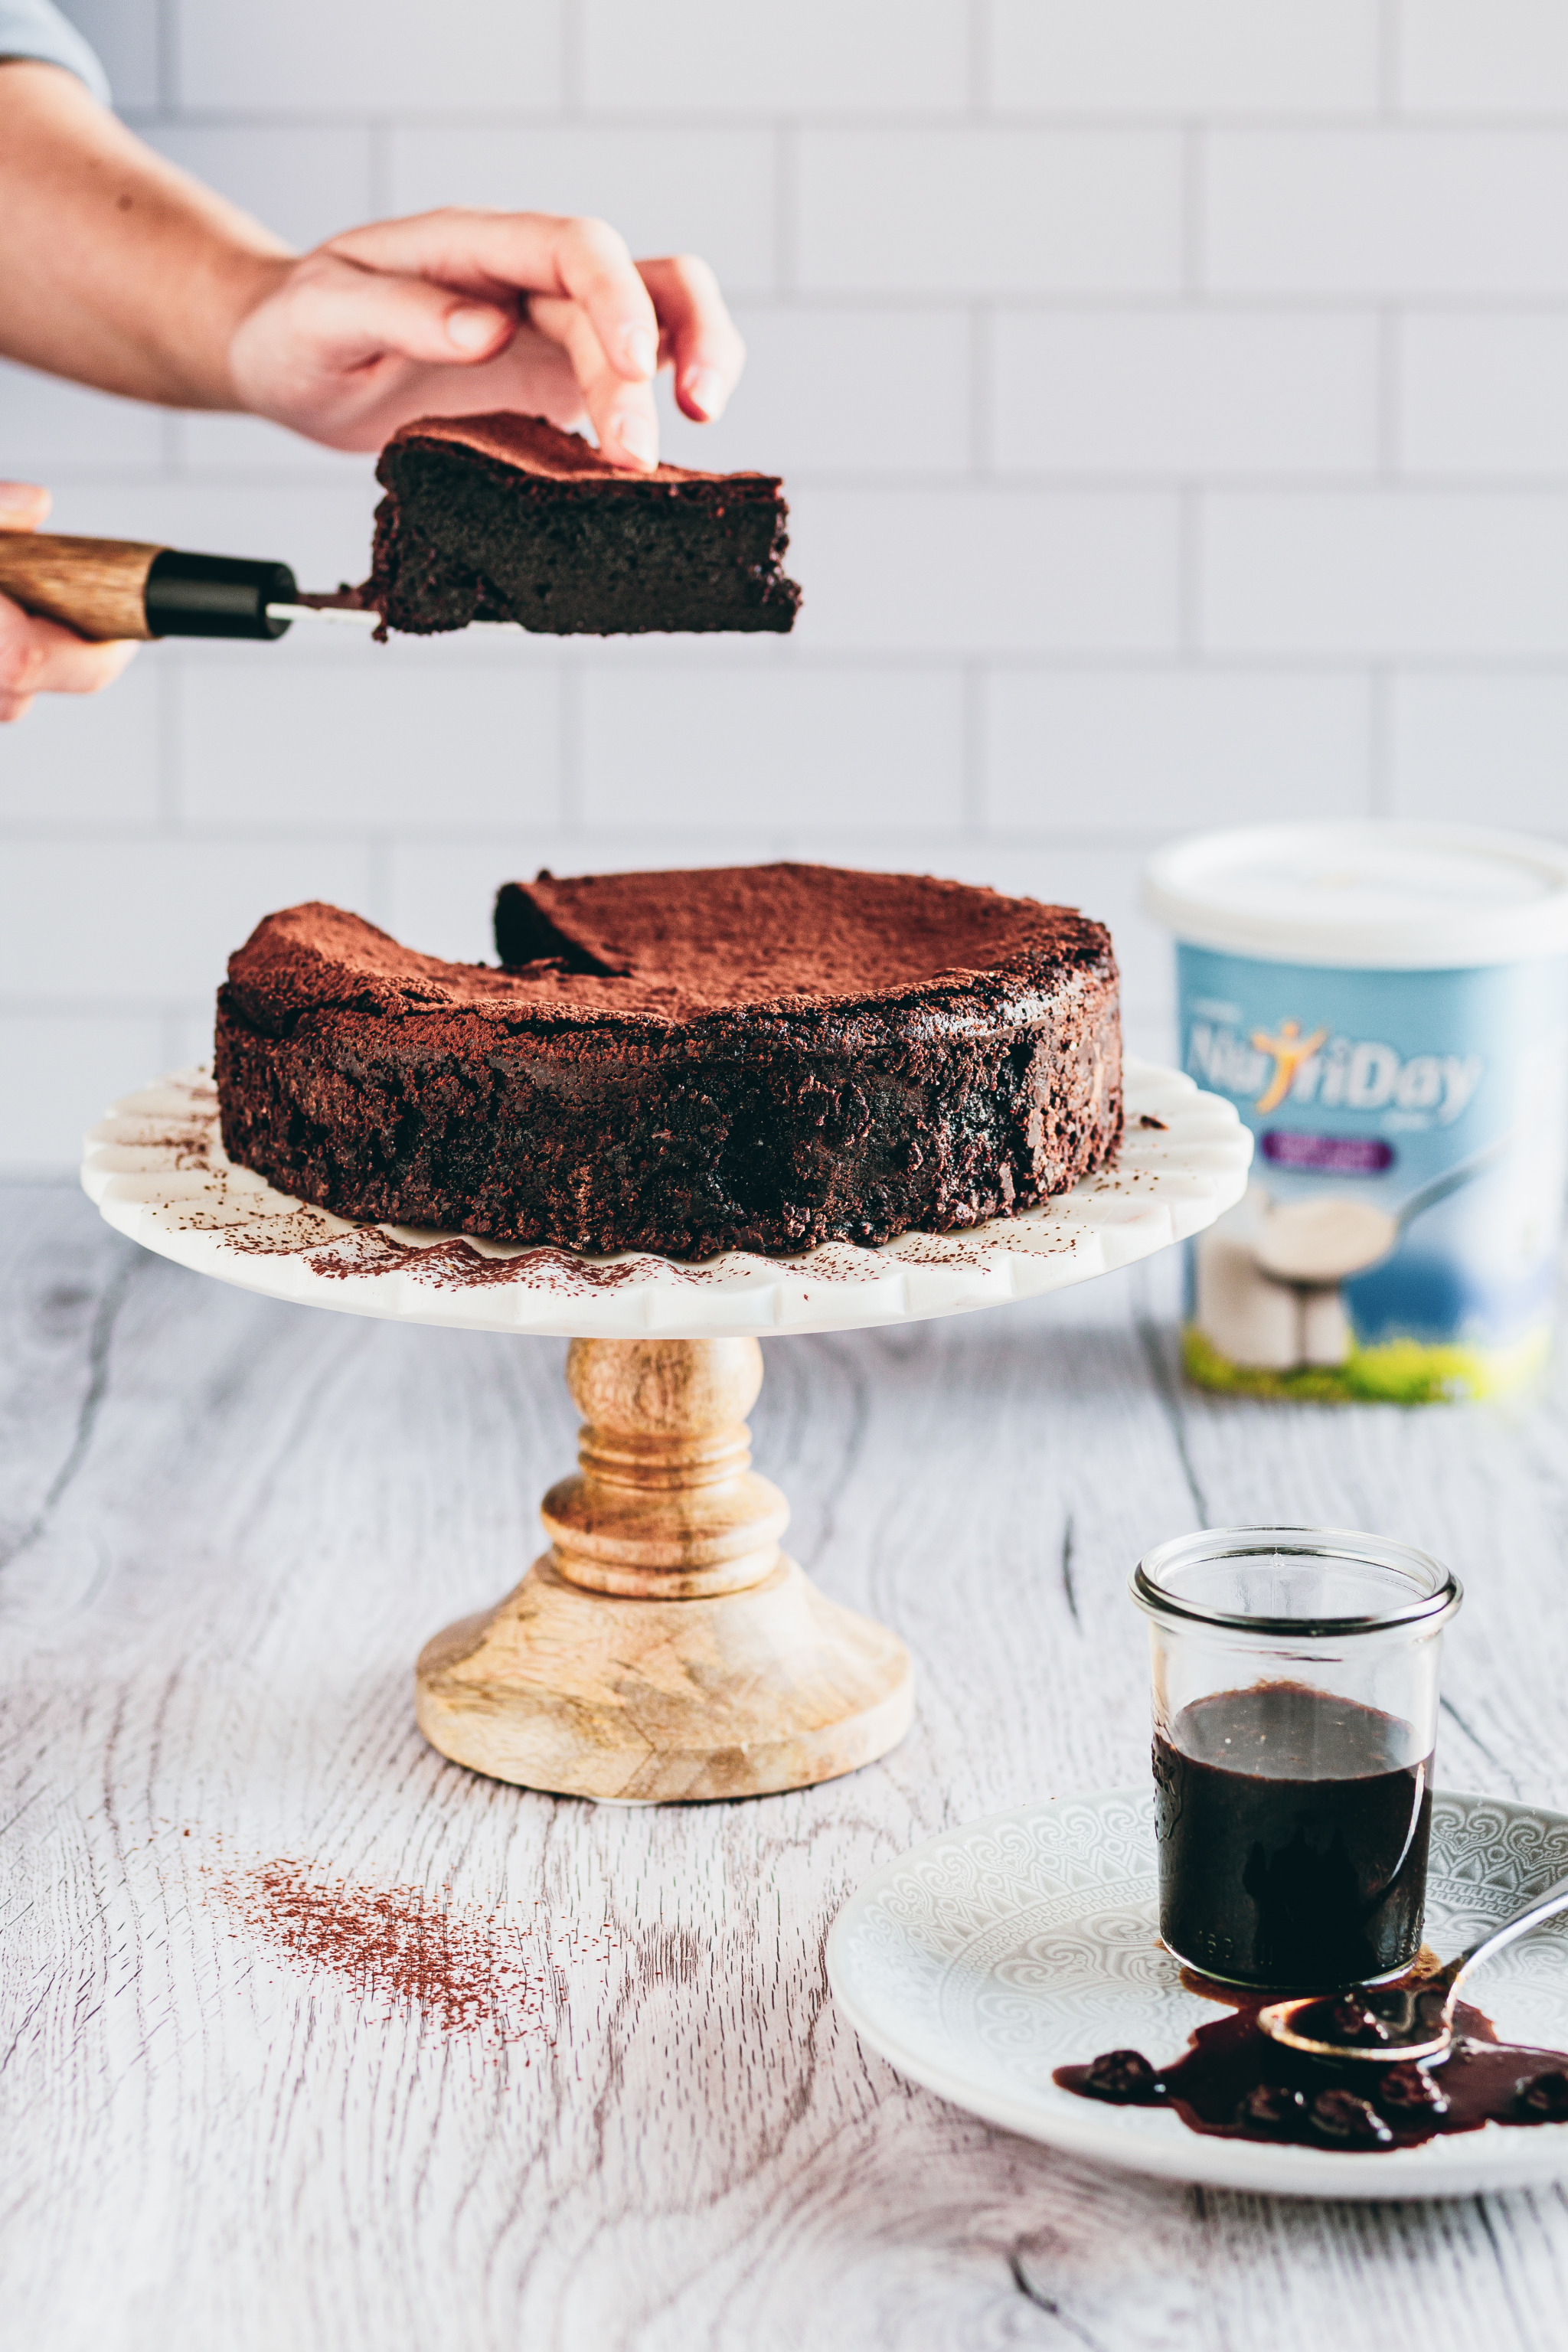
If you’d like to see how I whipped up this beauty, you can follow me over on Instagram – I often do step-by-step baking on my Insta Stories and it’s a great way to learn some of the techniques you need to master to perfect your bakes.
Flourless Chocolate Yoghurt Torte with Rum and Raisin Sauce
2020-07-29 13:59:19
Serves 10
0 calories
0 g
0 g
0 g
0 g
0 g
0 g
0 g
0 g
0 g
0 g
Amount Per Serving
Calories 0
Calories from Fat 0
Trans Fat 0g
Polyunsaturated Fat 0g
Monounsaturated Fat 0g
Total Carbohydrates 0g
0%
Sugars 0g
Protein 0g
* Percent Daily Values are based on a 2,000 calorie diet. Your Daily Values may be higher or lower depending on your calorie needs.
- 200g salted butter, at room temperature
- 375g dark baking chocolate drops
- 100ml NutriDay Double Cream Yoghurt, plus extra for serving
- 30g cocoa powder, plus extra for serving
- 440g soft brown sugar
- 7 large eggs, at room temperature
- 60ml rum (can be substituted for hot water and 1 tsp rum essence)
- 45g raisins
- 240g light muscovado sugar
- 60ml water
- 30g salted butter
- Preheat the oven to 180 °C (160 °C for fan-forced).
- Grease and line a 20-cm round metal cake tin.
- Place the butter in a medium-sized saucepan over medium heat until melted and warm. Remove from the heat and add the dark chocolate drops. Stir until melted.
- Whisk in the yoghurt, cocoa powder, sugar and eggs. Pour into the prepared cake tin and bake for 35 to 40 minutes – it should be barely set with a bit of a wobble in the middle.
- Remove from the oven and allow to cool completely (it will fall and crack a little). Remove from
- the tin.
- For the rum and raisin sauce, in a small bowl, combine the rum (or water and essence) and the raisins and allow them to soak, about 15 minutes. Stir the sugar and water together in a saucepan over medium heat. Stir until the sugar has completely dissolved, then add the rum and raisins, along with the butter and simmer over low heat, 2–3 minutes. Set aside.
- Remove the torte from the tin, discard the baking paper. Serve the torte dusted with cocoa powder, a spoonful of yoghurt and drizzle with the rum ‘n raisin sauce.
The Kate Tin https://thekatetin.com/

by Kate | Jun 1, 2020 |
This buttery Apple Yoghurt Cake with Miso Caramel is probably one of the best things I’ve eaten all year. And I eat a LOT of cake…
#SPONSORED
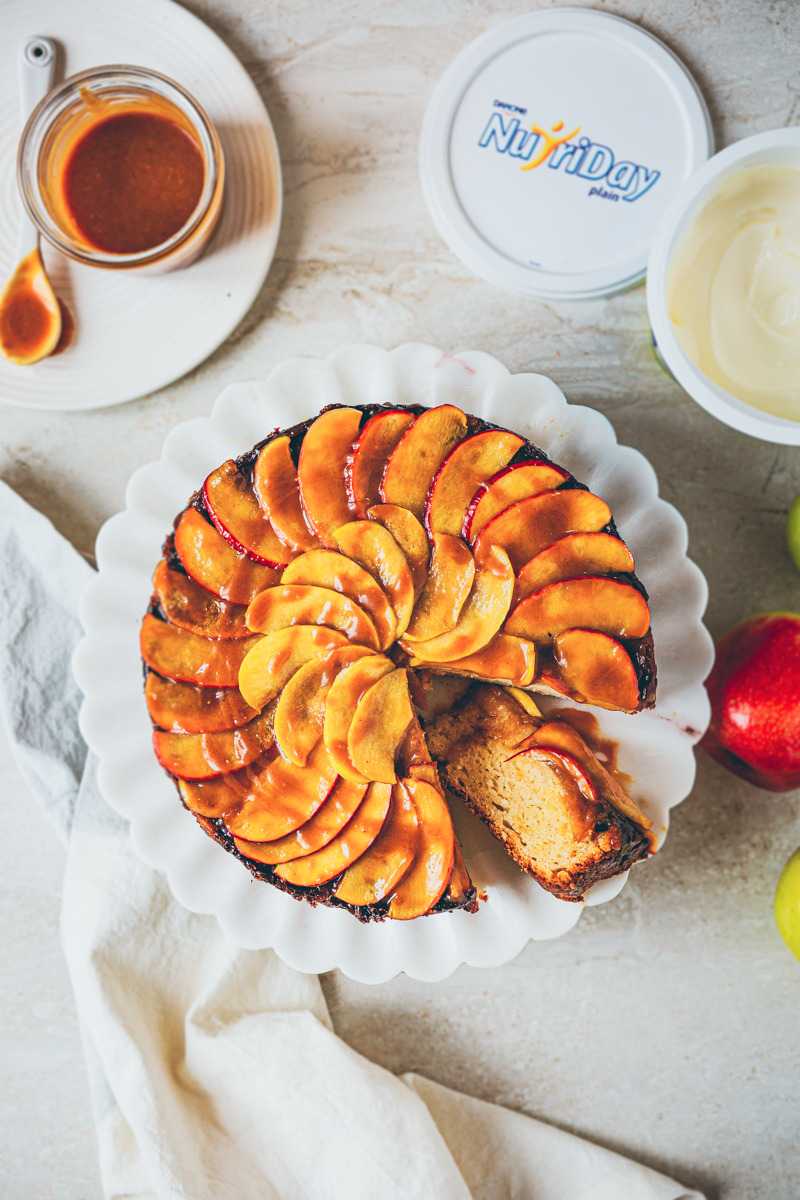
I’m a huge fan of not-too-sweet cakes. Forget the sugary sweet frosting, throw away the fondant – I want to be able to eat the entire thing in one sitting and not feel like I’m in a sugar coma. This cake is one of those.
Moist and just the right amount of salty sweetness, the cake owes its soft crumb to a secret ingredient; NutriDay’s Double Cream Yoghurt. It’s smooth, it’s creamy and I always have a tub in my fridge. Breakfast feels like dessert with it, and dessert isn’t the same without it. I love serving puddings and cakes with a spoonful of this velvety thick yoghurt instead of whipped cream. The tang adds a balance to sweet desserts that I love!
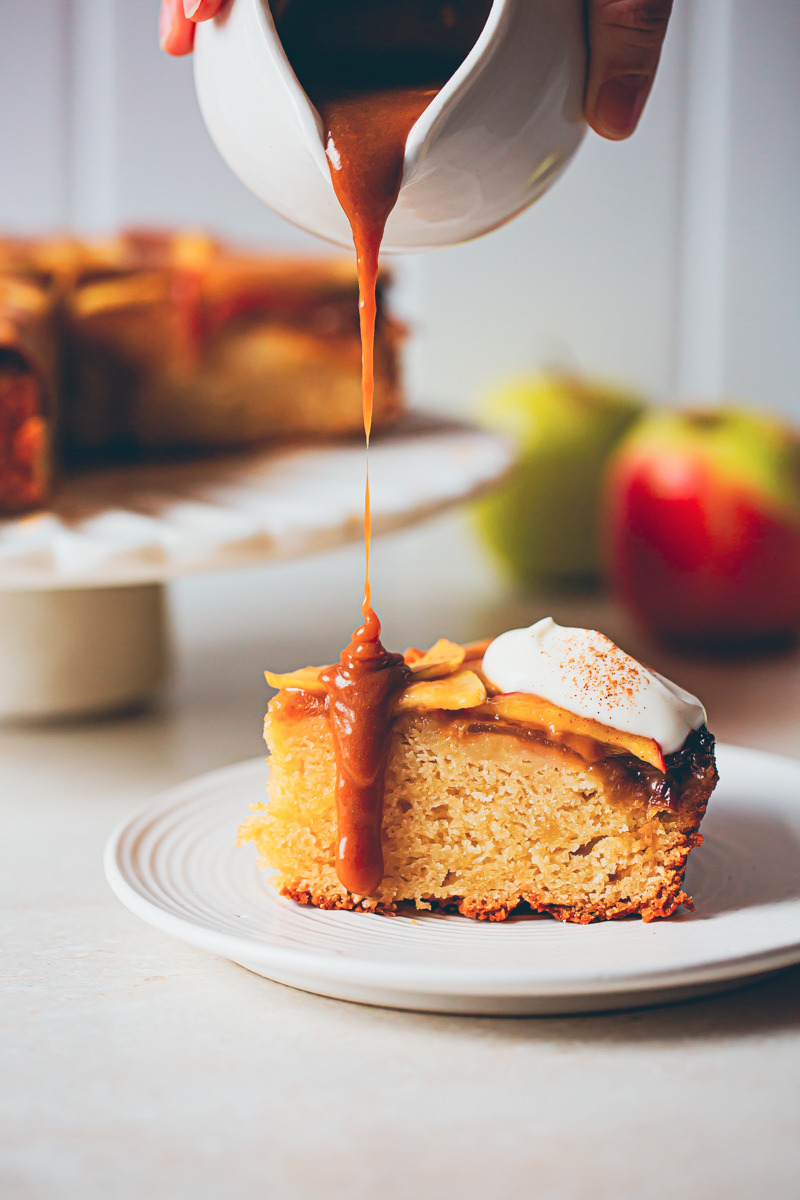
Now let’s talk about the miso caramel. Salted caramel is SO 2017. I’ve doubled the recipe but perhaps you should double it again, because, trust me, you are going to need more – on ice cream, on toast, on a spoon!
You can find miso in most South African supermarkets these days, or Asian supermarkets. It adds a salty umami hit that totally transforms a caramel sauce. Be prepared to crave this sauce in the middle of the night. Don’t say I didn’t tell you to make double…
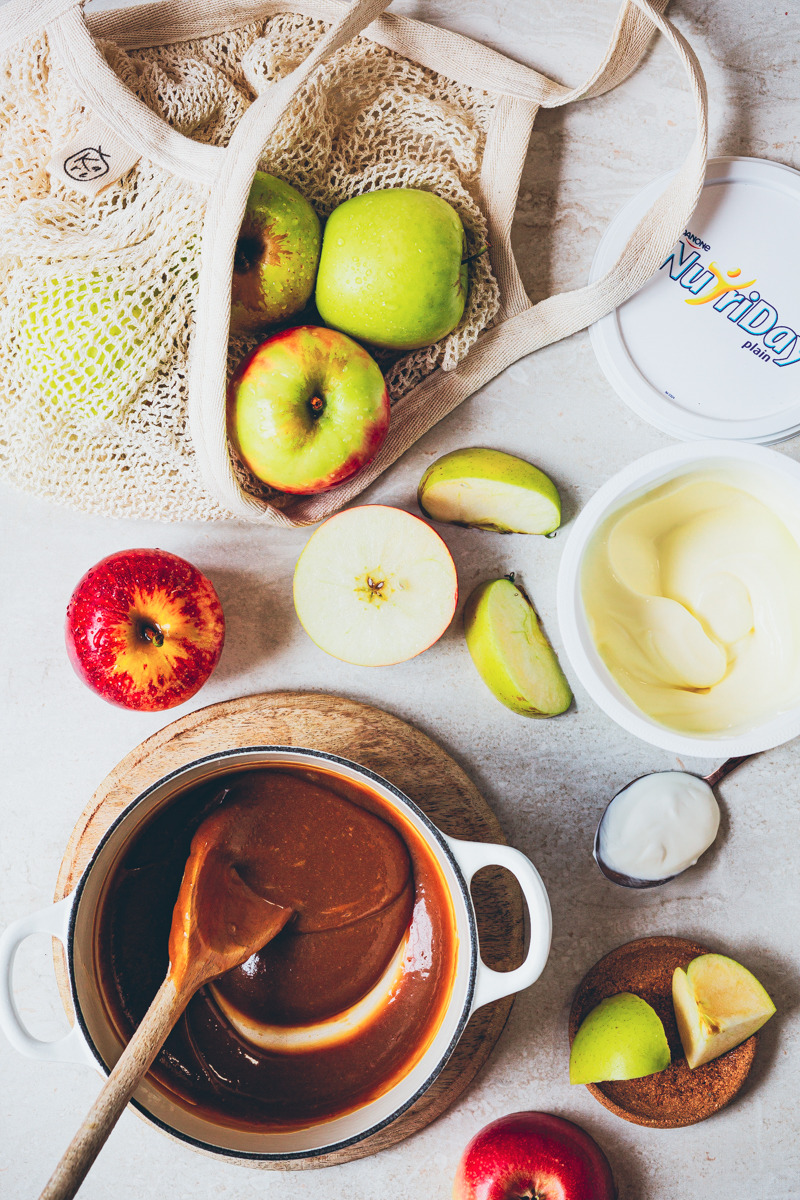
Apple Yoghurt Cake with Miso Caramel
2020-05-31 15:15:46
Serves 6
0 calories
0 g
0 g
0 g
0 g
0 g
0 g
0 g
0 g
0 g
0 g
Amount Per Serving
Calories 0
Calories from Fat 0
Trans Fat 0g
Polyunsaturated Fat 0g
Monounsaturated Fat 0g
Total Carbohydrates 0g
0%
Sugars 0g
Protein 0g
* Percent Daily Values are based on a 2,000 calorie diet. Your Daily Values may be higher or lower depending on your calorie needs.
- 330g white sugar
- 126ml water
- 250ml cream
- 4 tbsp light miso
- 185g butter, melted
- 2 large eggs
- 380g Nutriday Double Cream Plain Yoghurt, plus extra to serve
- 385g light brown sugar
- 1 tsp vanilla extract
- 300g self-raising flour
- 4 apples, peeled, cored and sliced
- Ground cinnamon, to dust
- Combine sugar and water in a saucepan.
- Whisk to combine, then place over medium-high heat. Bring to a boil, without stirring, and cook until it’s a deep amber red colour.
- Remove from heat and slowly pour in the cream, swirling the pan as you do.
- Add the miso, and whisk to thoroughly combine.
- Allow to cool while making the cake batter.
- Preheat the oven to 180°C or 160°C fan-forced.
- Grease and line a 25cm springform cake tin with baking paper.
- Place the butter, eggs, yoghurt, sugar and vanilla in a bowl and whisk to combine.
- Sift over the flour and stir until smooth.
- Spoon ⅓ of the sauce onto the bottom of the lined cake tin. Arrange the apples on top of the sauce in two layers. Drizzle with another ⅓ of the sauce.
- Pour the cake batter oven and bake for 45 minutes or until a wooden skewer inserted into the middle comes out clean.
- Allow the cake to cool for 10 minutes before unmoulding.
- Serve with the remaining caramel sauce, a dollop of double cream yoghurt and a sprinkling of cinnamon.
By TheKateTin.com
The Kate Tin https://thekatetin.com/