
by Kate | Aug 21, 2019 |
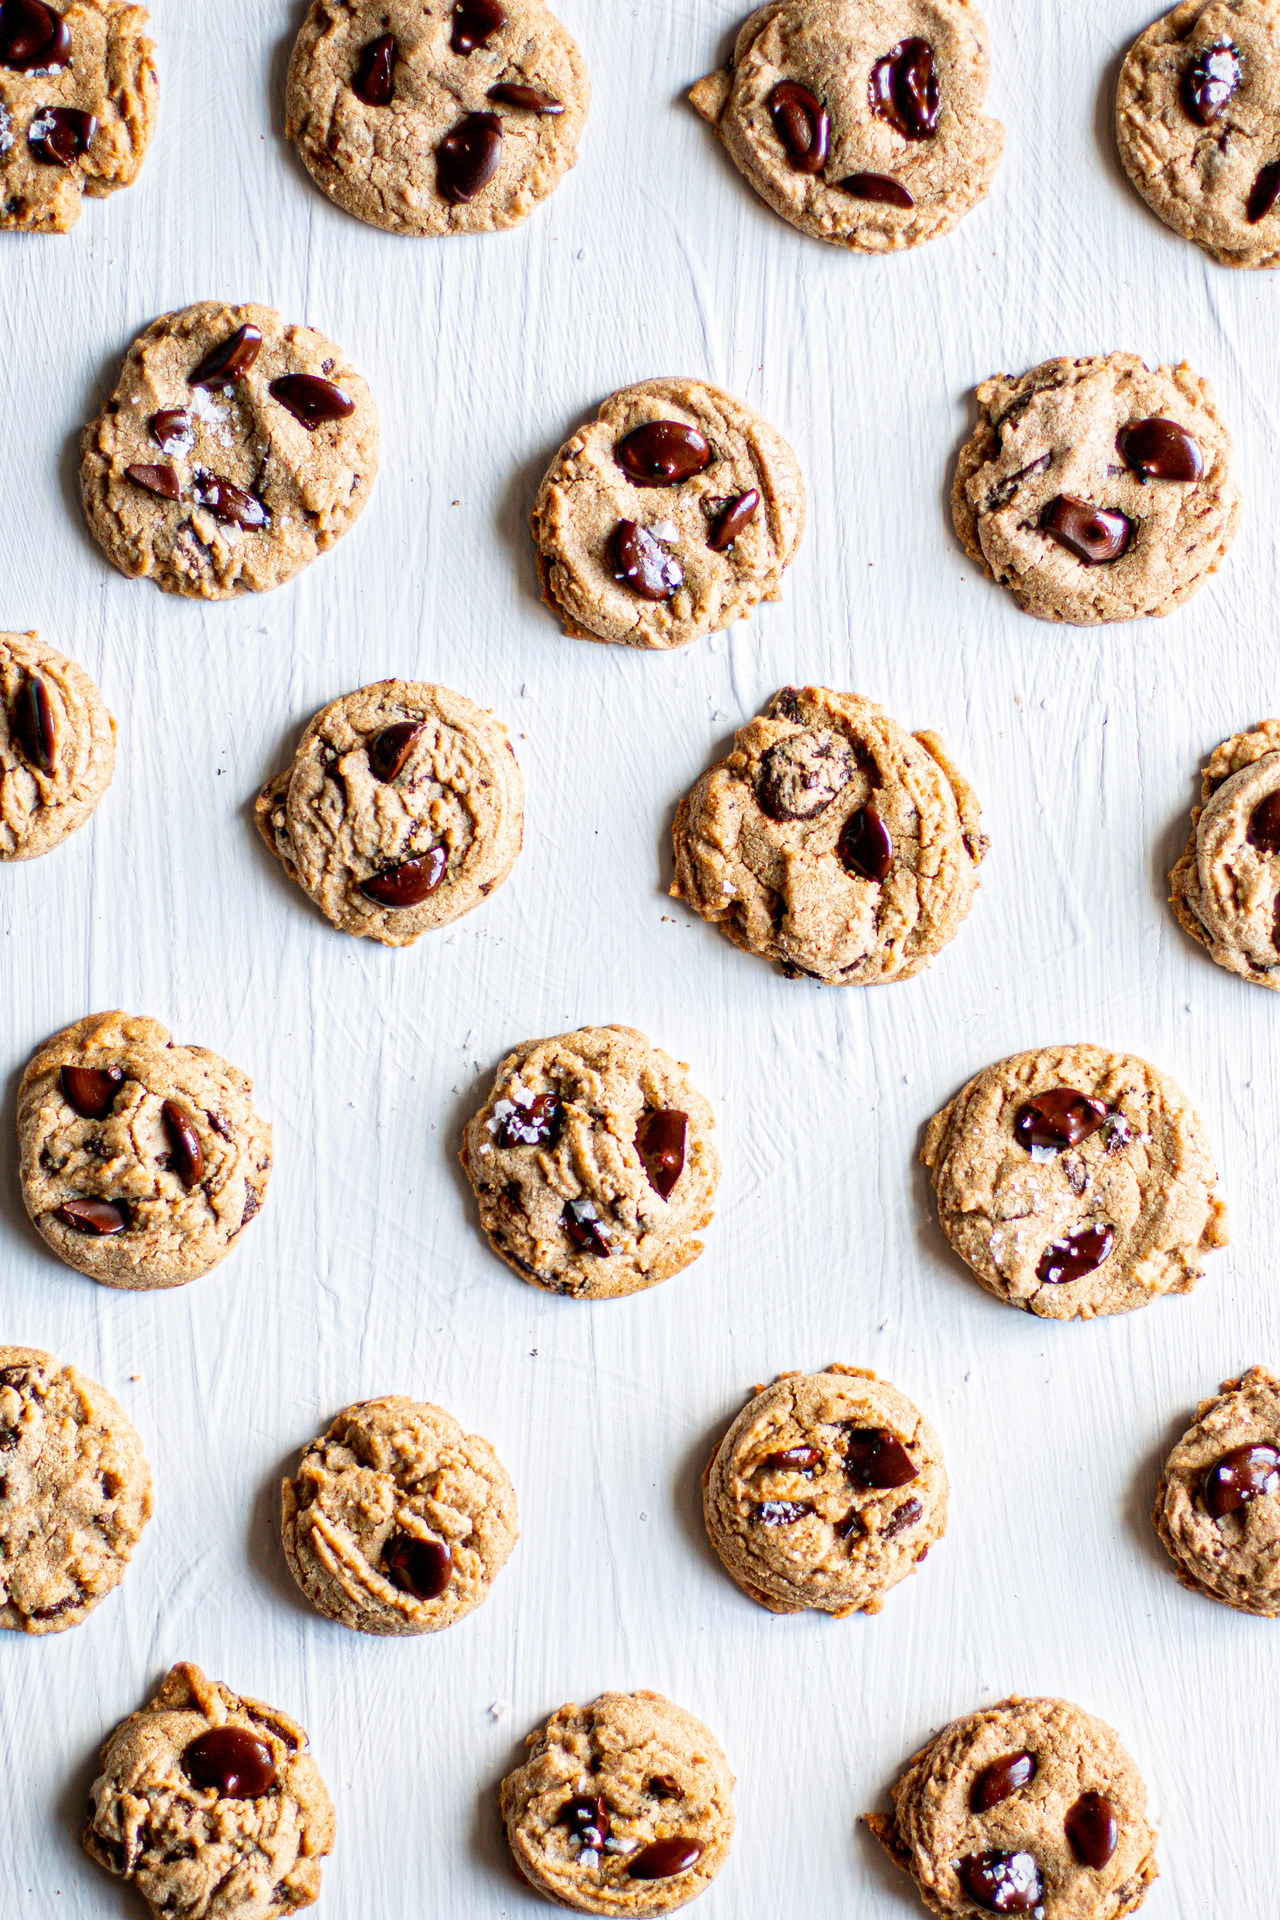
Maltabella (malted sorghum) gives these chewy chocolate chip cookies a malty nuttiness and dense texture which makes them my best chocolate chip cookie of all time!
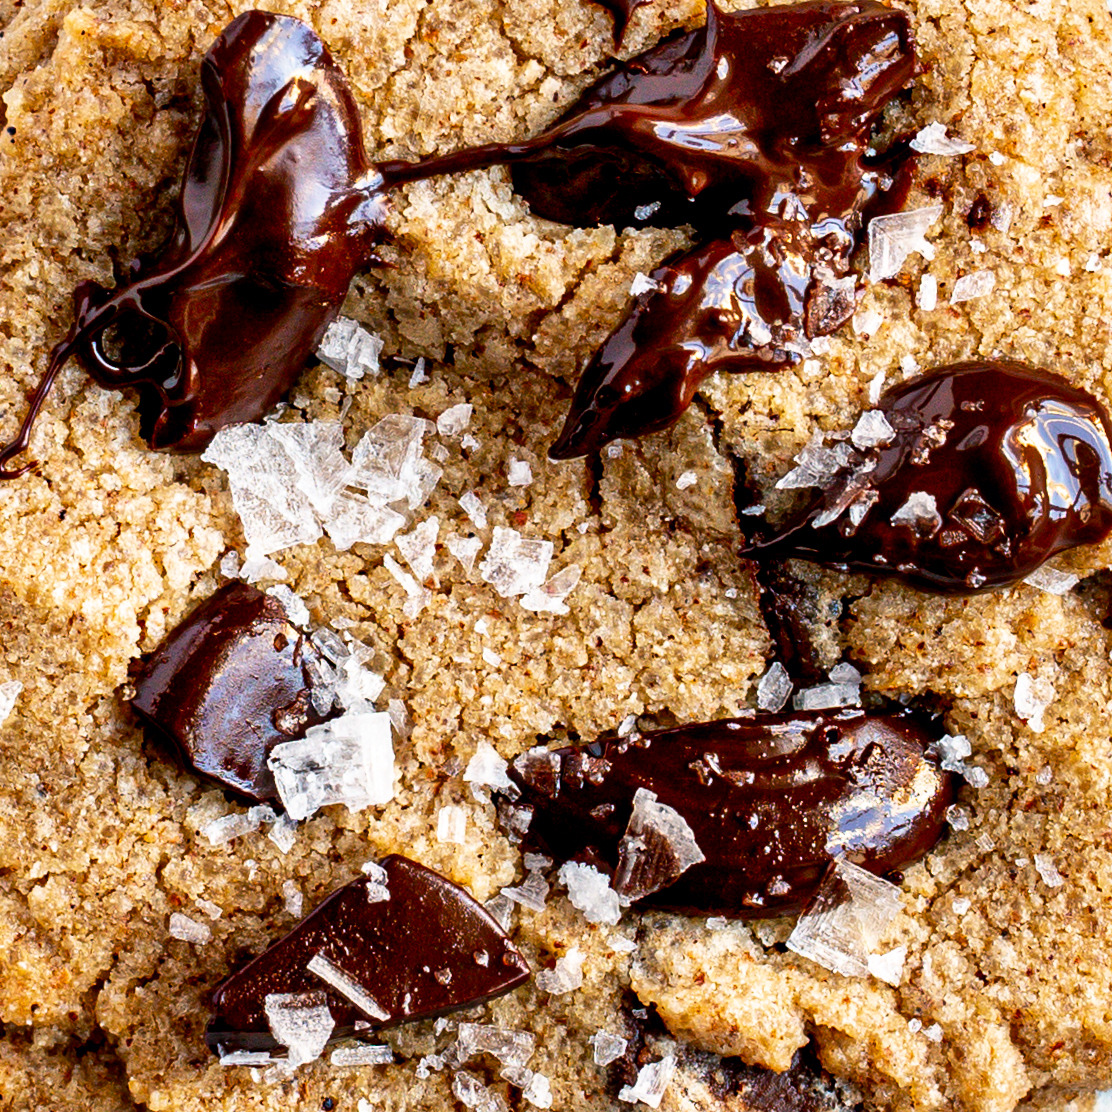
MALTABELLA CHOCOLATE CHIP COOKIES
Was I the only child in South Africa who was convinced/brain-washed into believing that maltabella was chocolate porridge? It never quite occurred to me that despite its deep brown colour, it didn’t really taste like chocolate at all! Luckily the lashings of butter and a sprinkling of brown sugar made up for any disappointment and so I grew to love this winter morning ritual. Maltabella is most definitely the taste of my childhood and probably most of South Africa’s!

Maltabella is nothing more than malted sorghum so if it’s not as close to your heart as it is for me, feel free to swop it for any malt – like malted barley or malted wheat.
While the rest of the world has only just discovered sorghum as a ‘superfood’, here in South Africa, it’s been an integral part of our cuisine and culture for ages so I love to champion it in anything I can – including dessert, of course! Last year, I took another South African favourite, the buttermilk rusk and added maltabella to make these moreish Maltabella Rusks which are heavenly with a cup of rooibos! Have you tried baking with maltabella yet? If not, give my chocolate chip cookies a try!
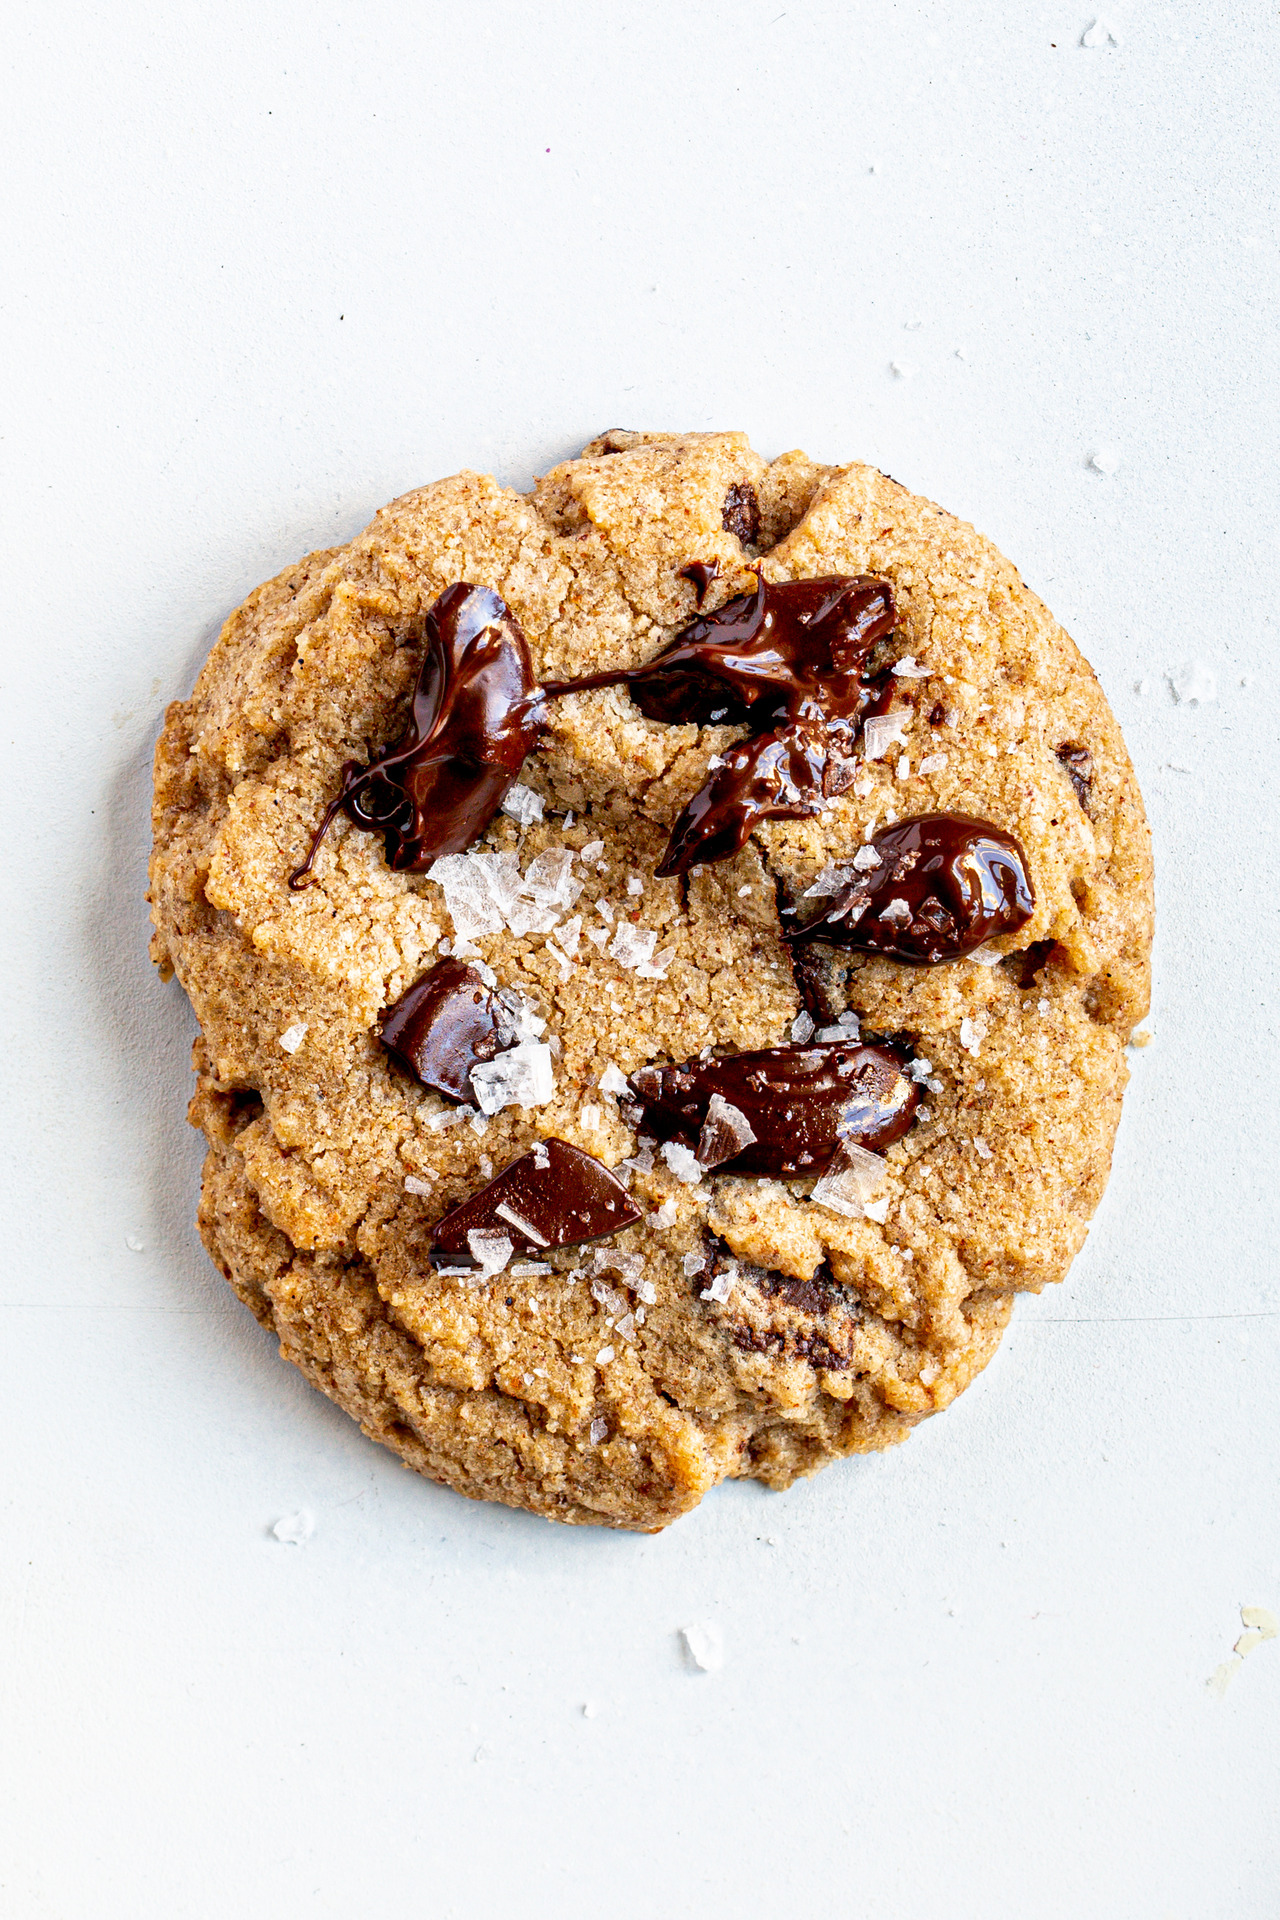
Maltabella Chocolate Chip Cookies
2019-08-21 17:32:56
Yields 24
My ultimate chocolate chip cookie with a South African childhood twist to it - malted sorghum flour, which gives it a delicious nuttiness.
0 calories
0 g
0 g
0 g
0 g
0 g
0 g
0 g
0 g
0 g
0 g
Amount Per Serving
Calories 0
Calories from Fat 0
Trans Fat 0g
Polyunsaturated Fat 0g
Monounsaturated Fat 0g
Total Carbohydrates 0g
0%
Sugars 0g
Protein 0g
* Percent Daily Values are based on a 2,000 calorie diet. Your Daily Values may be higher or lower depending on your calorie needs.
- 200g salted butter (or margarine), softened
- 340g light demerara sugar (I used Natura Sugars)
- 1 tsp vanilla extract
- 2 tbsp milk
- 1 large egg, at room temperature
- 1 egg yolk, at room temperature
- 250g cake flour
- 230g maltabella (malted sorghum) or malt flour
- ¼ tsp baking powder
- ¼ tsp bicarbonate of soda
- 250g The Kate Tin Dark Baking Chocolate, chopped into chunks
- Preheat oven to 180°C (or 160°C fan-forced).
- Line two cookie sheets with non-stick baking paper.
- Melt the butter over a low heat and simmer until it reaches a golden brown colour and starts to smell nutty – about 5 minutes.
- Quickly remove the brown butter from the heat and pour into a bowl.
- Refrigerate until the butter has set but is still soft.
- Place the soft brown butter and the sugar in the bowl of an electric mixer and cream for 8-10 minutes until pale, creamy and light.
- Add the vanilla, milk and egg.
- Add the flour, maltabella, baking powder, bicarbonate of soda and chopped chocolate and mix to combine.
- Drop tablespoonfuls of the cookie batter onto the prepared baking trays, leaving enough room for spreading.
- Bake for 15-16 minutes or until the edges of the cookies are golden brown but the centre should still be moist.
- If you can't find malted sorghum, you can substitute with any malted flour (barley or wheat) or simply substitute with 100g cake flour.
By TheKateTin.com
The Kate Tin https://thekatetin.com/

by Kate | Aug 5, 2019 |
Remember those shortbread balls with the block of chocolate hidden in the middle we used to make as kids? Try my grown-up pistachio shortbread version – it’s a million times better!
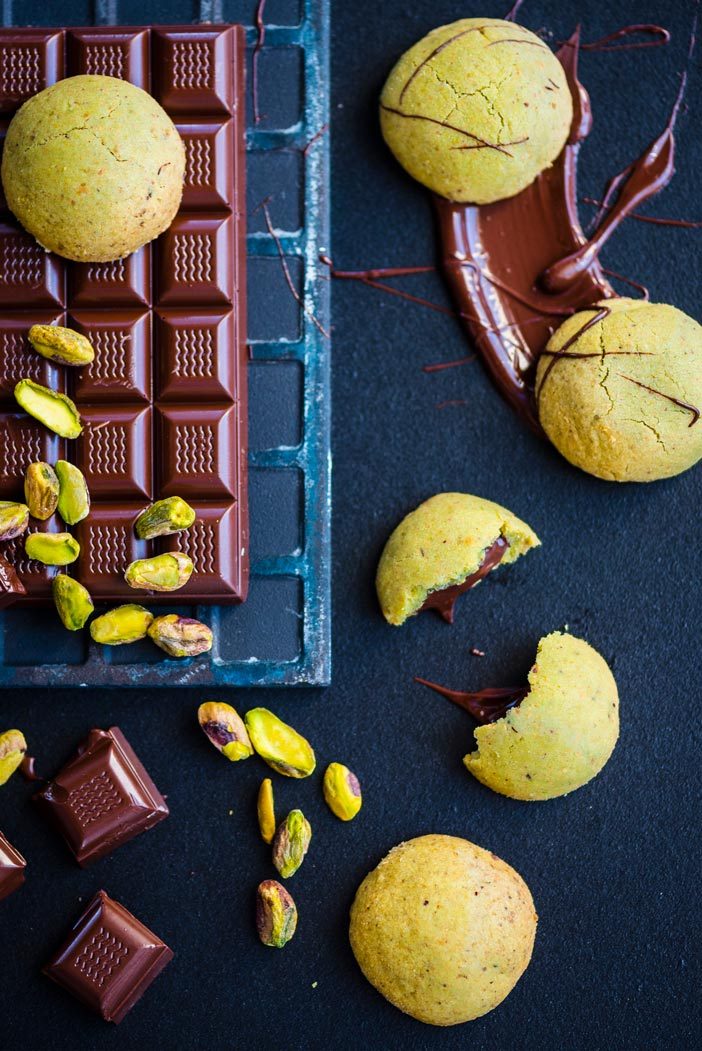
This recipe was sadly one of those that didn’t make it into my book. It was SO hard to cut it out as that melty chocolate middle and buttery biscuit just gave me all the feels. But at least I can share it here! This recipe is a modern riff on those chocolate shortbread balls we used to make as kids. You roll shortbread around a block of chocolate and bake it until the inside is gooey. Did you ever make them? My pistachio shortbread version is obviously loaded with pistachio nuts. I used a really good-quality, dark chocolate in the middle – the high cocoa butter content means it stays liquid and melty so when you bite into it, angels sing!
If you haven’t yet got a copy of my book, you can grab it any Exclusive Books, Bargain Books or online from Loot or Takealot.
Chocolate Pistachio Shortbread Melts
2019-07-01 11:15:31
Yields 35
0 calories
0 g
0 g
0 g
0 g
0 g
0 g
0 g
0 g
0 g
0 g
Amount Per Serving
Calories 0
Calories from Fat 0
Trans Fat 0g
Polyunsaturated Fat 0g
Monounsaturated Fat 0g
Total Carbohydrates 0g
0%
Sugars 0g
Protein 0g
* Percent Daily Values are based on a 2,000 calorie diet. Your Daily Values may be higher or lower depending on your calorie needs.
- 240g (2 cups) cake flour
- 100g shelled pistachios, roasted
- 200g salted butter, softened
- 52g (60ml) caster sugar
- milk or water, as needed
- 200g The Kate Tin Dark Baking Chocolate
- icing sugar, for dusting
- Preheat the oven to 180 degrees celsius (160 degrees fan-forced).
- Line a standard baking sheet with baking paper.
- In a food processor, blend the cake flour and pistachios until fine.
- Cream the butter and sugar until light and fluffy then add the flour, pistachio mixture.
- Add 1 tsp of milk or water to bring the dough together – it should be soft.
- Working with 1 tablespoonful of dough at a time, flatten the dough out then place a chocolate block in the centre and wrap the dough around to form a ball.
- Arrange on the prepared baking sheet, leaving enough room for a bit of spreading then bake for 20-25 minutes or until firm and just starting to turn golden.
- Dust with icing sugar, if desired.
- TIP: If you’d like the shortbreads to be greener, simply add a few drops of green gel food colouring.
By TheKateTin.com
The Kate Tin https://thekatetin.com/

by Kate | Jul 10, 2019 |
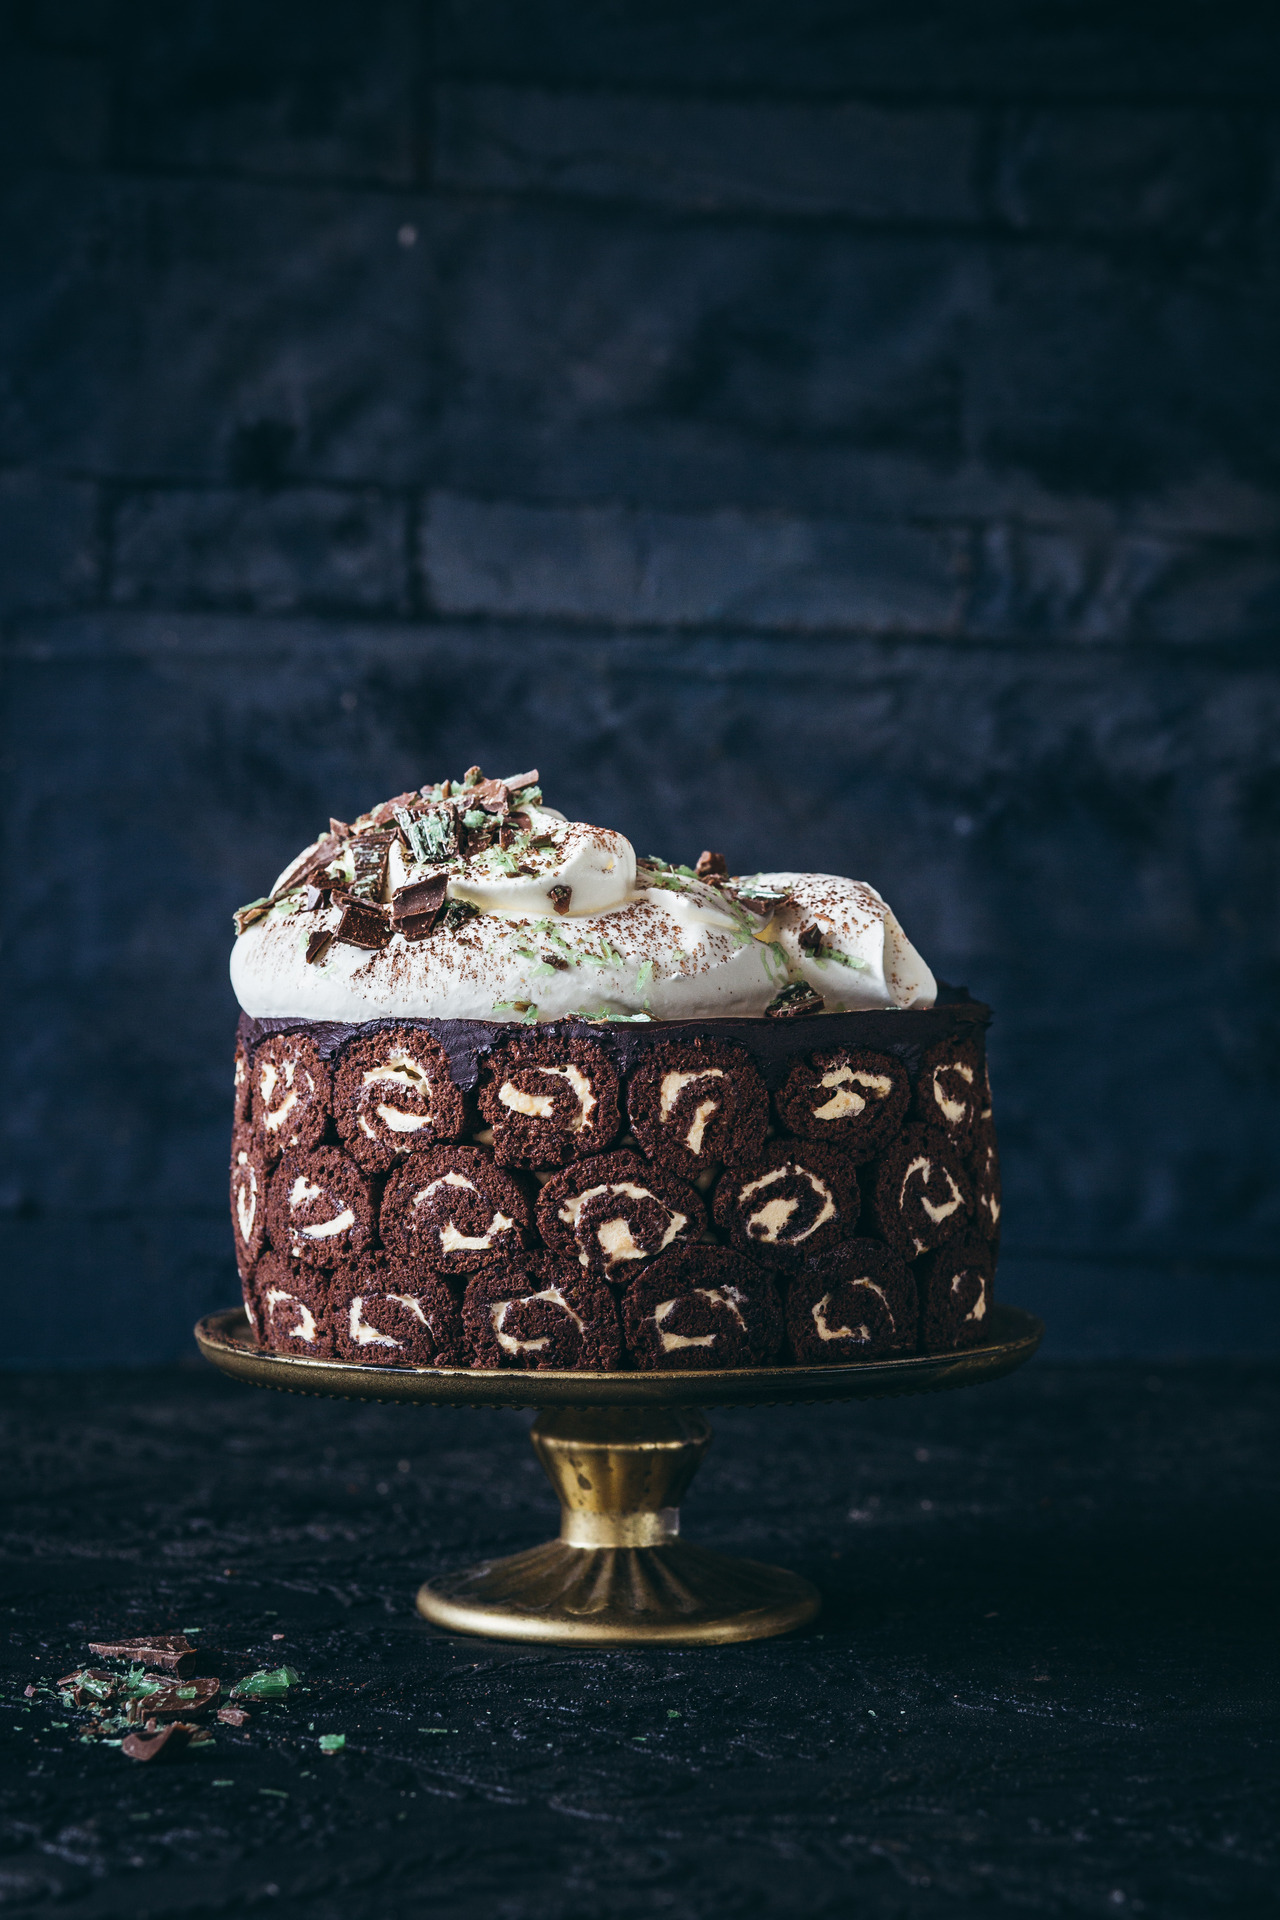
This spin on a peppermint crisp tart has layers of mini chocolate swiss rolls holding a filling of caramel mousse, flecks of peppermint crisp and chocolate coconut ganache.
Another peppermint crisp creation for the (recipe) books! This beauty was created by Landi from The Tocka Blog. Landi won the first round of the Stork Bake competition with her gorgeous peppermint crisp baked Alaska. For the next round, we were teamed up as I mentored her through to the final round where we went up against Lentswe Bhengu and The Lazy Makoti… and WE WON! It’s not surprising really, considering 1) how awesome you all were to support us and vote for her and 2) how drop-dead delicious this recipe is!
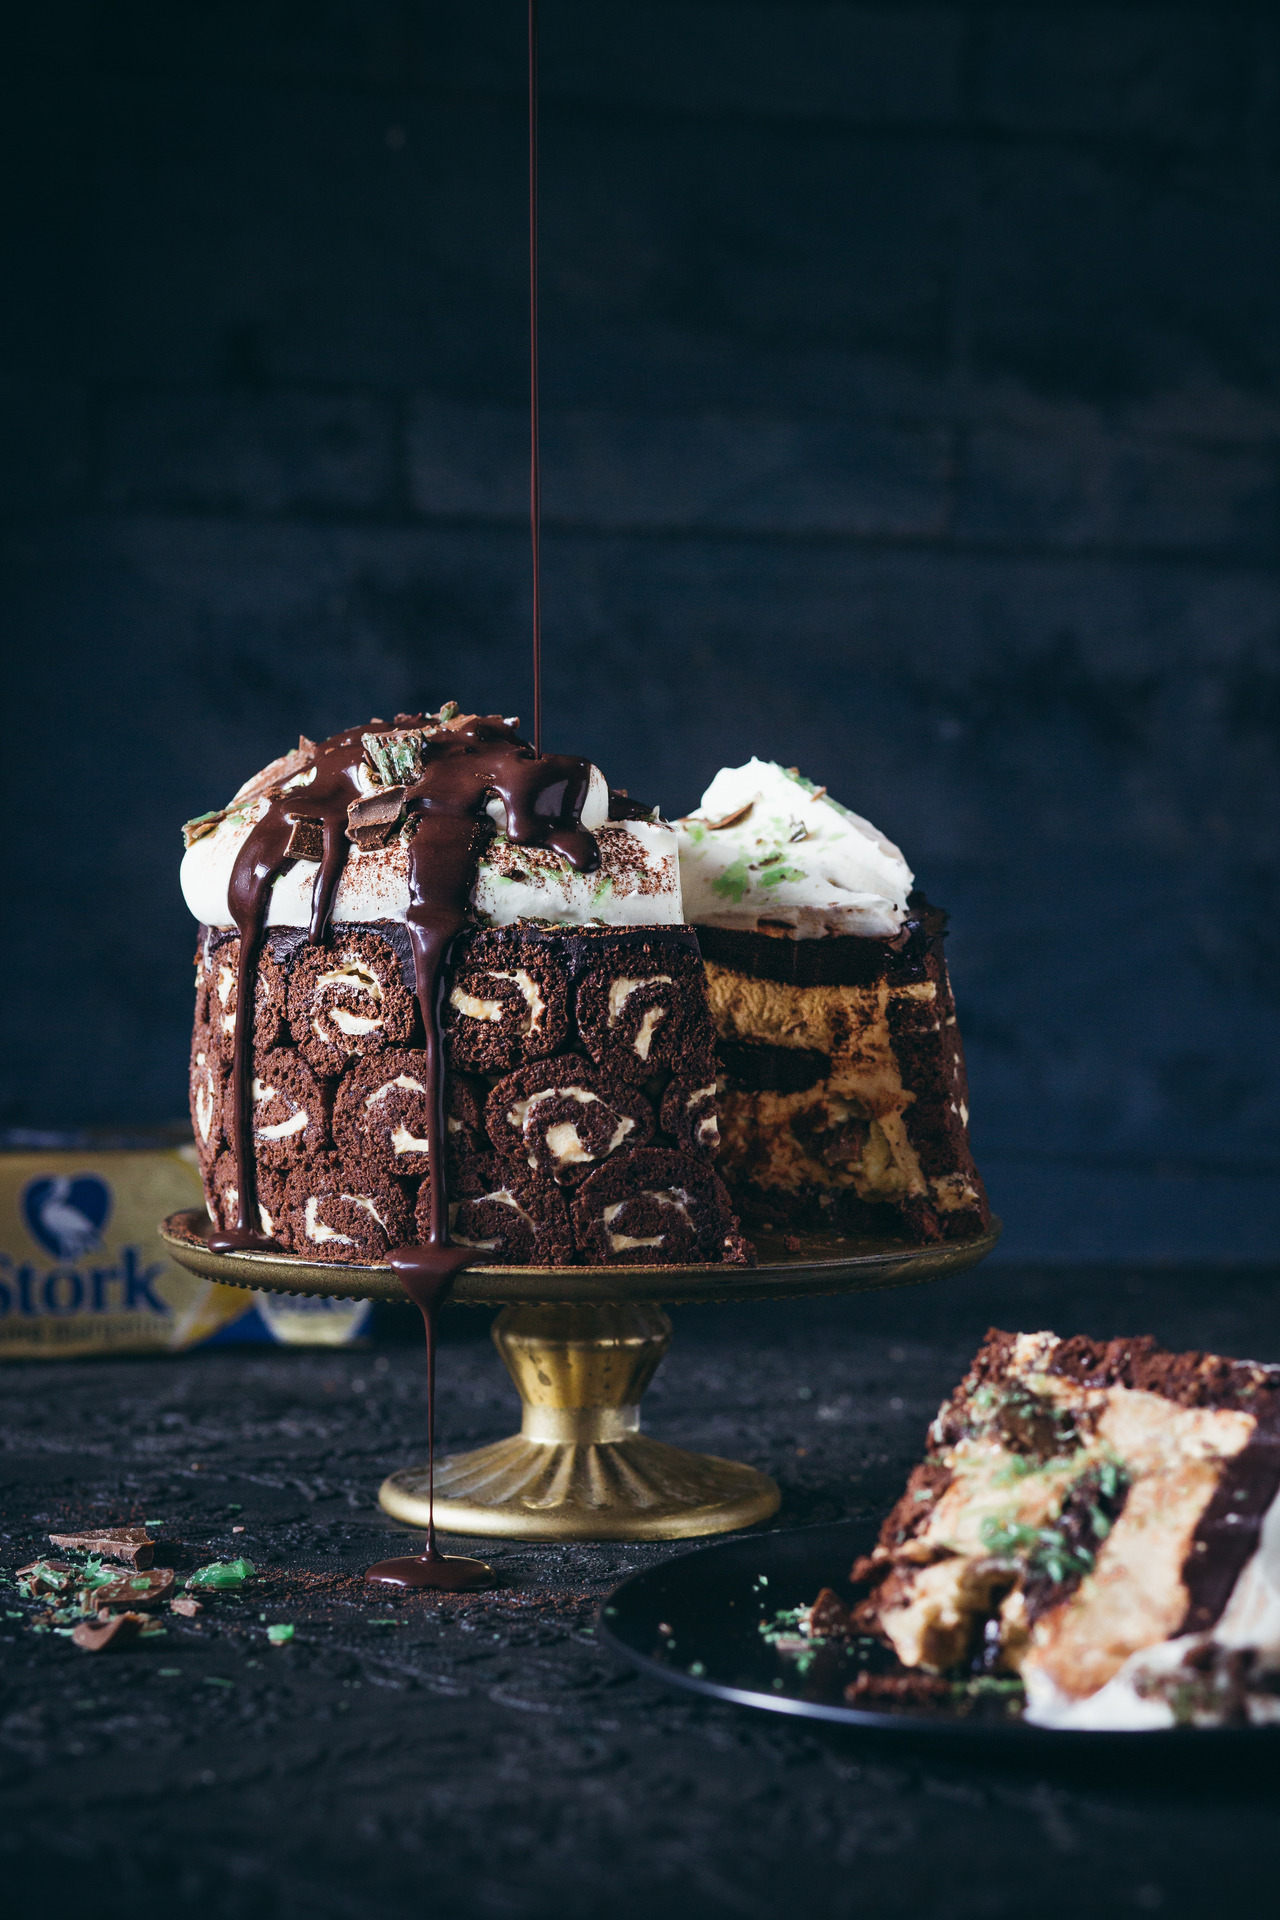
In case the picture doesn’t already have you rushing to your kitchen, those mini swiss rolls are holding a delicious caramel mousse together which is layered with shards of peppermint crisp and swirls of chocolate coconut ganache. This is THE showstopper your next dinner party/braai/book club/Friday night alone needs!
Chocolate Peppermint Crisp Charlotte
2019-07-10 09:51:26
Serves 8
0 calories
0 g
0 g
0 g
0 g
0 g
0 g
0 g
0 g
0 g
0 g
Amount Per Serving
Calories 0
Calories from Fat 0
Trans Fat 0g
Polyunsaturated Fat 0g
Monounsaturated Fat 0g
Total Carbohydrates 0g
0%
Sugars 0g
Protein 0g
* Percent Daily Values are based on a 2,000 calorie diet. Your Daily Values may be higher or lower depending on your calorie needs.
- Chocolate Swiss roll
- 3/4 cup cake flour
- 1/4 cup The Kate Tin Cocoa Powder
- 5 eggs, separated
- 50g Stork Bake, melted
- 3/4 cup castor sugar
- Caramel mousse
- 2 tsp powdered gelatine
- 3 tbsp water
- 1 x 400g tin of caramel treat
- 1 teaspoon vanilla extract
- 500ml whipping cream
- pinch of salt
- Dark chocolate coconut ganache
- 200 ml coconut milk
- 50 g The Kate Tin Dark Baking Chocolate, chopped
- 120 g The Kate Tin Cocoa Powder
- 50 g brown sugar
- 400g peppermint crisp, crushed, for sprinkling
- Extra whipped cream, for topping
- Pre-heat oven to 200°c. Line two baking sheets with baking paper. On the back of the first parchment paper, trace two 20cm circles and on the back of the second parchment paper, draw two long wide strips. Lightly dust the parchment paper with icing sugar to prevent the cookies from sticking.
- In a bowl, combine the flour and cocoa powder. Set aside.
- In another bowl, beat the egg whites with an electric mixer until soft peaks form. Gradually add 125 ml of sugar and beat until stiff peaks form. Set aside.
- In another bowl, beat the egg yolks and the remaining sugar with the electric mixer, add in the cooled melted Stork Bake. Using a spatula, gently fold in the meringue and the dry ingredients.
- Spread the mixture evenly on the baking sheets being careful not to overwork the mixture. Bake one sheet at a time for 8 to 10 minutes or until springy to the touch. Turn out onto a damp, clean dishcloth, cut the sheet of cake lengthwise to form two long strips. Roll each strip up tightly to form two long mini swiss rolls. Allow to cool completely.
- To make the mousse, sprinkle the gelatine over the water and allow to bloom. Microwave in 30-second intervals until melted and mix into a mixing bowl with the tinned caramel, add the vanilla and salt. Lastly fold in the cream until the caramel and cream are combined.
- To make the ganache, in a saucepan pour in the coconut milk, sugar and cocoa powder in a saucepan and stir over a low heat until the sugar is dissolved. Remove from heat and add the chopped chocolate and whisk until smooth, set aside to cool.
- To assemble, carefully unroll the swiss rolls and spread a thin layer of caramel mousse over the sponge. Roll up again then use sharp knife to cut into 1cm wheels. Using a 20 cm spring form cake tin, place the mini swiss rolls around the edge of the tin and on the bottom. Pipe a layer using half of the caramel mousse, refrigerate to set, layer with dark chocolate coconut ganache and peppermint crisp chocolate and cover with remaining caramel mousse. Add second sponge layer, top with whipped cream and chopped up peppermint crisp.
By TheKateTin.com
The Kate Tin https://thekatetin.com/

by Kate | Jun 4, 2019 |
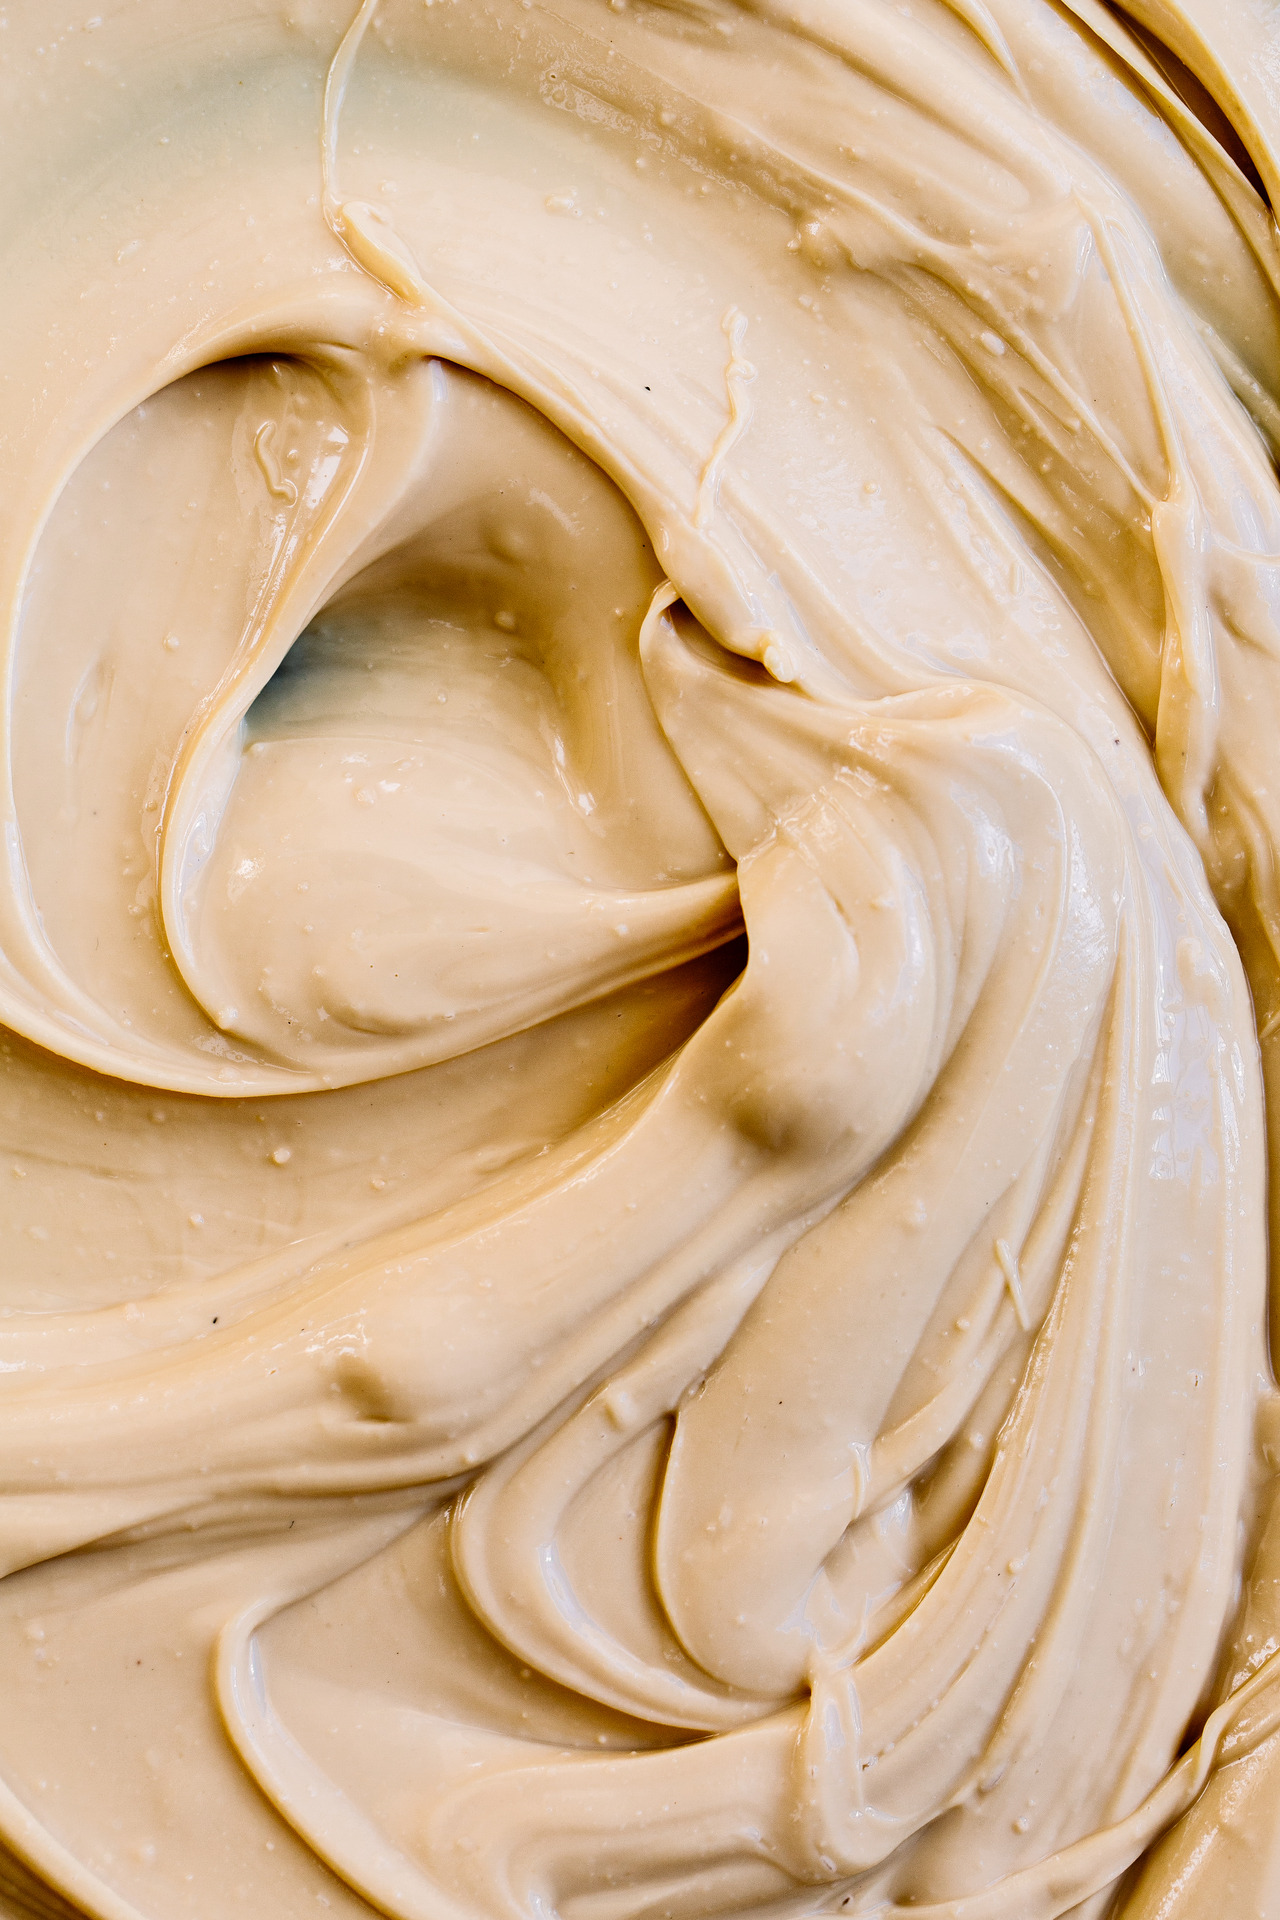
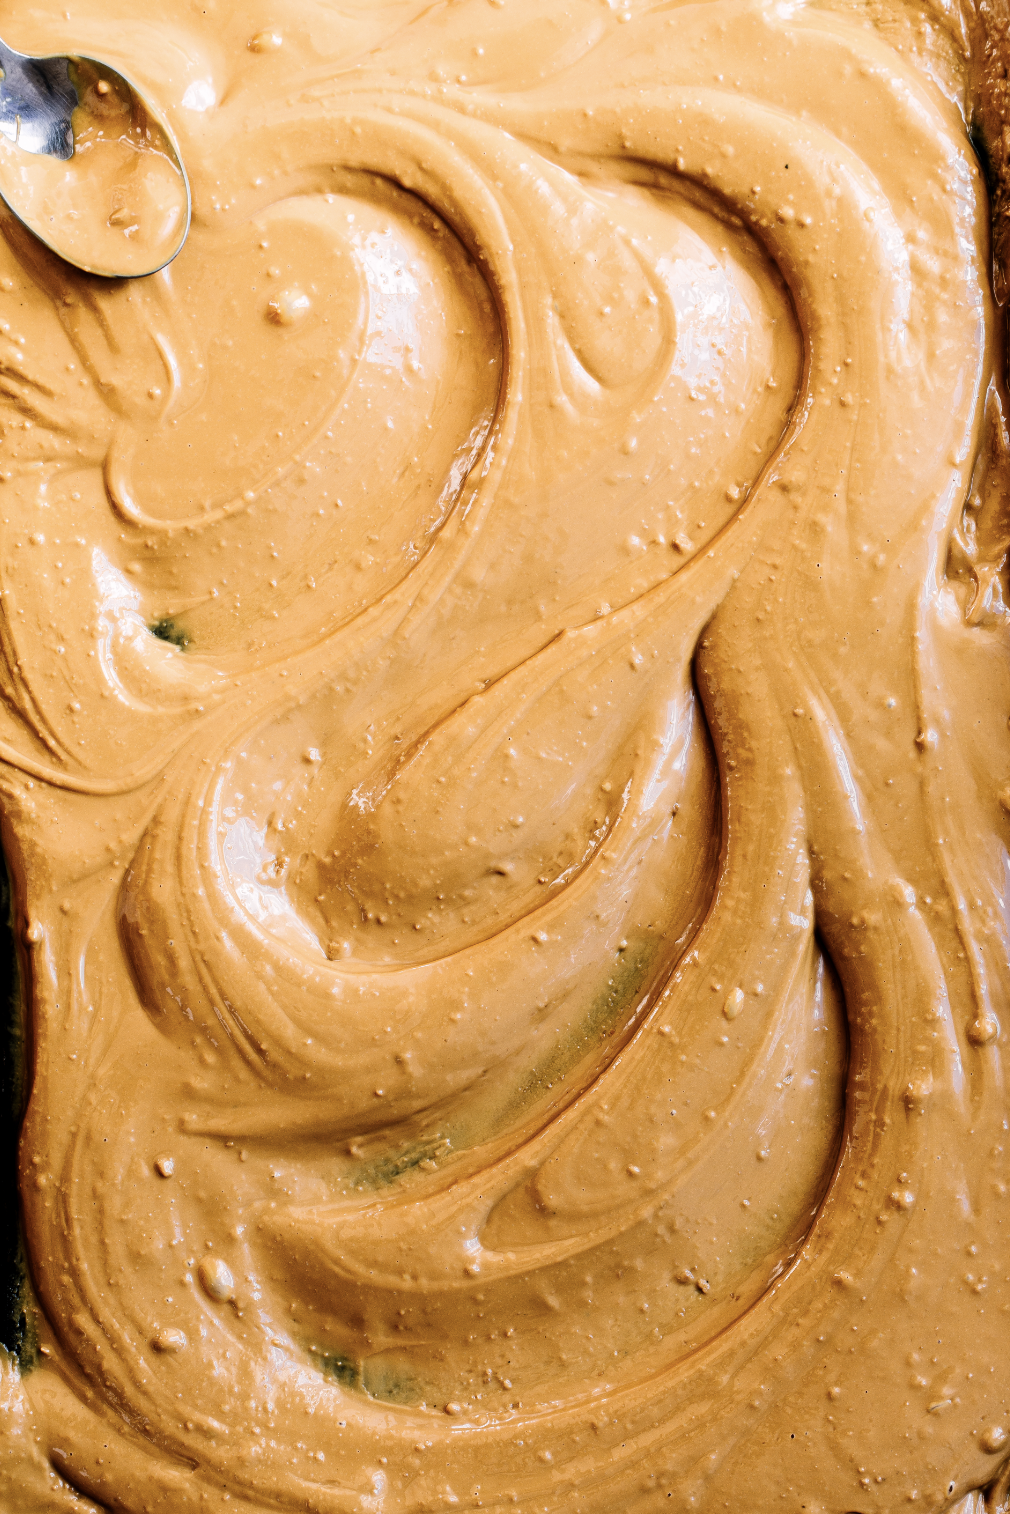
If you haven’t yet discovered caramelised white chocolate, prepare to have your life changed! It’s so easy and SO delicious. But be warned: it is highly addictive!

Introducing my latest obsession. Caramelised white chocolate. It deserves its own sentence it’s just that good. I stumbled upon this creation one night by pure accident (I like to call it good chocolate karma) while reading through my twitter feed. I accidentally clicked on a tweet and before I knew it I was transported via a blog into the realm of golden caramel-coloured goodness. It was love at first sight and I knew I simply had to recreate this so-called caramelised white chocolate and make it my own.
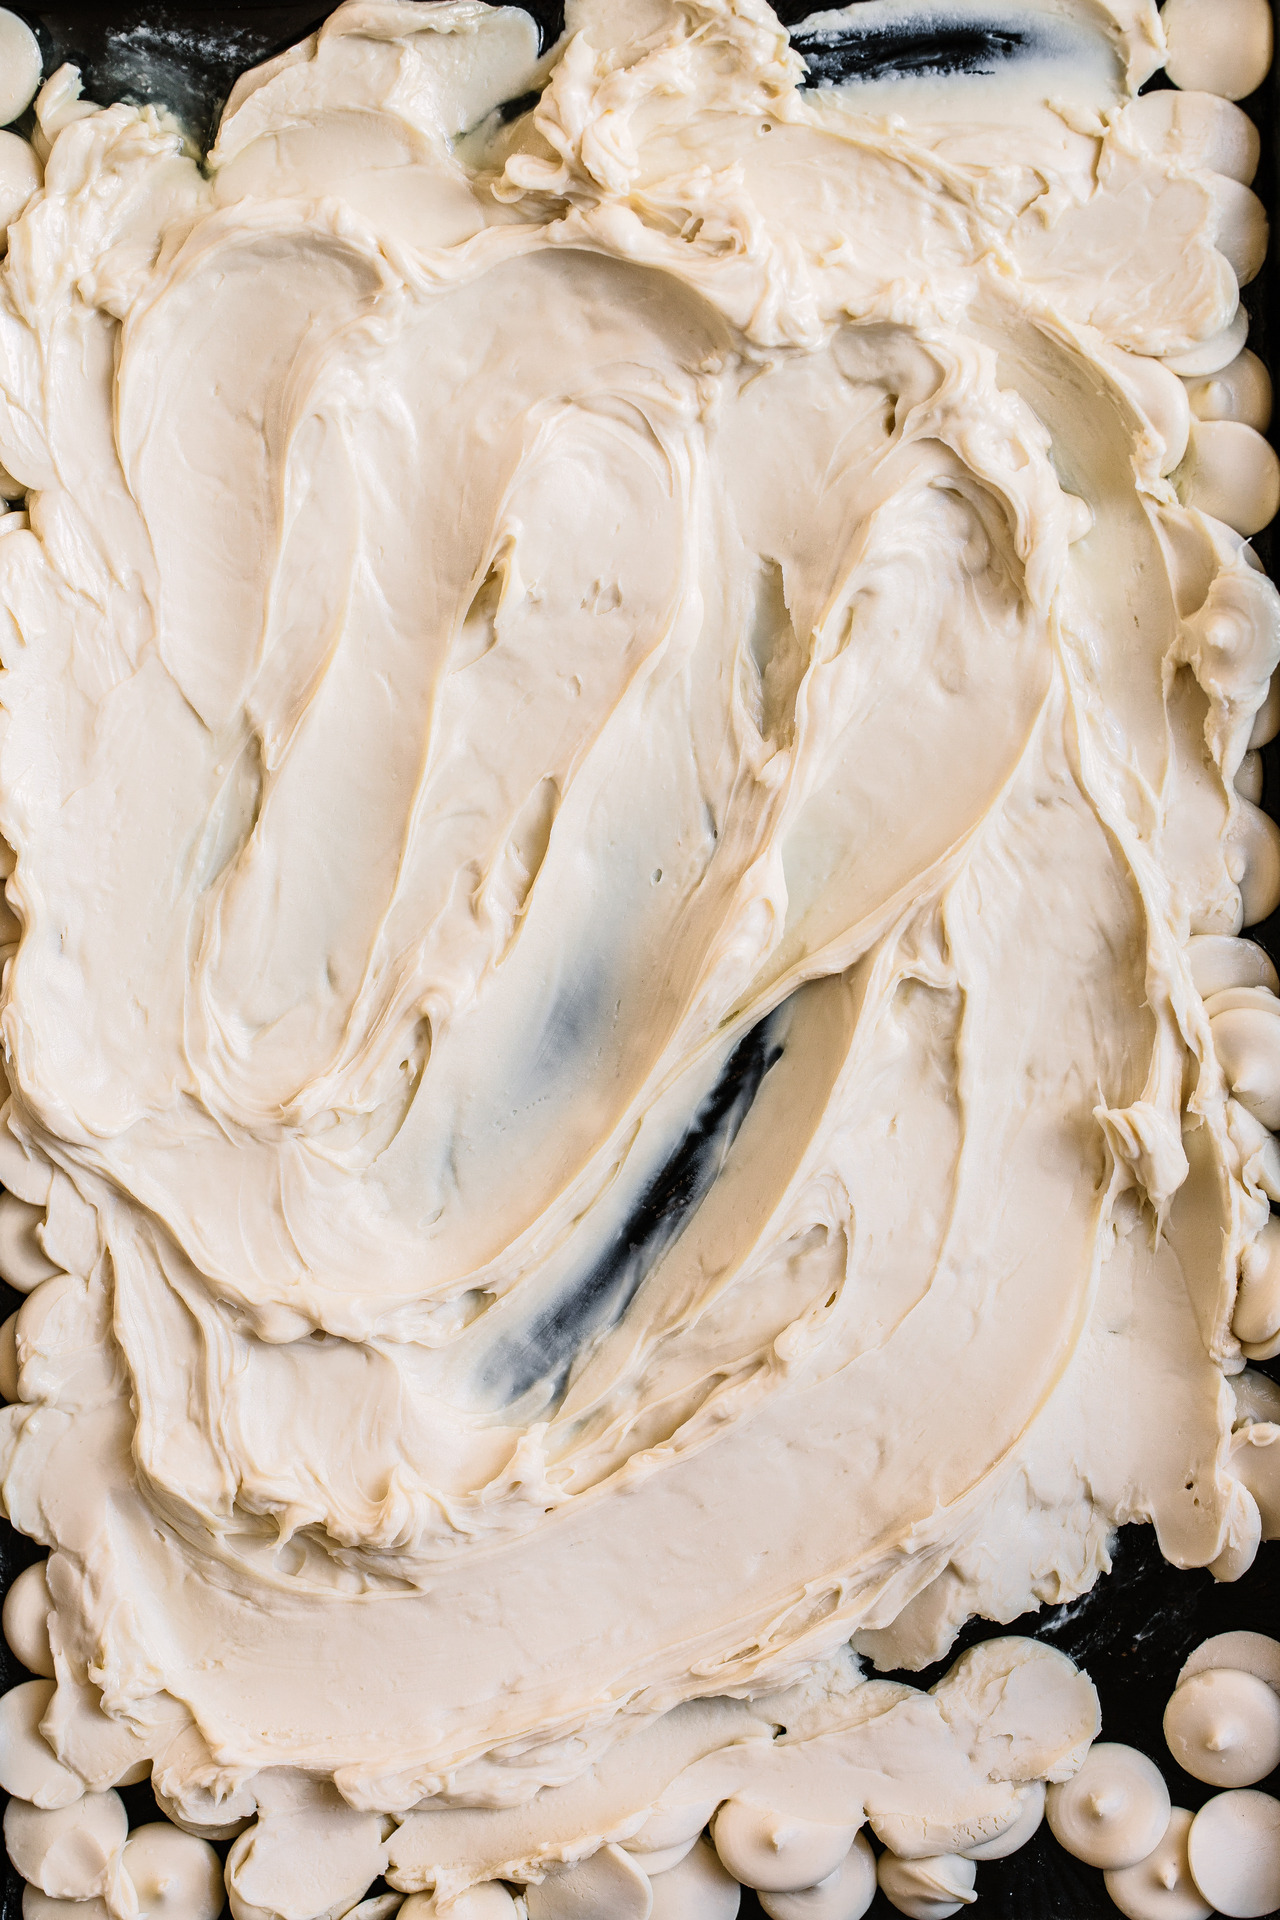
The main reason it’s so charming (I mean other than the fact that it is chocolate), is that it consists of just two ingredients: white chocolate and a drizzle of oil. My secret ingredient though, which makes it even more delicious, is a sprinkle of sea salt flakes. Other than eating it straight out of a jar with a spoon, I have also day-dreamed about drizzling it over this quadruple chocolate cake, making liquid-centred puddings from it, chucking shards of it into these amazing cookies and stirring it into this crazy hot chocolate on a chilly evening. How I lived my life up until this point, without caramelised white chocolate in my life, is a mystery, but now that I’ve found it, I want to share the delicious secret with everyone, and I hope once you have tried it, you will do the same!

Caramelised White Chocolate
2019-06-04 13:55:04
Yields 200
0 calories
0 g
0 g
0 g
0 g
0 g
0 g
0 g
0 g
0 g
0 g
Amount Per Serving
Calories 0
Calories from Fat 0
Trans Fat 0g
Polyunsaturated Fat 0g
Monounsaturated Fat 0g
Total Carbohydrates 0g
0%
Sugars 0g
Protein 0g
* Percent Daily Values are based on a 2,000 calorie diet. Your Daily Values may be higher or lower depending on your calorie needs.
- 200g The Kate Tin White Baking Chocolate, chopped
- 1-2 tbsp sunflower, vegetable or canola oil
- pinch of sea salt flakes
- Preheat the oven to 150 degrees Celsius.
- Place the chocolate on a baking tray and drizzle with the oil.
- Bake in the preheated oven, stirring every 5-10 minutes for 50 minutes or until golden brown.
- If it’s crumbly, simply drizzle in a little more oil and continue working it. If there are a few lumps, blend until smooth in a blender or food processor. Don't be scared to take the chocolate quite far - the longer you roast it the less sweet and more toasty it gets. Once you're happy with the flavour, add the pinch of salt.
- Store the chocolate in a jar or pour it onto a sheet of baking paper and allow to set before breaking into pieces. To use it, simply melt as you would white chocolate (carefully) or chop it and add it into recipes.
By TheKateTin.com
The Kate Tin https://thekatetin.com/

by Kate | Mar 11, 2019 |
Making your own chocolate Easter eggs is a fun challenge – with the help of a chocolate-maker, we’ll show you how!

This Chocolate Mousse Easter egg is layered with fluffy decadent chocolate mousse, light-air sponge and encased in really great quality chocolate! If you’re up for the challenge of making your own Easter eggs this year, this guide will take all the intimidation out of it. Especially because you’ll be learning from an actual chocolate maker! I visited AFRIKOA chocolate where their head chocolate maker, Antonino Allegra, showed me how simple it is to recreate.
WHAT YOU NEED:
- Easter egg moulds (you can find these relatively cheaply at baking shops or online at Barco
- Make the chocolate sponge and chocolate mousse ahead of time (or cheat and buy them if you’d rather focus on getting the Easter egg right).
- Tempered chocolate (see how to temper chocolate here) – you can totally cheat and use baking chocolate for the shell but don’t skimp on the good stuff for the mousse.
- Patience – remember this is a challenge! So take your time and enjoy the process.

STEP 1: fill the two halves of the Easter egg mould with tempered chocolate (or baking chocolate) then quickly turn them over to allow the excess chocolate to drip off. Give the moulds a few taps to help the process. Once the dripping has stopped, use a palette knife to scrape the edge of the mould clean.


STEP 2: Place the moulds on a cooling rack, facing down, in the refrigerator to set. Repeat the process to add another layer of chocolate on the inside of the egg to strengthen it. Refrigerate to set.

STEP 3: Place the chocolate mousse into a piping bag fitted with a plain nozzle.


STEP 4: fill each half 1/3 of the way with mousse then layer the cake and chocolate mousse alternately inside one half of the mould. Repeat the process with the other half of the egg.


STEP 5: ‘glue’ the two halves together, pipe a little chocolate around the edges. Immediately stick the two halves together, making sure to seal the edges carefully. Allow to set completely.

STEP 6: Mix the gold dust with a little vodka or vanilla essence and use a clean pastry brush to splatter it onto the egg. Serve on a bed of chocolate curls, if desired.
Challenge accepted? Good, now make sure to take me @TheKateTin on Facebook, Instagram or Twitter so I can oooh and aaah over your beautiful creation! Or if you’re struggling, drop me a DM and I’ll try my best to help!


Chocolate Mousse Easter Egg
2019-03-11 15:21:27
Yields 4
A chocolate Easter egg filled with layers of chocolate sponge and chocolate mousse
0 calories
0 g
0 g
0 g
0 g
0 g
0 g
0 g
0 g
0 g
0 g
Amount Per Serving
Calories 0
Calories from Fat 0
Trans Fat 0g
Polyunsaturated Fat 0g
Monounsaturated Fat 0g
Total Carbohydrates 0g
0%
Sugars 0g
Protein 0g
* Percent Daily Values are based on a 2,000 calorie diet. Your Daily Values may be higher or lower depending on your calorie needs.
- Chocolate Sponge
- 100g cake flour
- 30g good-quality cocoa powder
- 2.5g bicarbonate of soda
- 1/8 tsp baking powder
- pinch of salt
- 56g eggs (about 1 large egg)
- 125g white sugar
- 1 tsp vanilla extract
- 85g mayonnaise
- 105ml water
- Chocolate Mousse
- 2 cups (500ml) cream, divided
- 225g AFRIKOA 70% dark chocolate,chopped
- 2 large egg yolks, at room temperature
- ¼ cup white sugar
- ¼ cup water
- 500g AFRIKOA 70% dark chocolate, tempered
- 1 x large Easter Egg mould (approx. 15cm x 10cm wide)
- Edible gold dust, to decorate
- Preheat the oven to 180 degrees Celsius (160 fan-forced). Line a sheet pan 30cm x 20cm with baking paper. Sift the dry ingredients together. In the bowl of a stand mixer, whisk the eggs, sugar and vanilla for 1 minute to combine, then increase the speed and whip until thick and pale yellow – about 5 minutes. When the whisk is lifted, it should form a slowly dissolving ribbon – this is called ribbon stage. Add the mayonnaise and whip until combined. Fold in the dry ingredients and water, alternately, in 2 stages. Pour the batter into the prepared baking tin and bake for 10 minutes or until a skewer inserted comes out clean. Allow the cake to cool completely, then cut into 3cm wide strips. Set aside.
- To make the chocolate mousse, whip half the cream to soft peaks then refrigerate until needed. Heat the rest of the cream to just below boiling point, then pour over the chopped chocolate. Allow to stand for a few minutes then stir until smooth. Set aside. Whip egg yolks on high speed in a stand mixer until light and stiff. Place the sugar and water in a small saucepan and stir until the sugar has dissolved then bring to the boil. Simmer until the syrup reaches 120 degrees Celsius on a sugar thermometer. Start whipping the egg yolks again on low speed and gradually add the hot sugar syrup down the side of the bowl. Whip until the mixture has doubled in volume and is body temperature. Test the temperature of the ganache (it should also be body temperature), then fold the ganache into the whipped yolks. Fold in the whipped cream in 2 batches. Place the mousse in a piping bag fitted with a straight nozzle, ready for assembling.
- To make the Easter egg; fill the two halves of the Easter egg mould with tempered chocolate then quickly turn them over to allow the excess chocolate to drip off. Give the moulds a few taps to help the process. Once the dripping has stopped, use a palette knife to scrape the edge of the mould clean then place the moulds on a cooling rack, facing down, in the refrigerator to set. Repeat the process to add another layer of chocolate on the inside of the egg to strengthen it. Refrigerate to set.
- Assemble the Easter egg, fill each half 1/3 of the way with mousse then layer the cake and chocolate mousse alternately inside one half of the mould.To ‘glue’ the two halves together, pipe a little chocolate around the edges and gently press the one half onto the hot baking tray to melt the edges. Immediately stick the two halves together, making sure to seal the edges carefully. Allow to set completely. Decorate with gold dust.
By TheKateTin.com
The Kate Tin https://thekatetin.com/
Recipe and images originally created for Food & Home Entertaining Magazine


