Do you want to know the secret ingredient to making the greatest honeycomb ever? It’s a little bit weird, and you might already have it in your pantry…
SPONSORED CONTENT
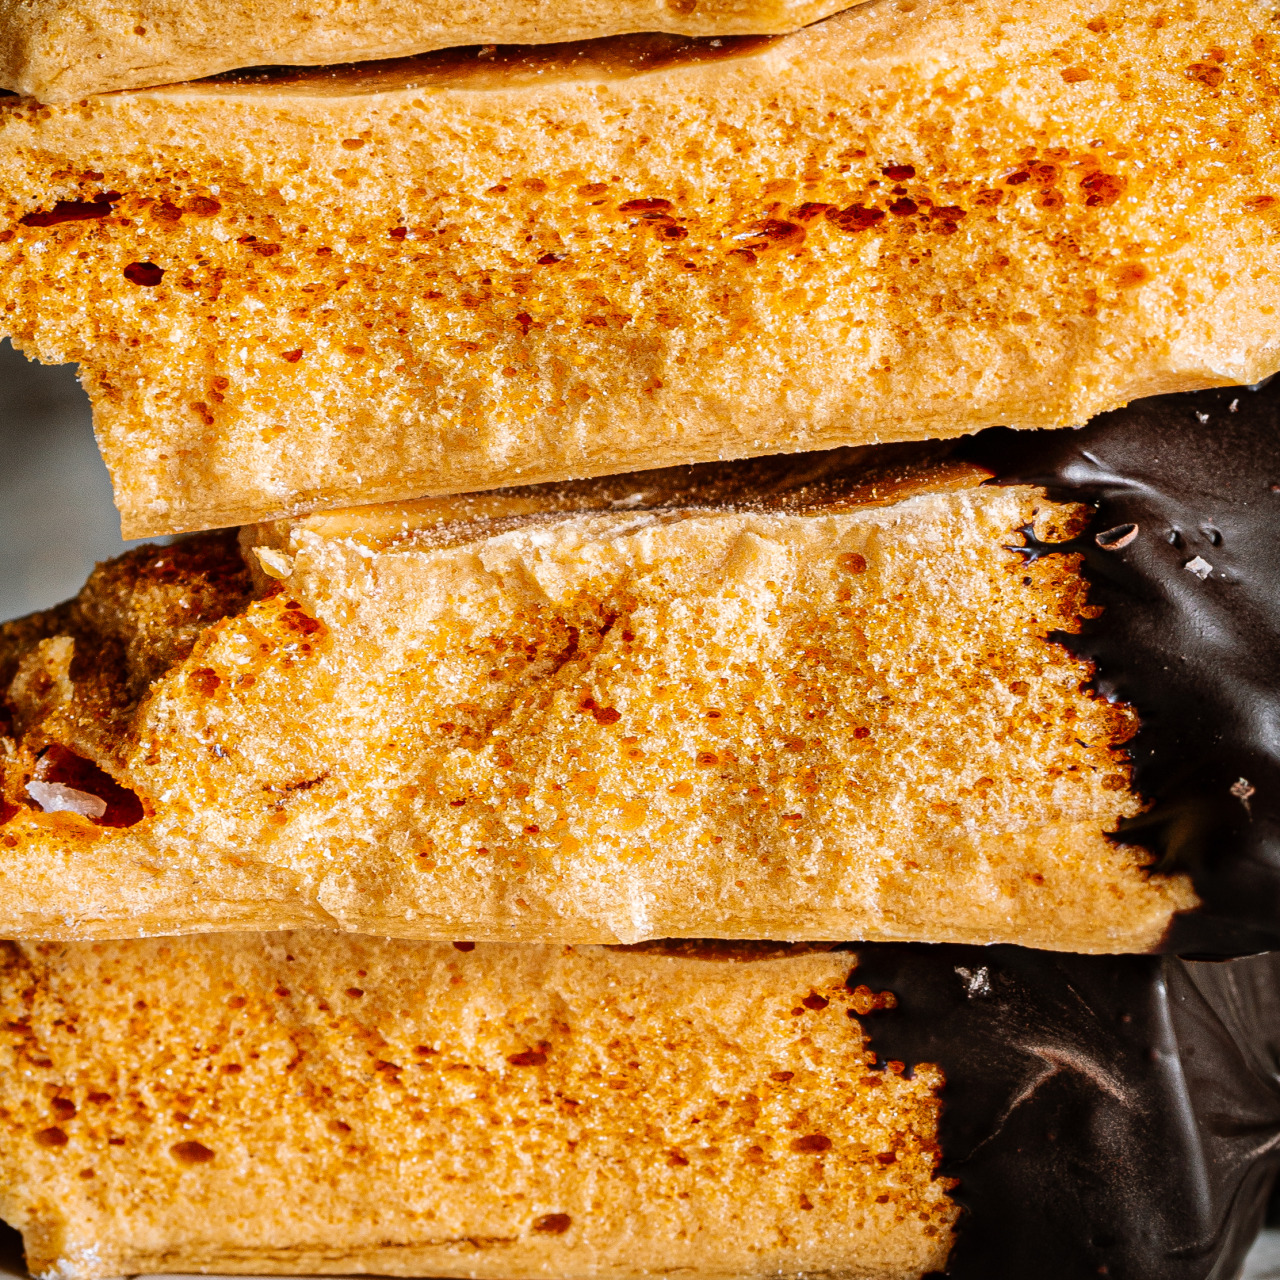
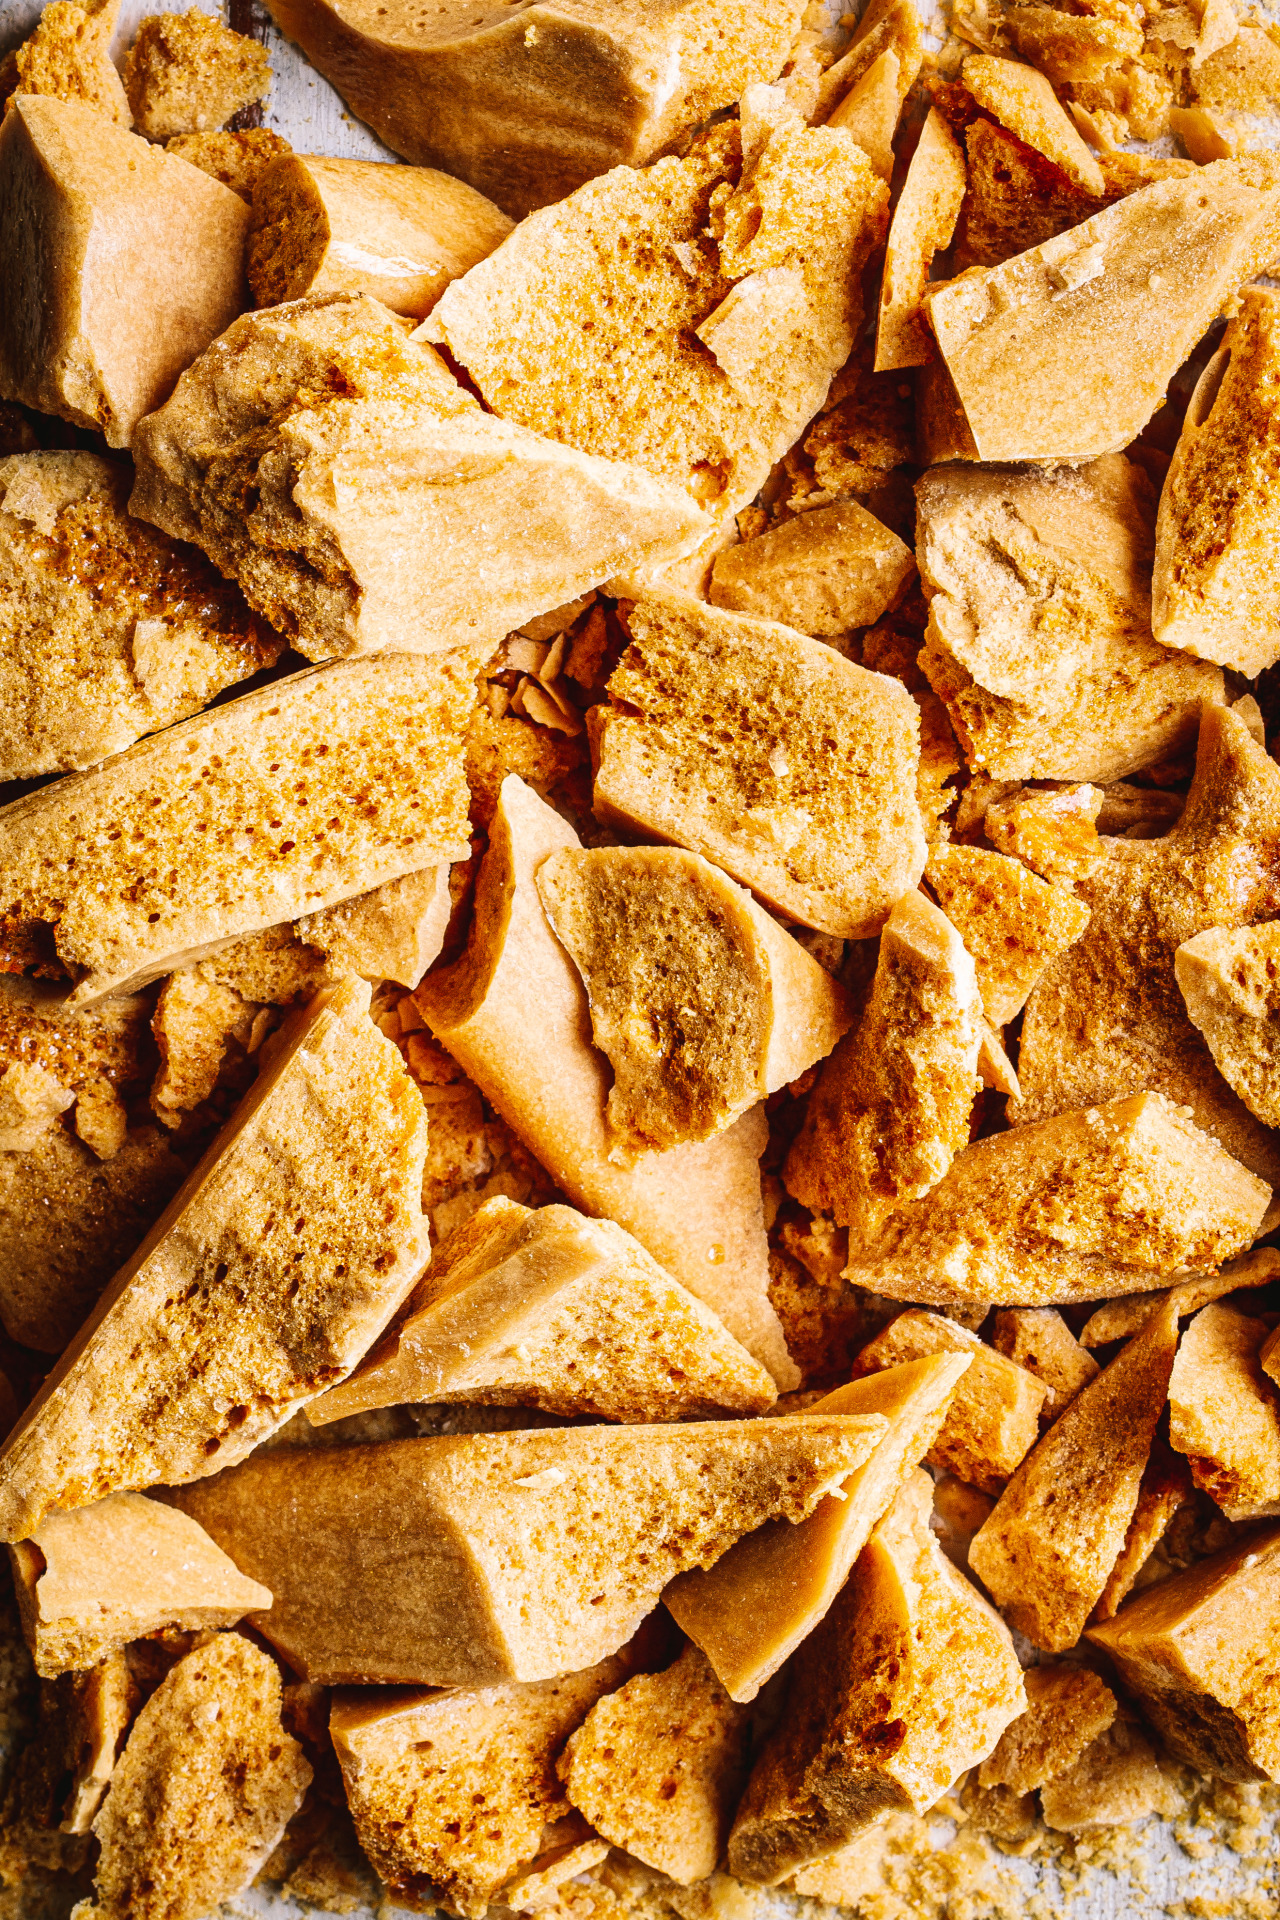
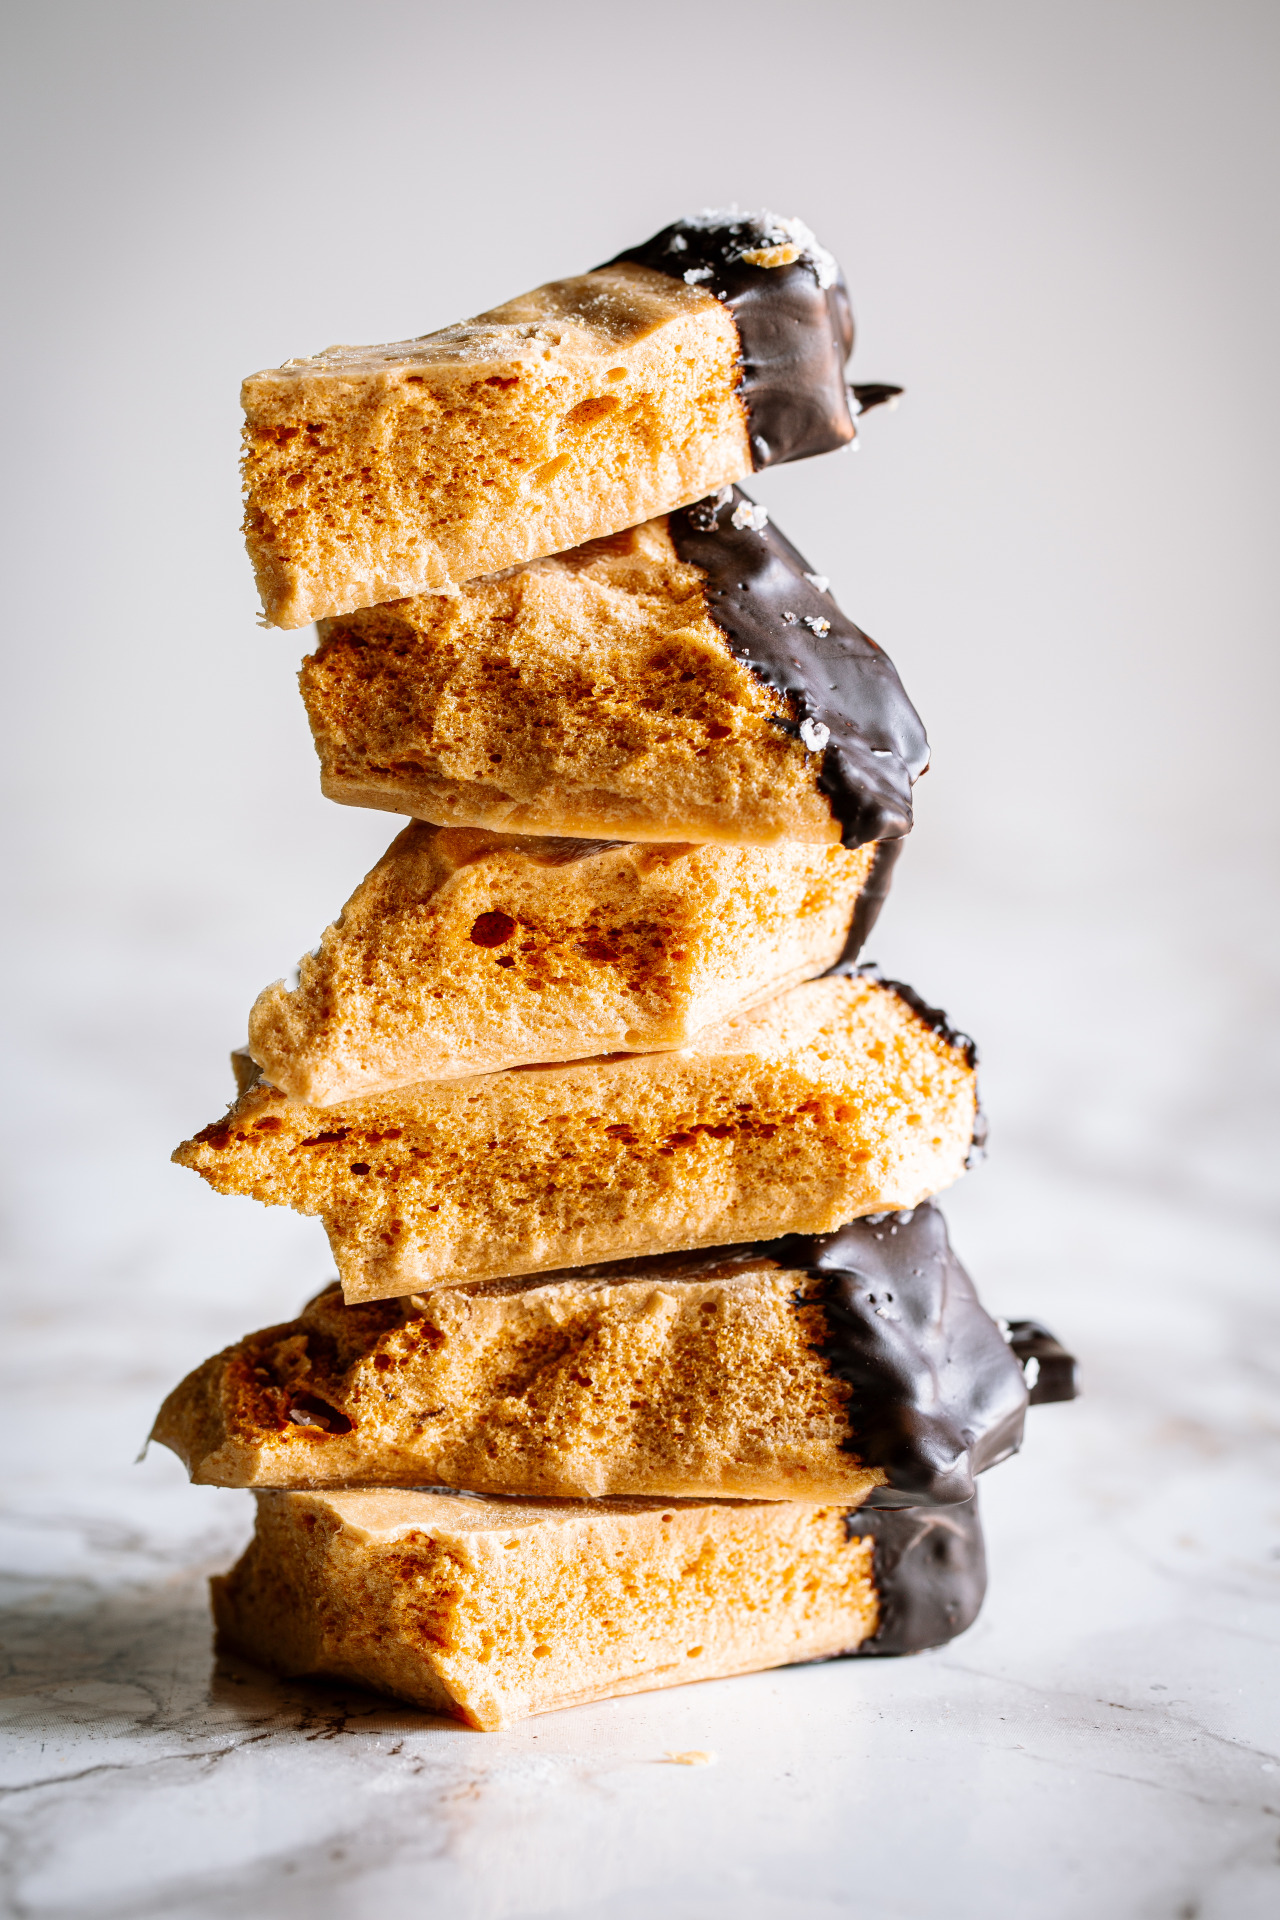
A quick ‘honeycomb’ google will give you around 13 000 recipes – and unless they look like THIS, they’re all wrong! Most homemade honeycomb recipes (even my own previous attempts!) give you a honeycomb with large, inconsistent bubbles, which, if you’re South African, is far from the crunchie bars we know, love and want to recreate! So how do you get a honeycomb with small, consistent bubbles that doesn’t break your teeth AND tastes good?
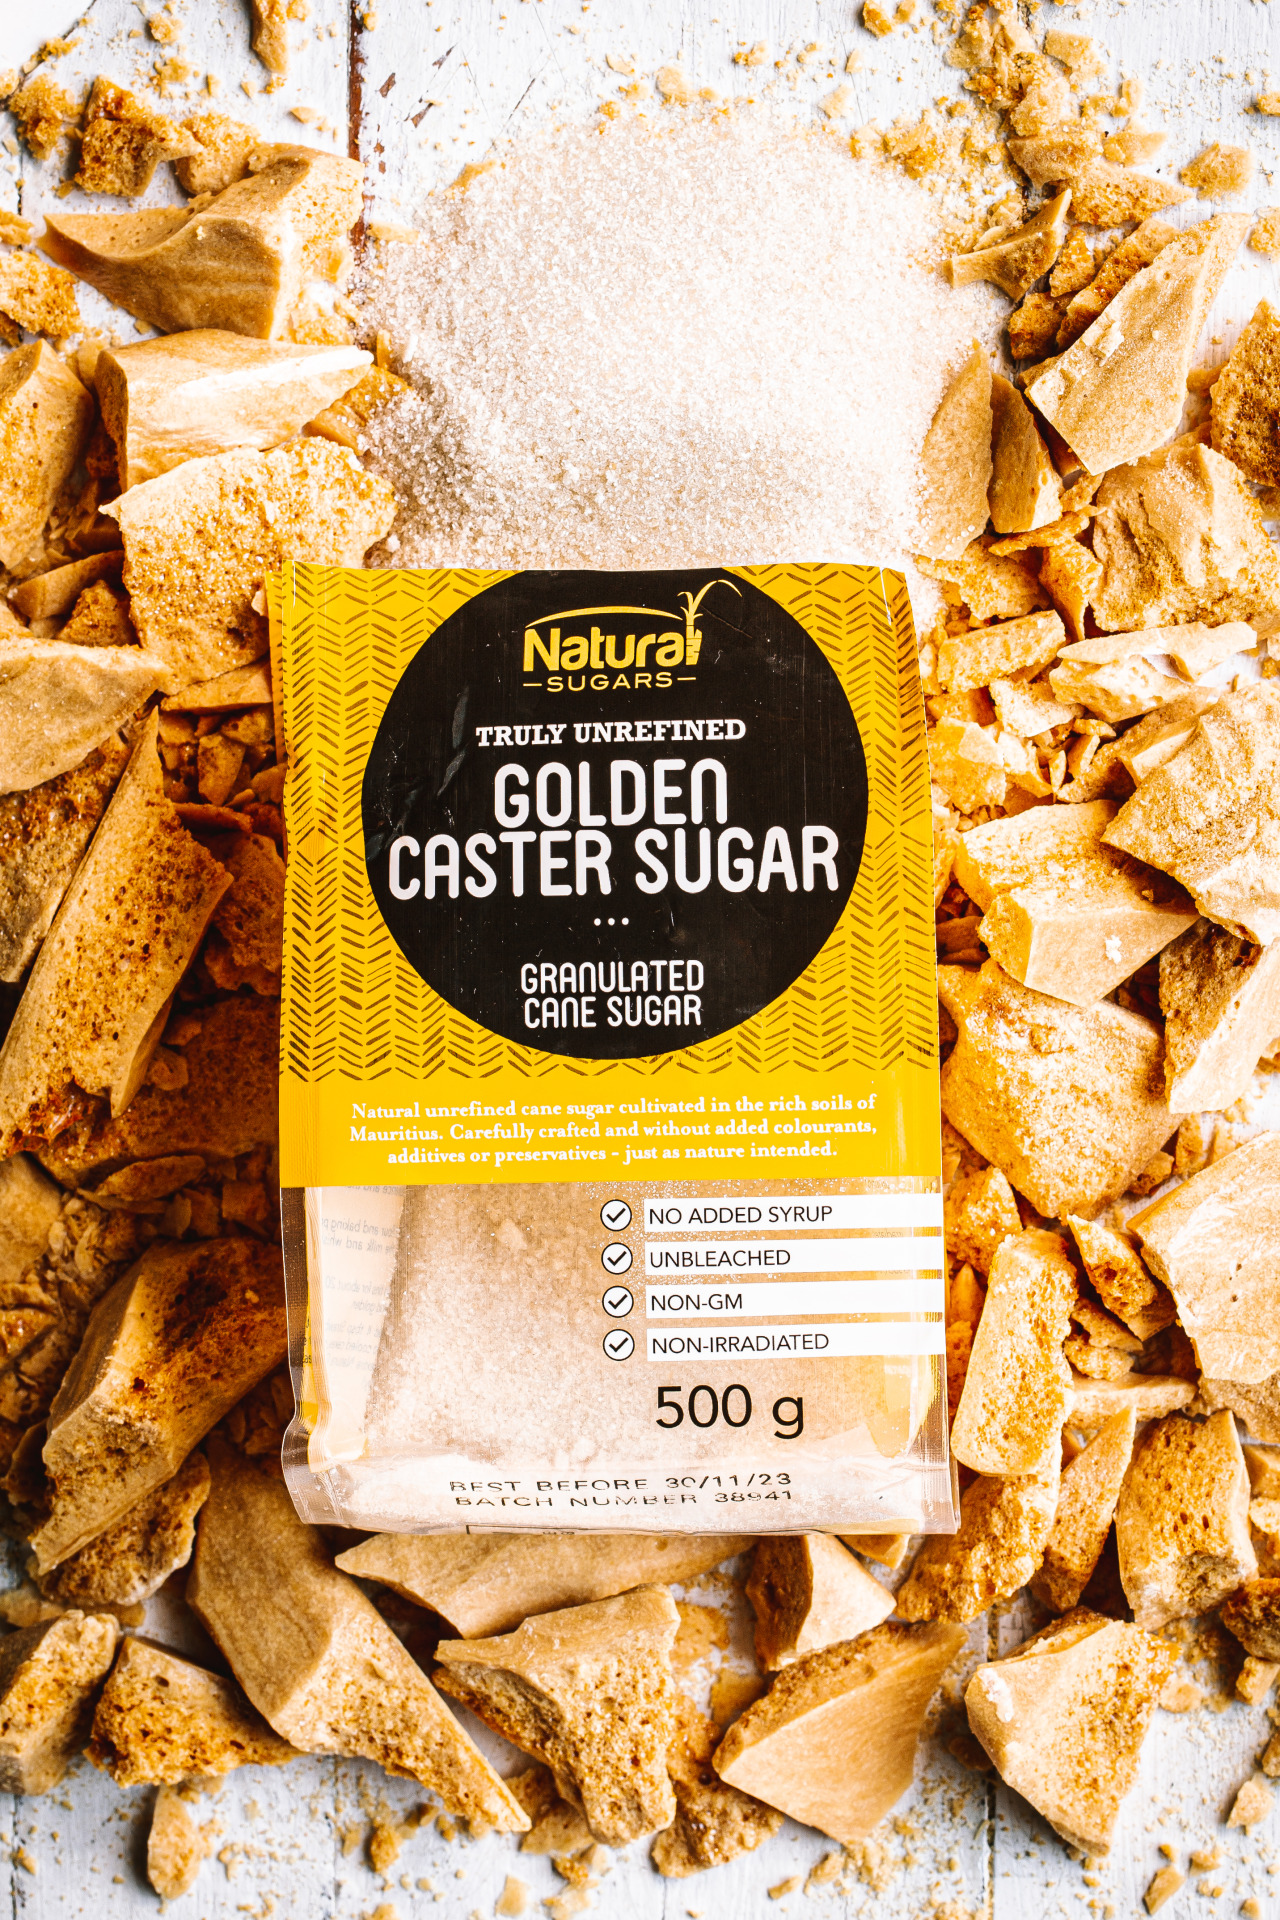
Before we get to the secret ingredient, it’s important to make sure you use a really good quality sugar because style over substance is never a good thing! I used the beautiful Natura Sugars Golden Caster Sugar for this recipe. It’s unrefined which means it contains all the natural flavour of sugar cane and the fine texture makes it perfect for sweet-making as it dissolves effortlessly and there’s less risk of your sugar syrup crystallizing.
Okay, so you’re dying to find out what the secret ingredient is, right?! Well… the secret is… GELATINE! When you add gelatine to the honeycomb caramel, it forms a network. Once you add the bicarbonate of soda (the fun part!), it releases carbon dioxide very quickly and expands rapidly. The gelatine network traps this carbon dioxide giving you a lot of smaller bubbles. This makes the gelatine easier on the eye – and not as hard to eat.
I like things that are easier to eat, don’t you?!
The Secret To the Perfect Honeycomb!
2019-11-07 18:21:15
Yields 20
Print
Prep Time
10 min
Cook Time
20 min
Total Time
30 min
Prep Time
10 min
Cook Time
20 min
Total Time
30 min
0 calories
0 g
0 g
0 g
0 g
0 g
0 g
0 g
0 g
0 g
0 g
Nutrition Facts
Serving Size
0g
Yields
20
Amount Per Serving
Calories0
Calories from Fat 0
% Daily Value *
Total Fat 0g
0%
Saturated Fat 0g
0%
Trans Fat 0g
Polyunsaturated Fat 0g
Monounsaturated Fat 0g
Cholesterol 0mg
0%
Sodium 0mg
0%
Total Carbohydrates 0g
0%
Dietary Fiber 0g
0%
Sugars 0g
Protein 0g
Vitamin A
0%
Vitamin C
0%
Calcium
0%
Iron
0%
* Percent Daily Values are based on a 2,000 calorie diet. Your Daily Values may be higher or lower depending on your calorie needs.
Grease and line a large 20cm square, deep baking tin with baking paper and set aside.
Sprinkle the gelatine over the water and allow to soak for 5 minutes. Weight out 5g and discard the rest.
Combine the sugar, glucose and water in a large saucepan over low heat, allowing the sugar to melt slowly until completely dissolved. Bring to the boil and cook to 140 degrees celsius on a sugar thermometer. Add the honey then continue to cook to 150 degrees celsius.
Remove from the heat and allow to cool, without disturbing it, for 5 minutes.
Working quickly, add the 5 g of soaked gelatine and stir well to incorporate fully.
Quickly stir in the bicarbonate of soda, as the mixture rises, pour it into the prepared tin.
Allow to cool for at least 2 hours (if it’s a hot day, cool it in the freezer to prevent it from collapsing).
Break or cut into pieces and dip in The Kate Tin Dark Chocolate, if desired.
Notes
TIP Save the silica sachets from handbags and shoes and add one to a ziplock bag along with your honeycomb. This will absorb humidity and stop the honeycomb from going sticky.
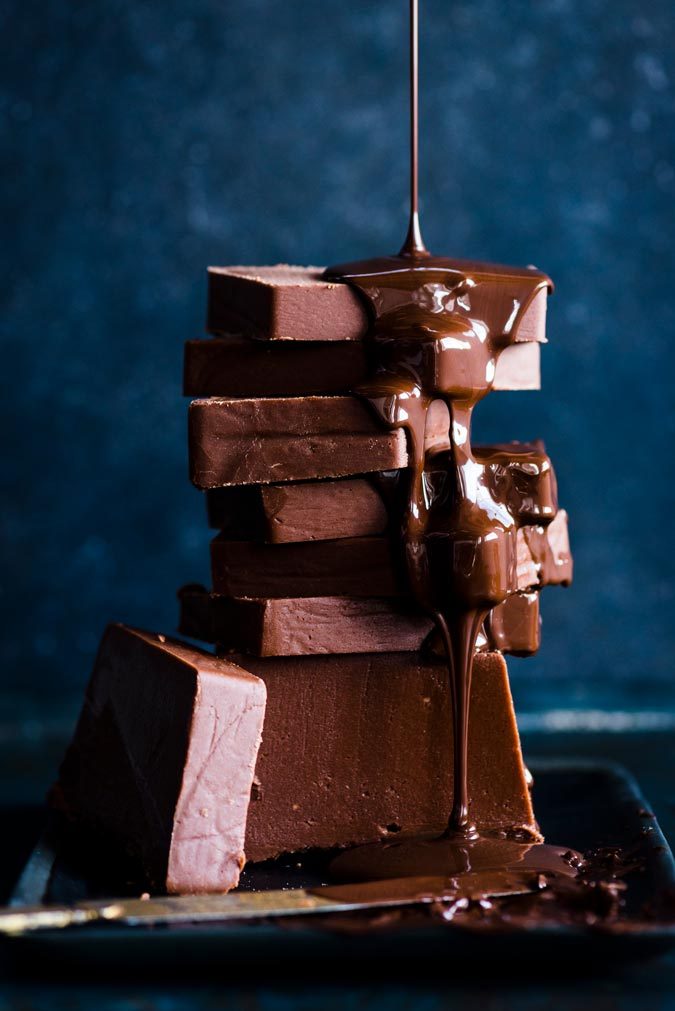
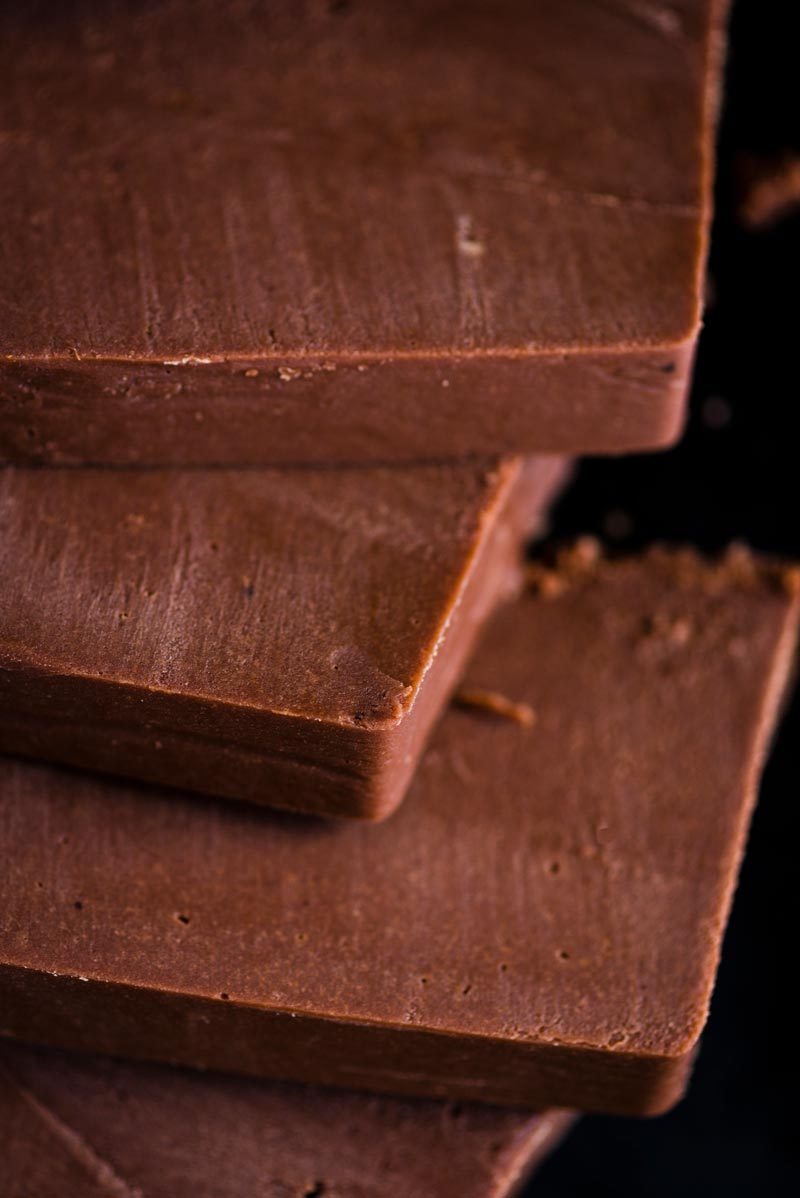
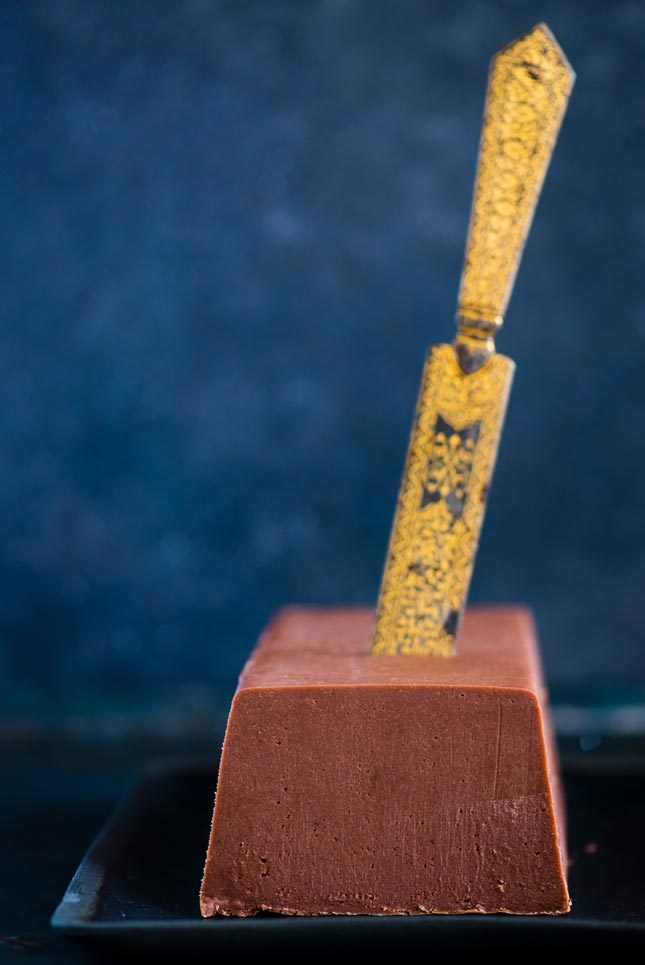
A smooth, melt-in-the-mouth chocolate fudge with a rich, bitter chocolate flavour that offsets the sweetness perfectly.
Death by Chocolate fudge is a long-standing joke in my family. Do you remember the American Fudge Factory?! One year, my cousin decided to surprise my grandmother with a box of their most famous chocolate flavour. We received a phone call from my hysterical grandmother exclaiming that we had to call the police because someone was trying to kill her. We were confused! ‘Why do you think someone is trying to kill you, Gran?’ ‘Well, this morning I found a gift box on my doorstep. When I opened it there was a piece of fudge with a little tag that said; ‘Death by Chocolate’!
This is my version of the cult classic – and I promise, the only thing that will be dying, is your diet!
Death By Chocolate Fudge
2019-07-01 10:44:27
Yields 12
Print
Prep Time
30 min
Cook Time
30 min
Total Time
1 hr
Prep Time
30 min
Cook Time
30 min
Total Time
1 hr
0 calories
0 g
0 g
0 g
0 g
0 g
0 g
0 g
0 g
0 g
0 g
Nutrition Facts
Serving Size
0g
Yields
12
Amount Per Serving
Calories0
Calories from Fat 0
% Daily Value *
Total Fat 0g
0%
Saturated Fat 0g
0%
Trans Fat 0g
Polyunsaturated Fat 0g
Monounsaturated Fat 0g
Cholesterol 0mg
0%
Sodium 0mg
0%
Total Carbohydrates 0g
0%
Dietary Fiber 0g
0%
Sugars 0g
Protein 0g
Vitamin A
0%
Vitamin C
0%
Calcium
0%
Iron
0%
* Percent Daily Values are based on a 2,000 calorie diet. Your Daily Values may be higher or lower depending on your calorie needs.
Grease and line a standard loaf tin with baking paper.
In a large, heavy bottomed saucepan, combine all the ingredients and stir over a low heat until the sugar has dissolved.
Bring to the boil and simmer, stirring occasionally so it doesn’t stick, for 30 minutes or until it reaches 118 degrees celsius on a sugar thermometer (or until the syrup forms a firm ball when dropped into a cup of cool water).
Remove from the heat and beat vigorously with a spatula until the fudge starts turning grainy and begins to set.
Immediately pour it into the prepared baking tin and allow to set.
Chocolate Easter Bunnies were designed to be filled with something, in my opinion. And what better to fill them with than boozy milkshake! What a time to be alive. Obviously you could make these milkshakes kid friendly but either way, if you’re not a great baker, these would make a seriously cool dessert!
125ml (½ cup) Kahlúa or cold espresso (for a non-alcoholic version)
4 x hollow chocolate Easter bunnies
In a small saucepan, combine the milk, brown sugar and cinnamon. Allow to heat up gently on a low heat to allow the sugar to dissolve and the cinnamon to. Remove from heat and refrigerate until chilled. Add the Kahlúa or cold espresso and stir. Heat up a sharp knife and cut the tops off the bunnies. Fill each bunny with the boozy cinnamon milk. Serve immediately.
The only thing more delicious than the combination of maple syrup, Brazil nuts and chocolate in these toffees is their luscious, chewy texture.
Chewy Chocolate Brazil Nut Toffees. With these toffees being such a mouthful, I made their name one too, didn’t I?!
Believe it or not, this toffee recipe didn’t make the cut when we were doing final changes to my cookbook, ‘Chocolate’! We shot 120 recipes but only 90 made it in. But that doesn’t mean these toffees weren’t worthy. They are so good that I can’t actually remember why we left them out – I blame it on the chocolate coma! 😉
Toffees are always a bit of effort to make, but the result is so worth it! There are a few tricks to perfecting toffees:
Don’t be afraid of the toffee. It senses your fear and will crystallize!
Always stir the sugar syrup over low heat (don’t boil) in the beginning stages to melt the sugar crystals. Once they’re all melted (I use the back of a metal spoon to check), THEN you can bring it to the boil. Any sooner, and you’ll just end up with a crystally mess.
Brushing down the sides of the pot with hot water will also help prevent crystals and ensure your toffee is on point!
A sugar thermometer will make life easier, but if you don’t have one, I’ve also provided ways to test the temperature without one.
You know those little sachets you get when you buy shoes and handbags? SAVE THEM! They absorb humidity and if you pop a few in the airtight container you store your toffees in, it will stop them turning into a sticky mess. You’re welcome!
If you haven’t yet got a copy of my book, it’s available online at Takealot and Loot or at all major bookstores including Exclusive Books, Bargain Books and Wordsworth. Its packed full of 90 brand new recipes with jaw-dropping food photography from my friend Hein van Tonder of HeinStirred.com. If you have your copy already, I’d love to hear what you’ve made from it so far!
Chewy Chocolate Maple Brazil Nut Toffees
2019-01-30 15:54:23
Yields 35
A firm but chewy toffee that's perfectly offset with bitter chocolate and brazil nut crunch!
Print
Total Time
2 hr
Total Time
2 hr
0 calories
0 g
0 g
0 g
0 g
0 g
0 g
0 g
0 g
0 g
0 g
Nutrition Facts
Serving Size
0g
Yields
35
Amount Per Serving
Calories0
Calories from Fat 0
% Daily Value *
Total Fat 0g
0%
Saturated Fat 0g
0%
Trans Fat 0g
Polyunsaturated Fat 0g
Monounsaturated Fat 0g
Cholesterol 0mg
0%
Sodium 0mg
0%
Total Carbohydrates 0g
0%
Dietary Fiber 0g
0%
Sugars 0g
Protein 0g
Vitamin A
0%
Vitamin C
0%
Calcium
0%
Iron
0%
* Percent Daily Values are based on a 2,000 calorie diet. Your Daily Values may be higher or lower depending on your calorie needs.
330 g (245ml) glucose syrup (available from baking shops)
100 g (70ml) maple syrup
150 g (150ml) unsalted salted butter, at room temperature
100 g The Kate Tin Dark Baking Chocolate, melted
100 g Brazil nuts, toasted and chopped
Instructions
Grease and line a deep 30 x 30-cm cake tin with non-stick baking paper.
Combine the water, sugar, vanilla and condensed milk in a large, heavy-based saucepan. Slowly bring to the boil while stirring constantly
Add the glucose and maple syrups and continue cooking over a medium heat while stirring until the mixture reaches 110 °C(test for thread stage by drizzling a small amount of the sugar syrup from a spoon into a cup of cold water – the syrup will form fine threads instead of instantly dissolving in the water). Add the butter and cook until 118 °C (or until the syrup forms a firm ball when dropped into a cup of cool water).
Pour the mixture into the prepared tin and allow to cool completely. Cut the toffee into 3-cm squares. Dip each toffee into the melted chocolate, then sprinkle over the Brazil nuts. Allow to set on a lined baking tray.
Notes
Store in an airtight container in a cool place (not the fridge) for up to 2 weeks.
By TheKateTin.com
beta
calories
0
fat
0g
protein
0g
carbs
0g
more
The Kate Tin https://thekatetin.com/
TIP: If you’re feeling up to the challenge of tempering your own chocolate – see my step-by-step here; alternatively, use good-quality baking chocolate as a shortcut.
These Muscovado Toffees have a rich, dark molasses flavour and a lovely chew to them – the best toffee recipe ever!
#SPONSORED
I was 10 years old when I first tasted the muscovado toffees that would forever be imprinted in my mind. The toffees were made and sold by a little old lady at the Great Brak River craft market. They were large cubes of dark, dusky-flavoured toffee wrapped in brown paper and these sweets were the highlight of every visit. To eat them (and avoid a trip to the dentist), you had to wedge the chunk of toffee into your cheek. You’d then have to wait so it would soften before chewing.
They were an eyes-closed-moment. I’ve searched most of my adult life for the recipe that would recreate the flavour I remember. While I’ve tried to make toffees with every kind of sugar, they failed to taste like the toffees I remember. It wasn’t until Natura Sugars introduced their Dark Muscovado Sugar to South Africa that I finally found the missing secret ingredient!
What is Dark Muscovado Sugar?
The key to the depth of flavour in these toffees is to use proper Dark Muscovado Sugar. Some sugars labelled as Muscovado are really just white sugar with the molasses added back in. Some of them don’t even use molasses but instead add syrup. How do you know? Check the label at the back.
True Muscovado sugar (like the kind Natura Sugars makes which comes from Mauritius) is unrefined. This means the molasses is never removed and all the goodness and flavour is left in the sugar. It is so good, you can eat it with a spoon! You’ll taste sweetness first then floral and fruity notes and a delicious smoky aftertaste. These are all flavours that make this toffee amazing!
My Toffee Tips
Sugar cookery can be intimidating. But there are a few pressure points which will help you get the texture of these muscovado toffees spot on.
First, when you place all the ingredients together in a saucepan, don’t bring it to a boil immediately. The key is to let the sugar melt completely first. Boiling it before this happens will cause your sugar syrup to crystallize.
Second, avoid any sugar crystals on the sides of the pot. Use a pastry brush dipped in hot water to brush them away.
Third, invest in a sugar thermometer. The difference between a soft, soggy toffee and a lovely chewy toffee is a matter of a few degrees. I have an old sugar thermometer which I inherited from my great grandmother as well as a digital thermometer; either will do the job and they’re more affordable than you think.
Fourth, when it comes to toffee, moisture is the enemy. Make sure you store the wrapped toffees in an airtight jar. I place a layer of rice or silica gel sachets in the bottom to absorb any moisture from the air. Not they’ll last long enough for you to store them, anyway!
How to make Muscovado Toffees:
Muscovado Toffees
300g Natura Sugars Dark Muscovado Sugar
110g (80ml) golden syrup
50ml milk
50ml double cream
30g salted butter
large pinch of bicarbonate of soda
Line the base and side of 20cm x 30cm baking tin with baking paper.
Heat the sugar, golden syrup, milk, cream and butter in a heavy-based saucepan over a medium heat. Stir until the sugar has dissolved. Insert a sugar thermometer and bring the mixture to the boil.
Let the sugar syrup boil until it reaches 138°C, soft crack stage.
Once the sugar syrup has reached the correct temperature, remove the pan from the heat. Add the bicarbonate of soda and mix well and pour into the prepared tin. Allow to cool for about 5 minutes.
Once the mixture has cooled slightly and is just set, score the toffee into 4cm x 2cm pieces. Scoring the toffee will make it easier to break later.
Leave the toffee to cool for about 20-30 minutes or until completely cold. Remove the toffee from the baking tin.
Break the toffees into pieces. Wrap in cellophane and store in an airtight container in a cool dry place for up to 4 weeks. Makes 50.
Disclaimer: No caramel was hurt in the making of this Cheats Crème Caramel.
You know how they say cheating is bad? Well, I propose that there’s a GOOD kind of cheating – the one where you can skip a whole step in baking to get to the deliciousness THAT much faster. Take crème caramel, for example. It’s so easy to make BUT waiting an entire day for the hard caramel to turn into a delicious sauce so you can eat it is absolute torture. So… what if you could cut out making the caramel for your créme caramel?
I know what your thinking, “Caramel-less cheats crème caramel? You barbarian.”
As you may know, the traditional crème caramel has a hard caramel set in the base of the mould – the custard is then poured on top and baked. After an overnight stint in the fridge, the caramel becomes a sauce which creates a golden brown waterfall once unmoulded. If you’re using refined white sugar, you NEED to caramelize it in order to get some flavour out of it BUT fortunately for us, these days we have an amazing range of dark and delicious unrefined sugars such as dark muscovado sugar. This is the ‘cheat’ in cheats crème caramel!
So, ditch the old-fashioned caramel and get yourself a bag of muscovado because we’re about to make magic happen. The beauty of this Cheats Crème Caramel is that you literally just have to scoop the sugar into the moulds. No caramelising, no crystals forming or third-degree burns.
This Cheats Crème Caramel is hands down the best crème caramel I have ever had in my life and I probably ate like 3 of them all on my own. Give it a try and you’ll never make crème caramel the traditional way ever again!
CHEATS CREME CARAMEL
2018-06-21 16:27:22
Serves 10
This is the easiest, creamiest créme caramel you will ever have - hands down.
Print
Prep Time
20 min
Cook Time
25 min
Prep Time
20 min
Cook Time
25 min
2674 calories
286 g
1381 g
149 g
53 g
86 g
1284 g
700 g
274 g
0 g
54 g
Nutrition Facts
Serving Size
1284g
Servings
10
Amount Per Serving
Calories2674
Calories from Fat 1313
% Daily Value *
Total Fat 149g
229%
Saturated Fat 86g
430%
Trans Fat 0g
Polyunsaturated Fat 8g
Monounsaturated Fat 46g
Cholesterol 1381mg
460%
Sodium 700mg
29%
Total Carbohydrates 286g
95%
Dietary Fiber 0g
0%
Sugars 274g
Protein 53g
Vitamin A
118%
Vitamin C
5%
Calcium
96%
Iron
30%
* Percent Daily Values are based on a 2,000 calorie diet. Your Daily Values may be higher or lower depending on your calorie needs.
Preheat the oven to 180 degrees celsius (160 degrees for fan-forced) and make sure the oven rack is positioned on the lower third of the oven.
Lightly grease 10 small dariole moulds or ramekins with cooking spray and equally divide the Natura Sugars Dark Muscovado between them.
Compact the sugar in the base of the mould by using a smaller cup or a teaspoon. Place the moulds in a deep roasting tray, ensuring there’s enough room between each of the moulds.
Combine the eggs, Natura Sugars Golden Caster and vanilla extract. Gently heat up the milk and cream in a small pot over a medium heat until it just starts to boil. Immediately remove from the heat.
While whisking, gradually pour the milk/cream mix into the egg mixture.
Strain the mixture into a pouring jug and pour it into the prepared moulds. Don’t worry if any sugar begins to float, it will eventually sink.
Place the creme caramels in the oven and pour enough boiling water into the tray to reach halfway up the sides of the caramels. Bake for 25 minutes or until just set with a slight wobble in the middle. It should look like jelly!
Allow to cool before refrigerating for at least 4 hours, or preferably overnight.
When you’re ready to serve, run a thin knife along the edges of the moulds and invert onto a plate. The caramels will keep in the fridge for up to 3 days.
Notes
Make sure you don't over-bake it, the custard must still have a noticeable wobble.